The Covenant
The theme that plays as the screen fades from black should be well-recognizable to all of us: it is a variation of Halo’s main theme. This variation was first heard during the announcement trailer for Halo 3.
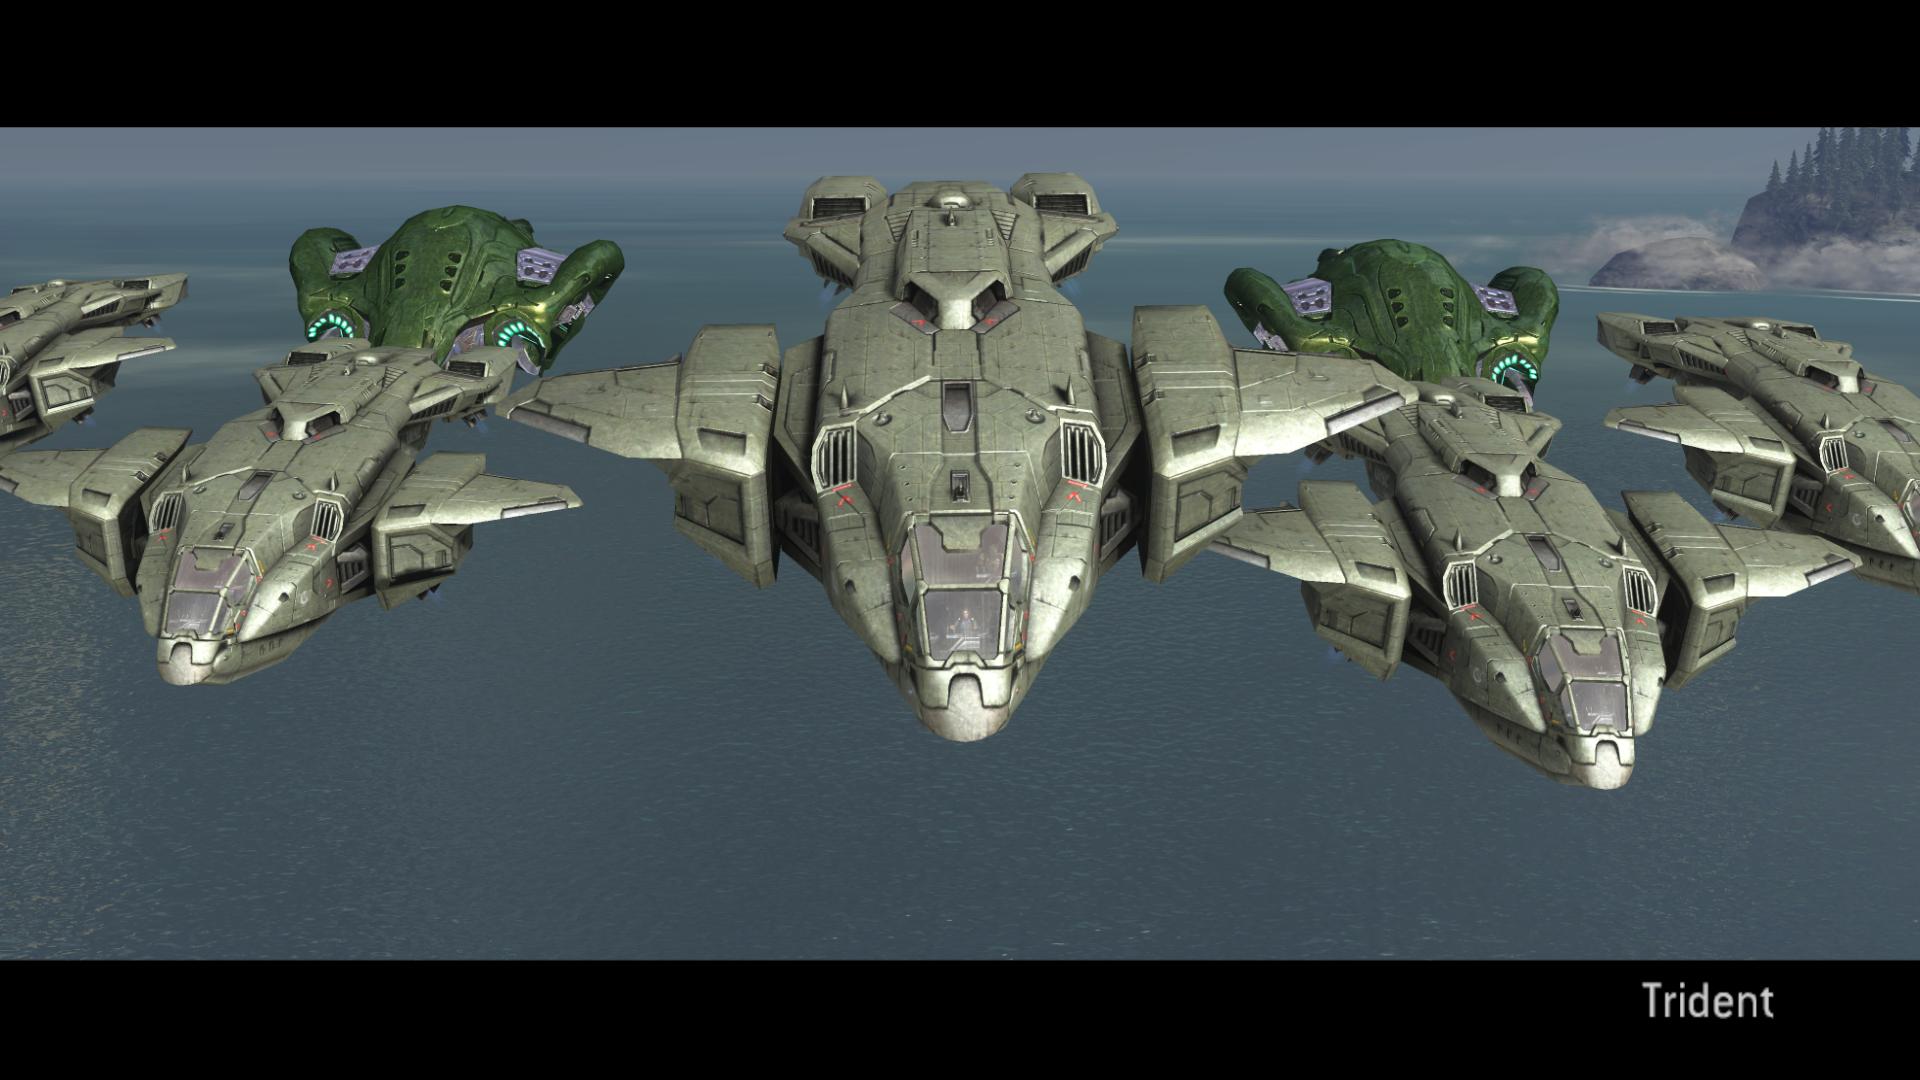
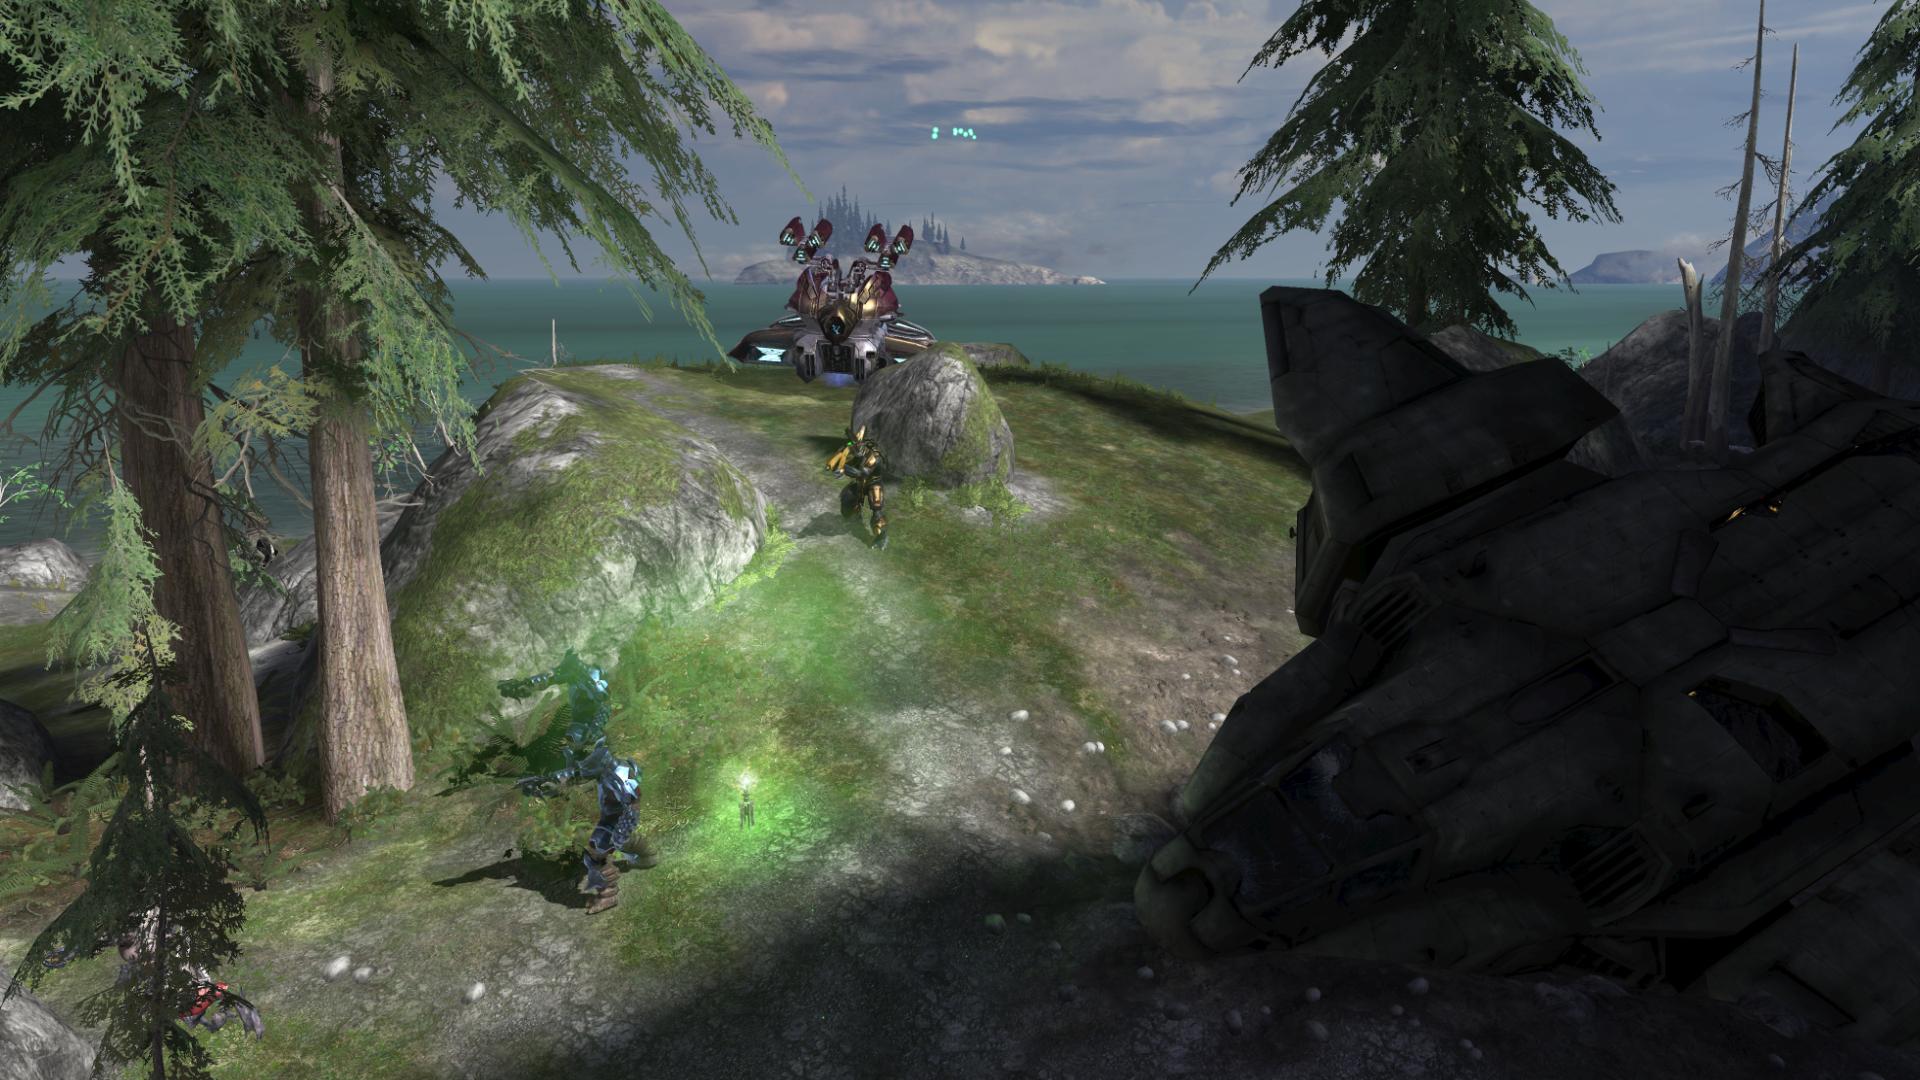
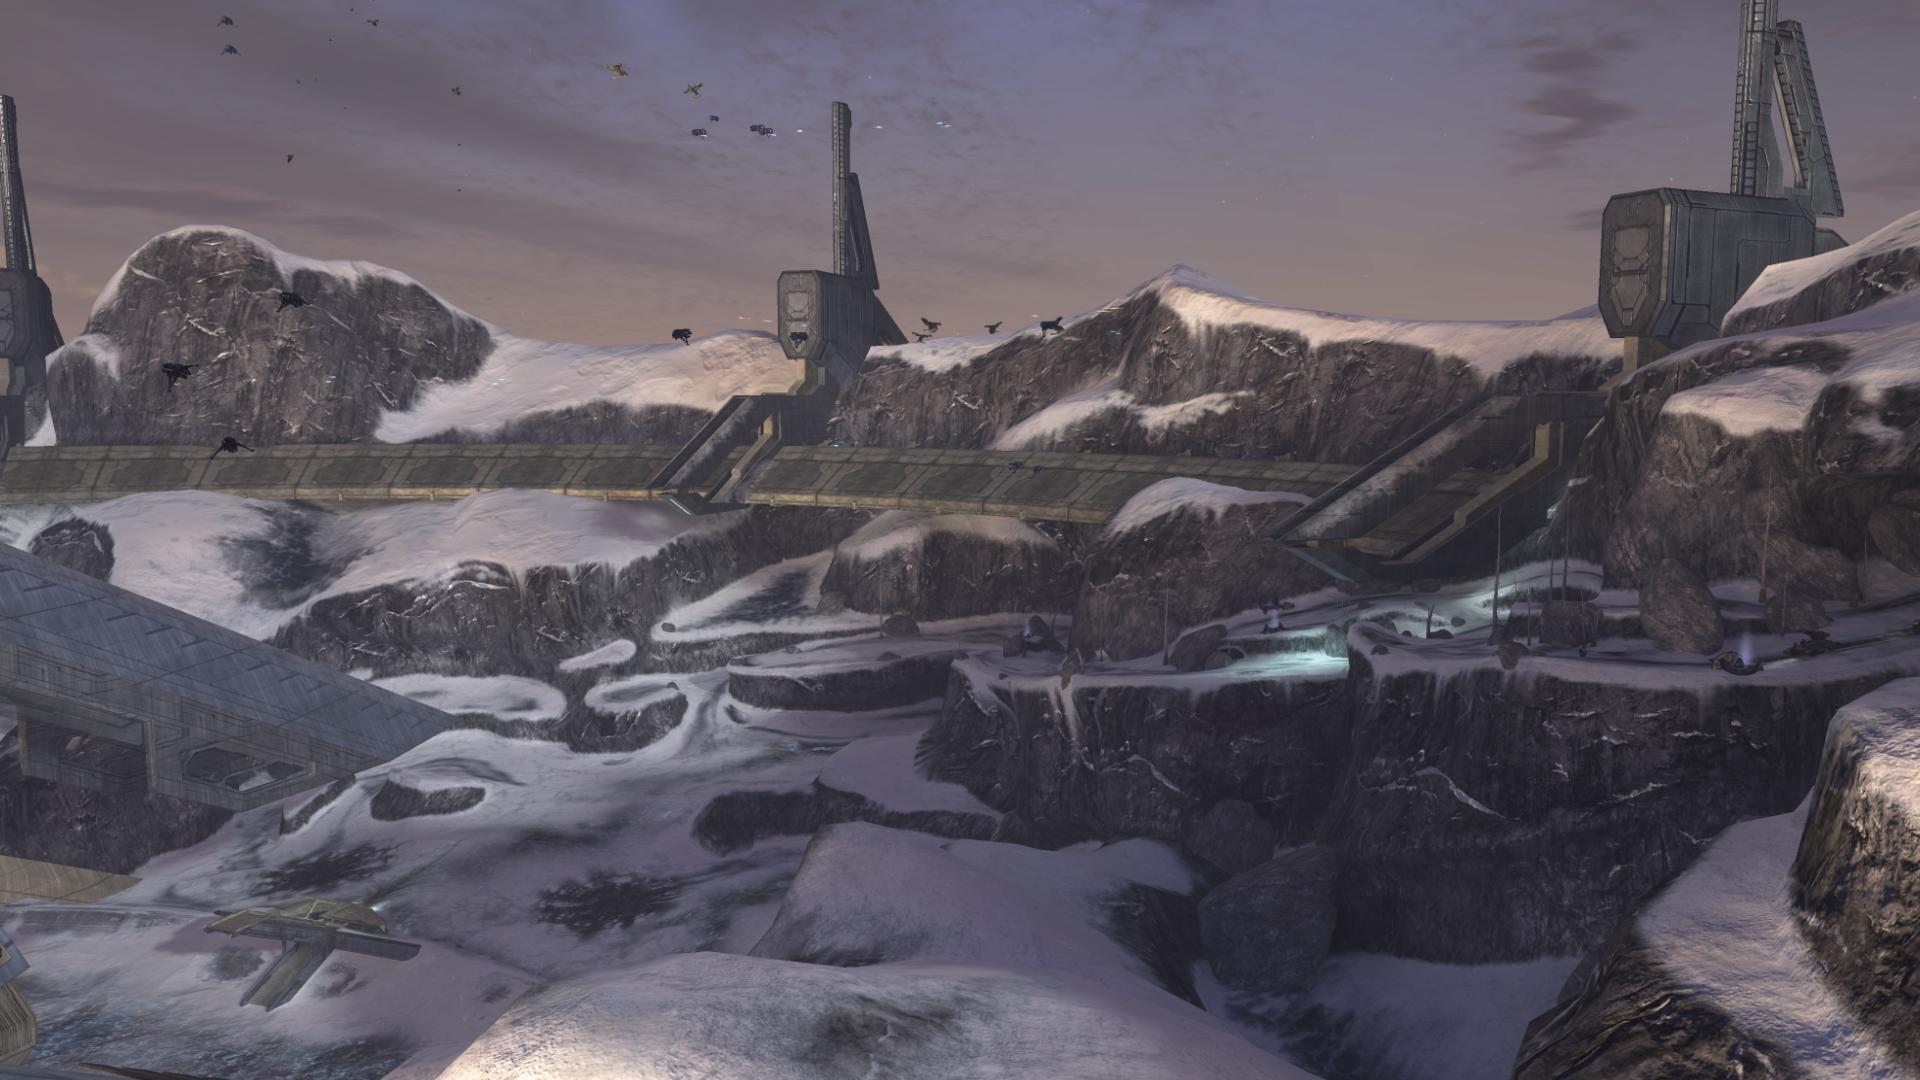
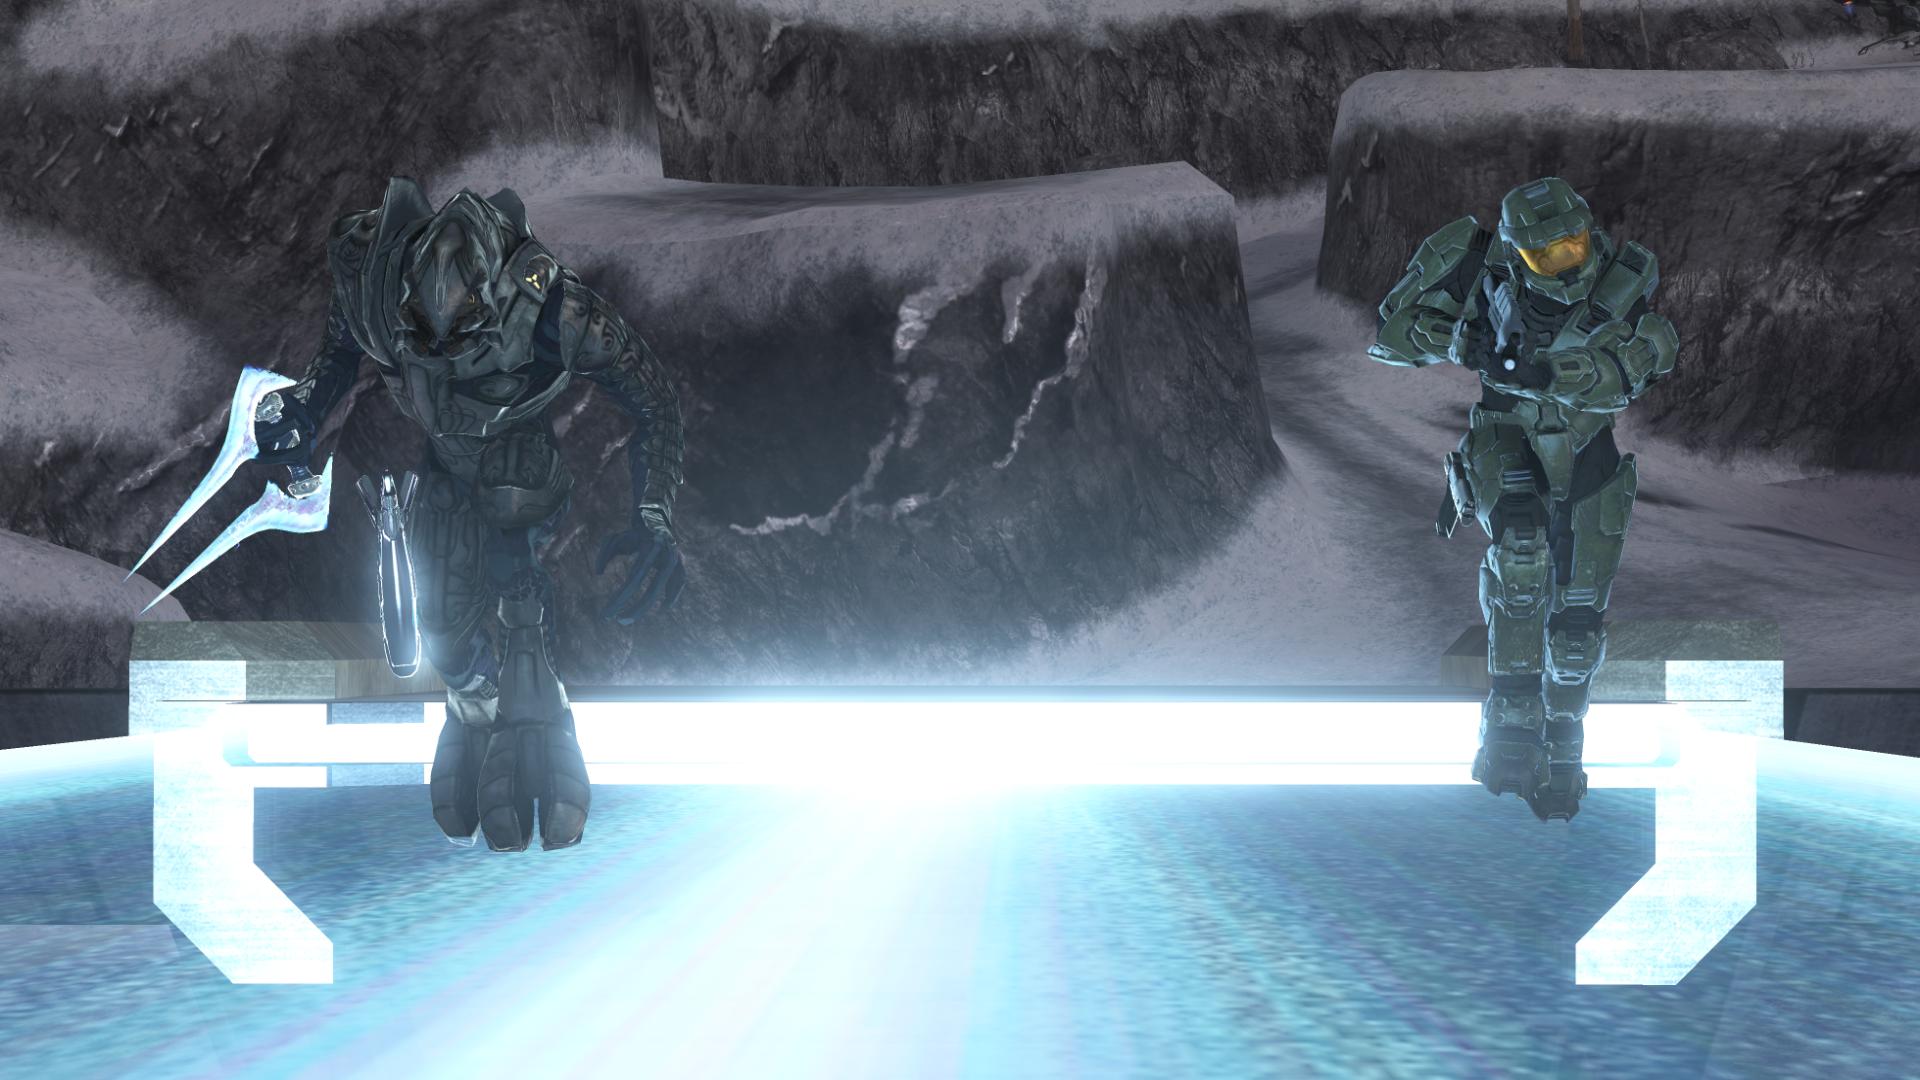
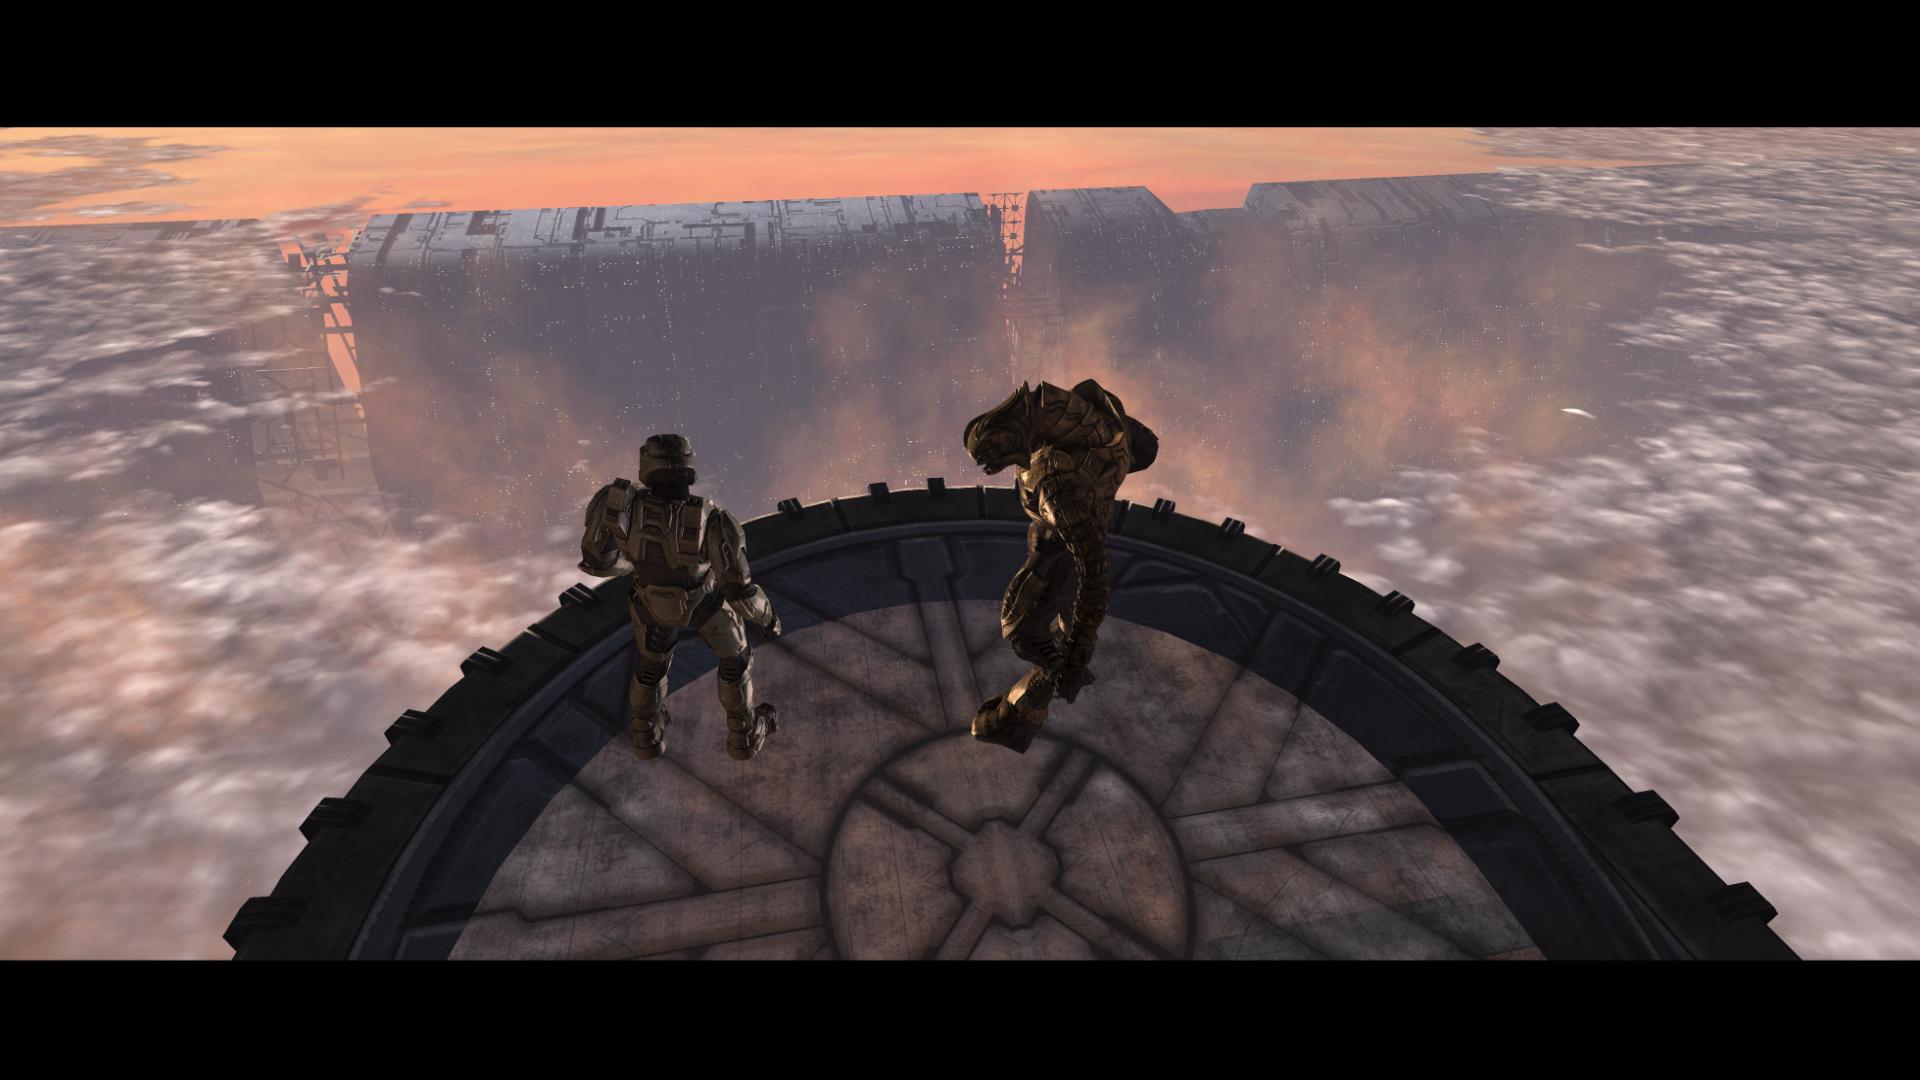
The previous level, The Ark, closed with Miranda declaring that despite something odd going on with the installation’s sentinels, stopping Truth from firing the rings is priority number one. Information gained from the Map Room in the previous level revealed that Truth has triggered a barrier which currently prevents anyone from accessing his present location on the island. The Monitor had noted it “odd” that the Forerunners would put such a defensive system around this particular location. He was interrupted before he could explain. The UNSC and the Elites have put together a strike force intent on disabling this barrier and stopping Truth.
“We hit these three generators and the barrier will fall?”
“A small section, yes.” [The Covenant, Halo 3]
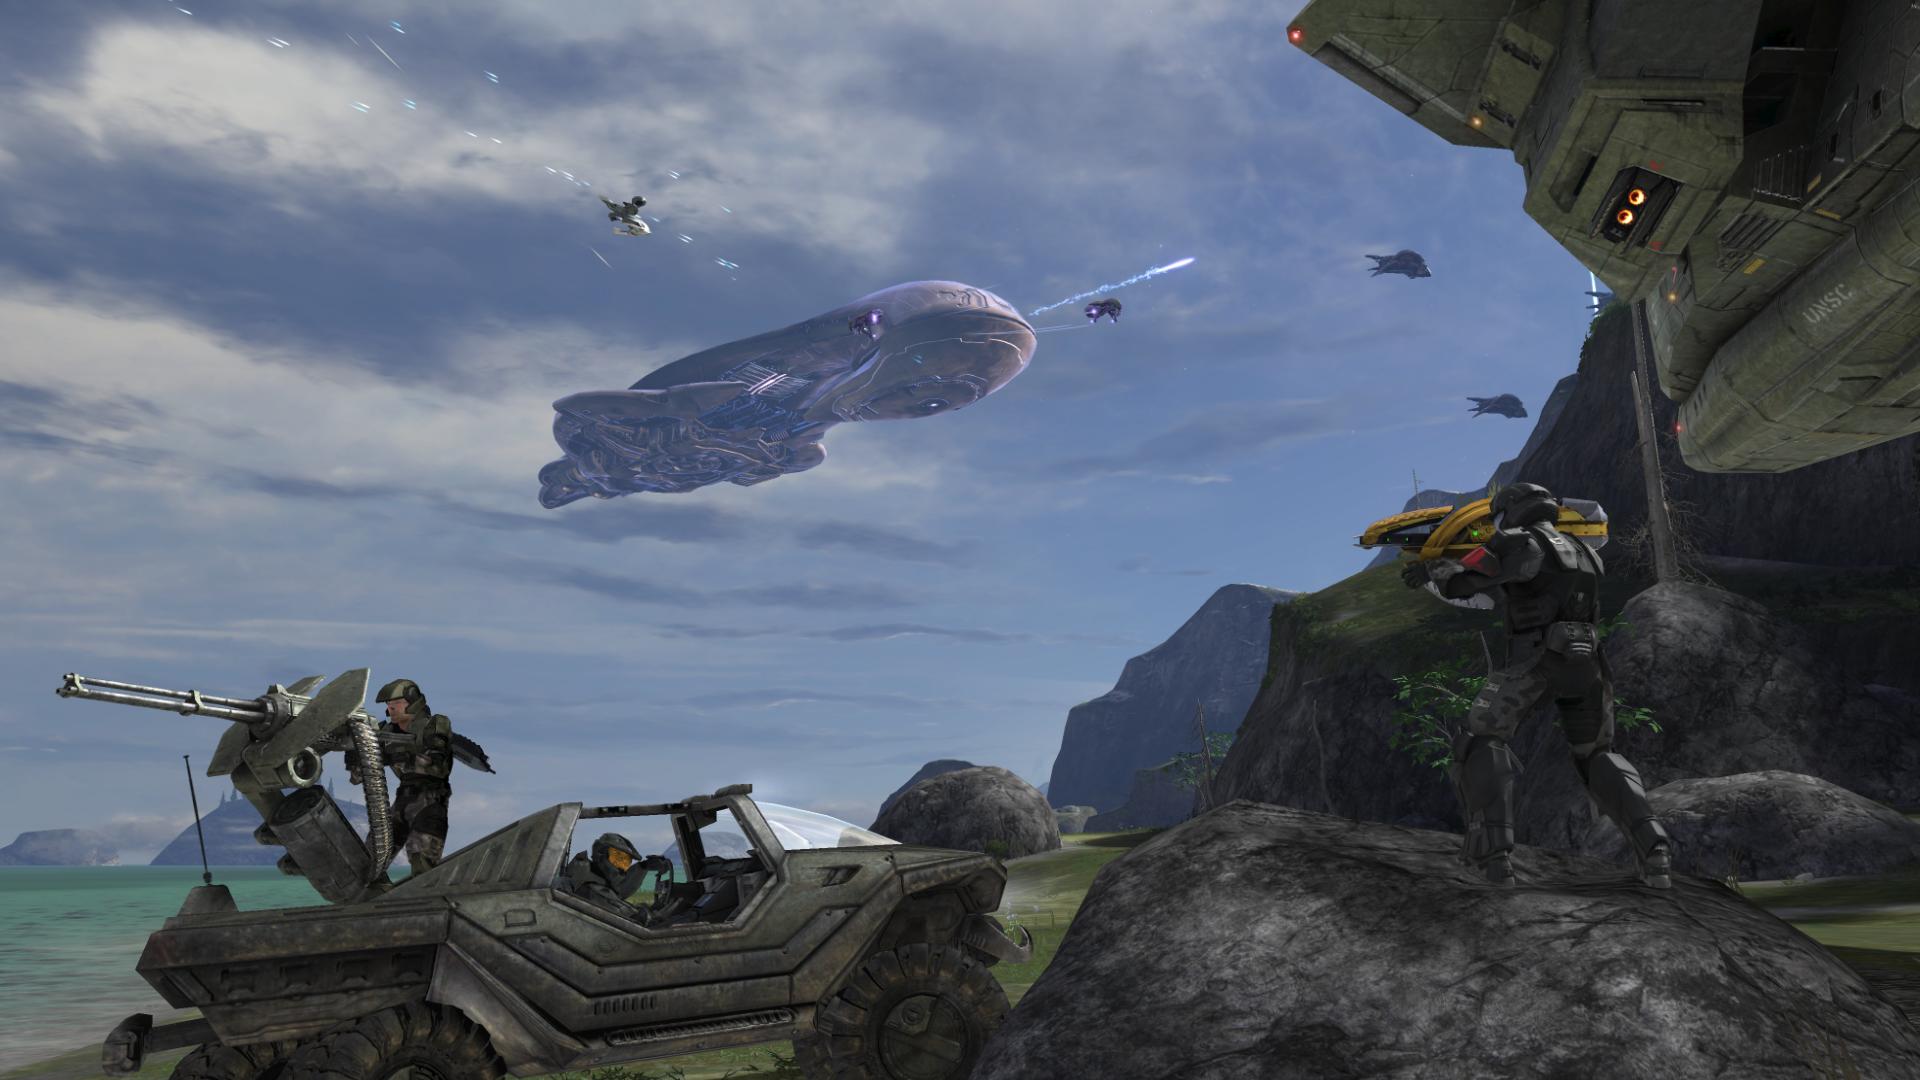
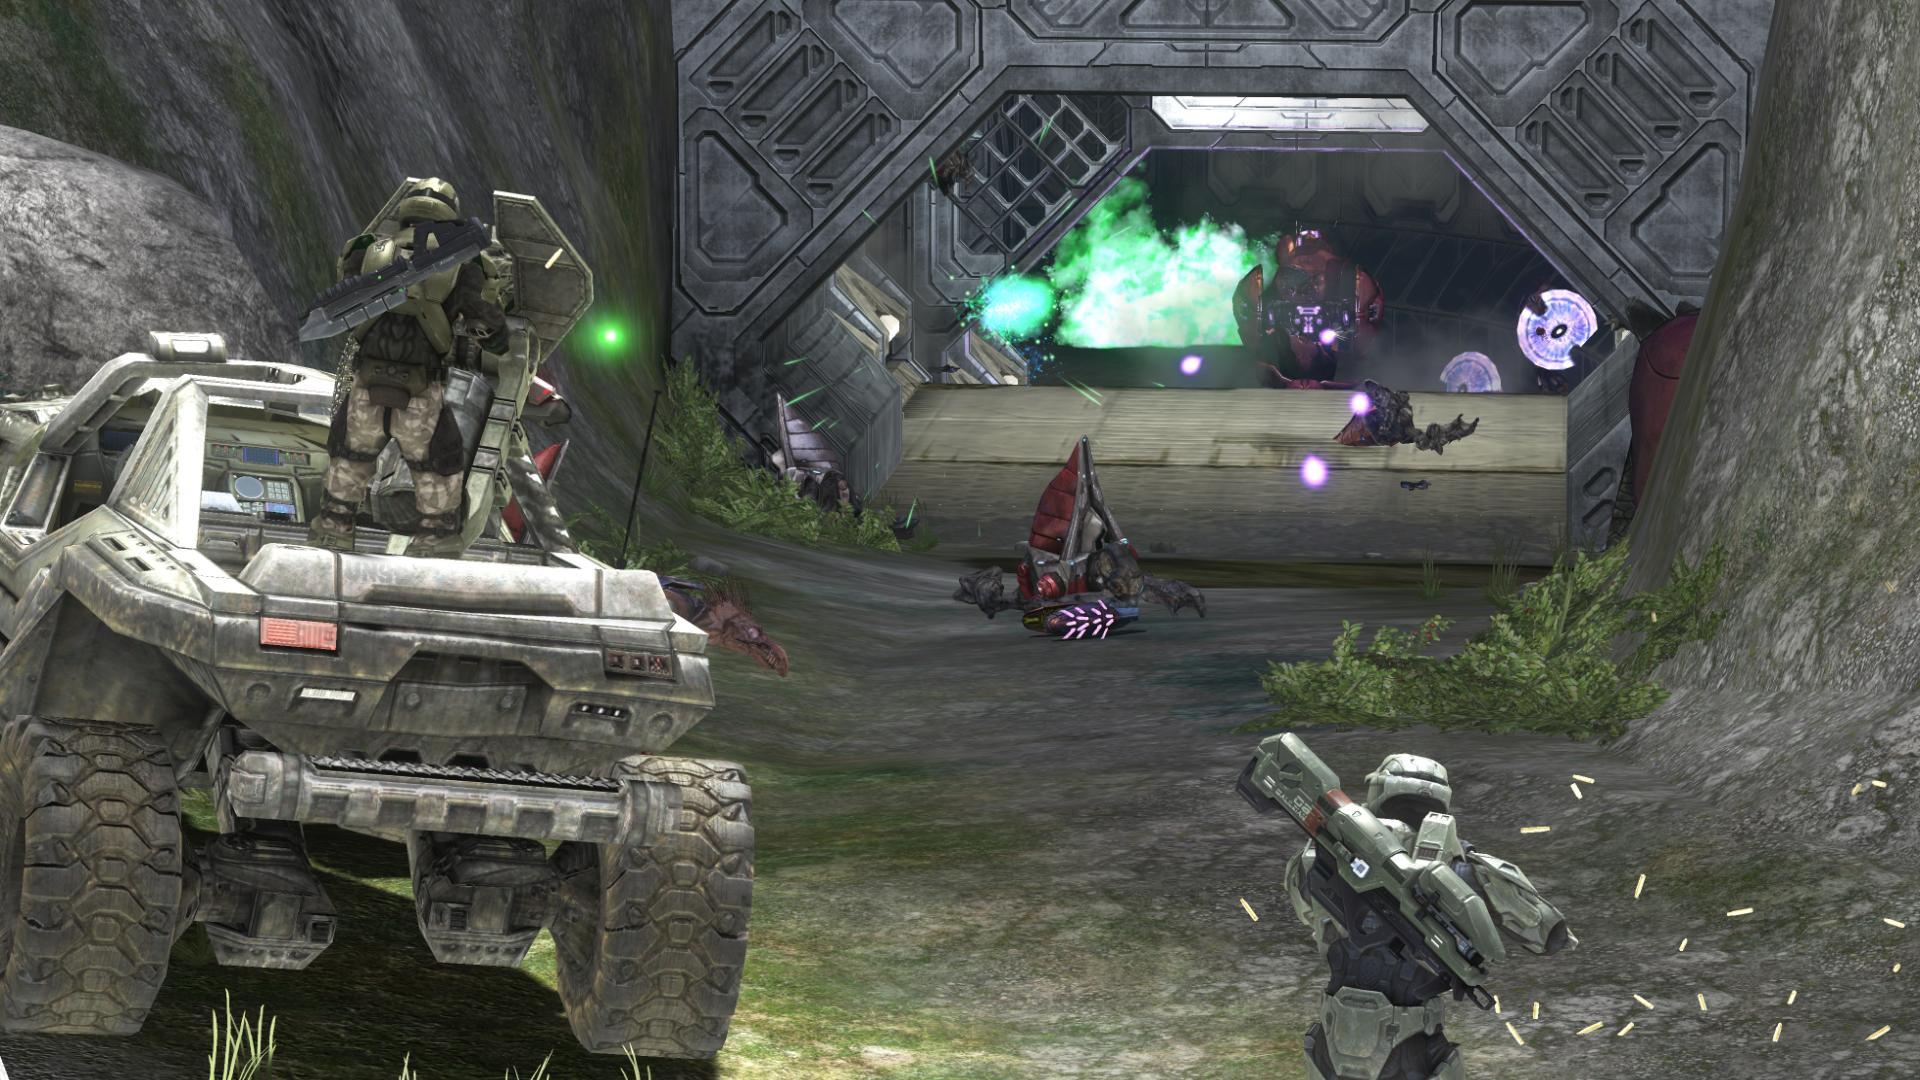
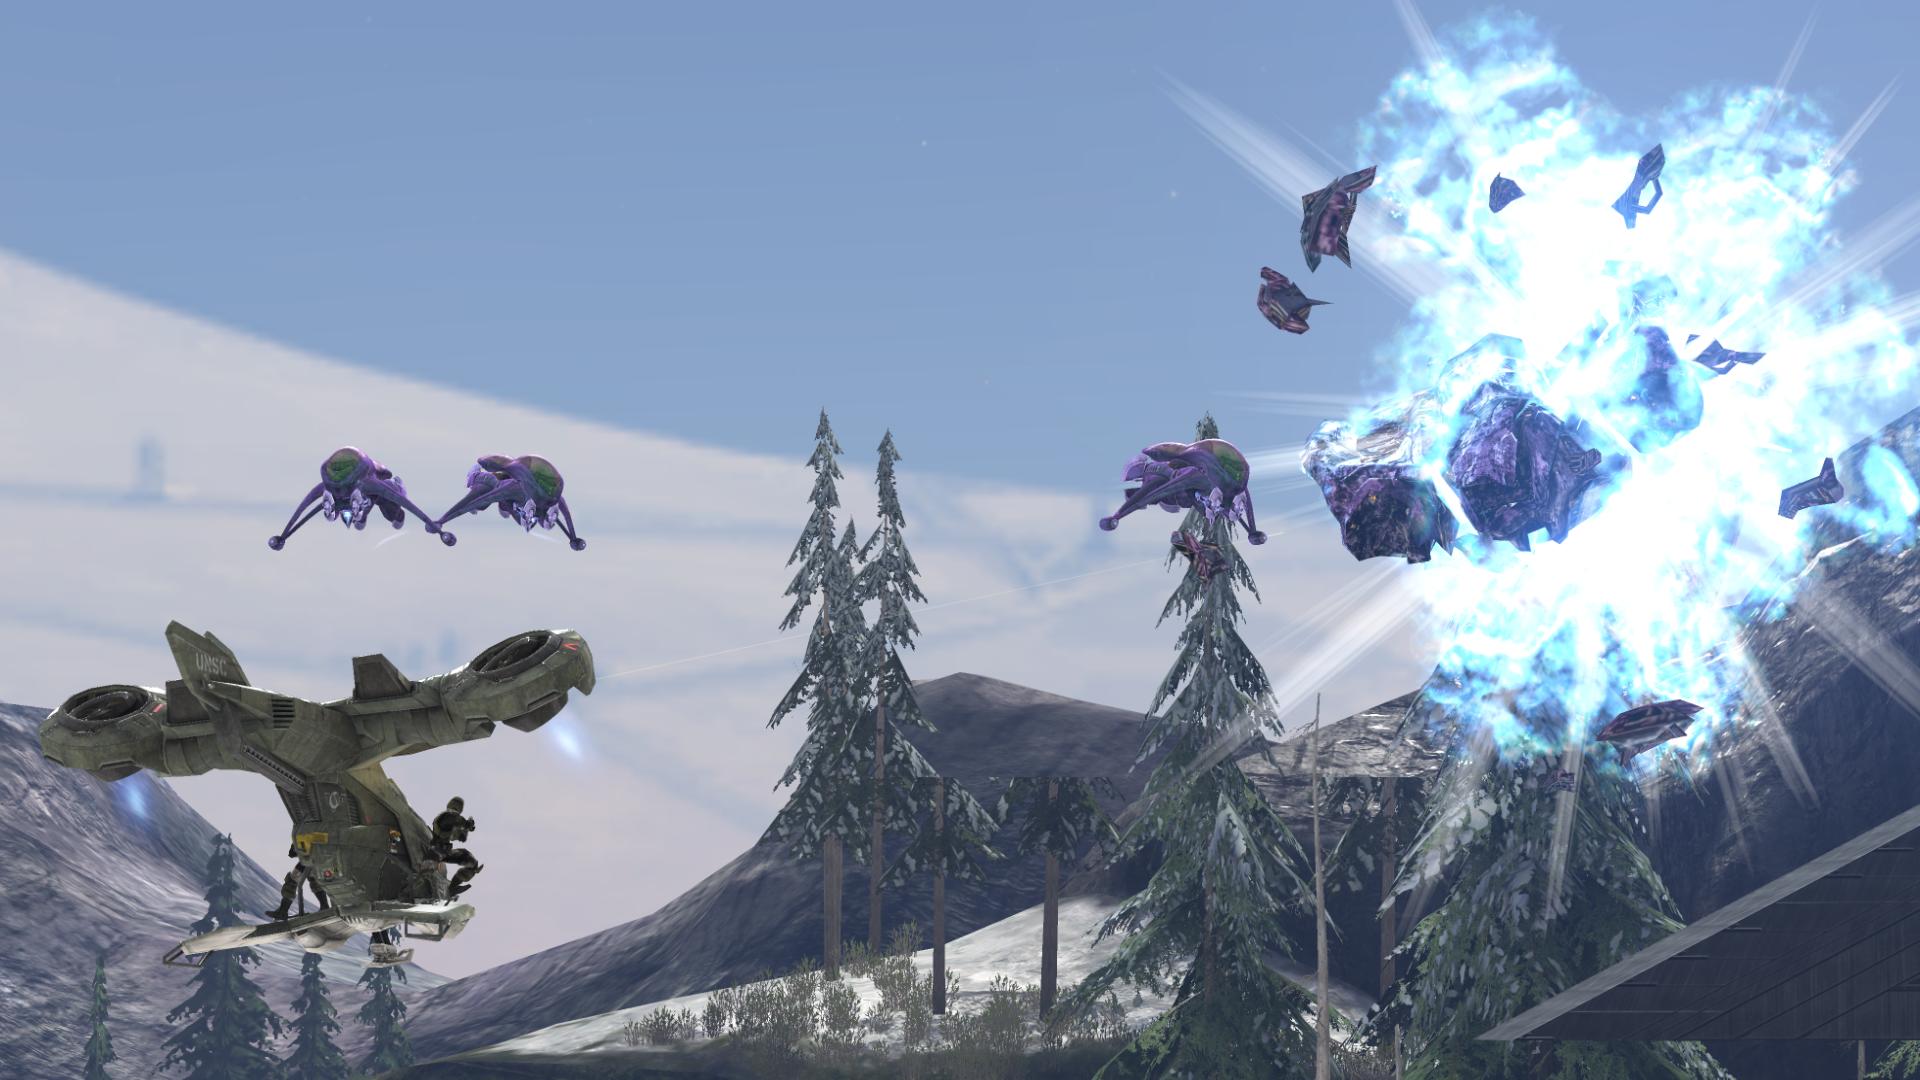
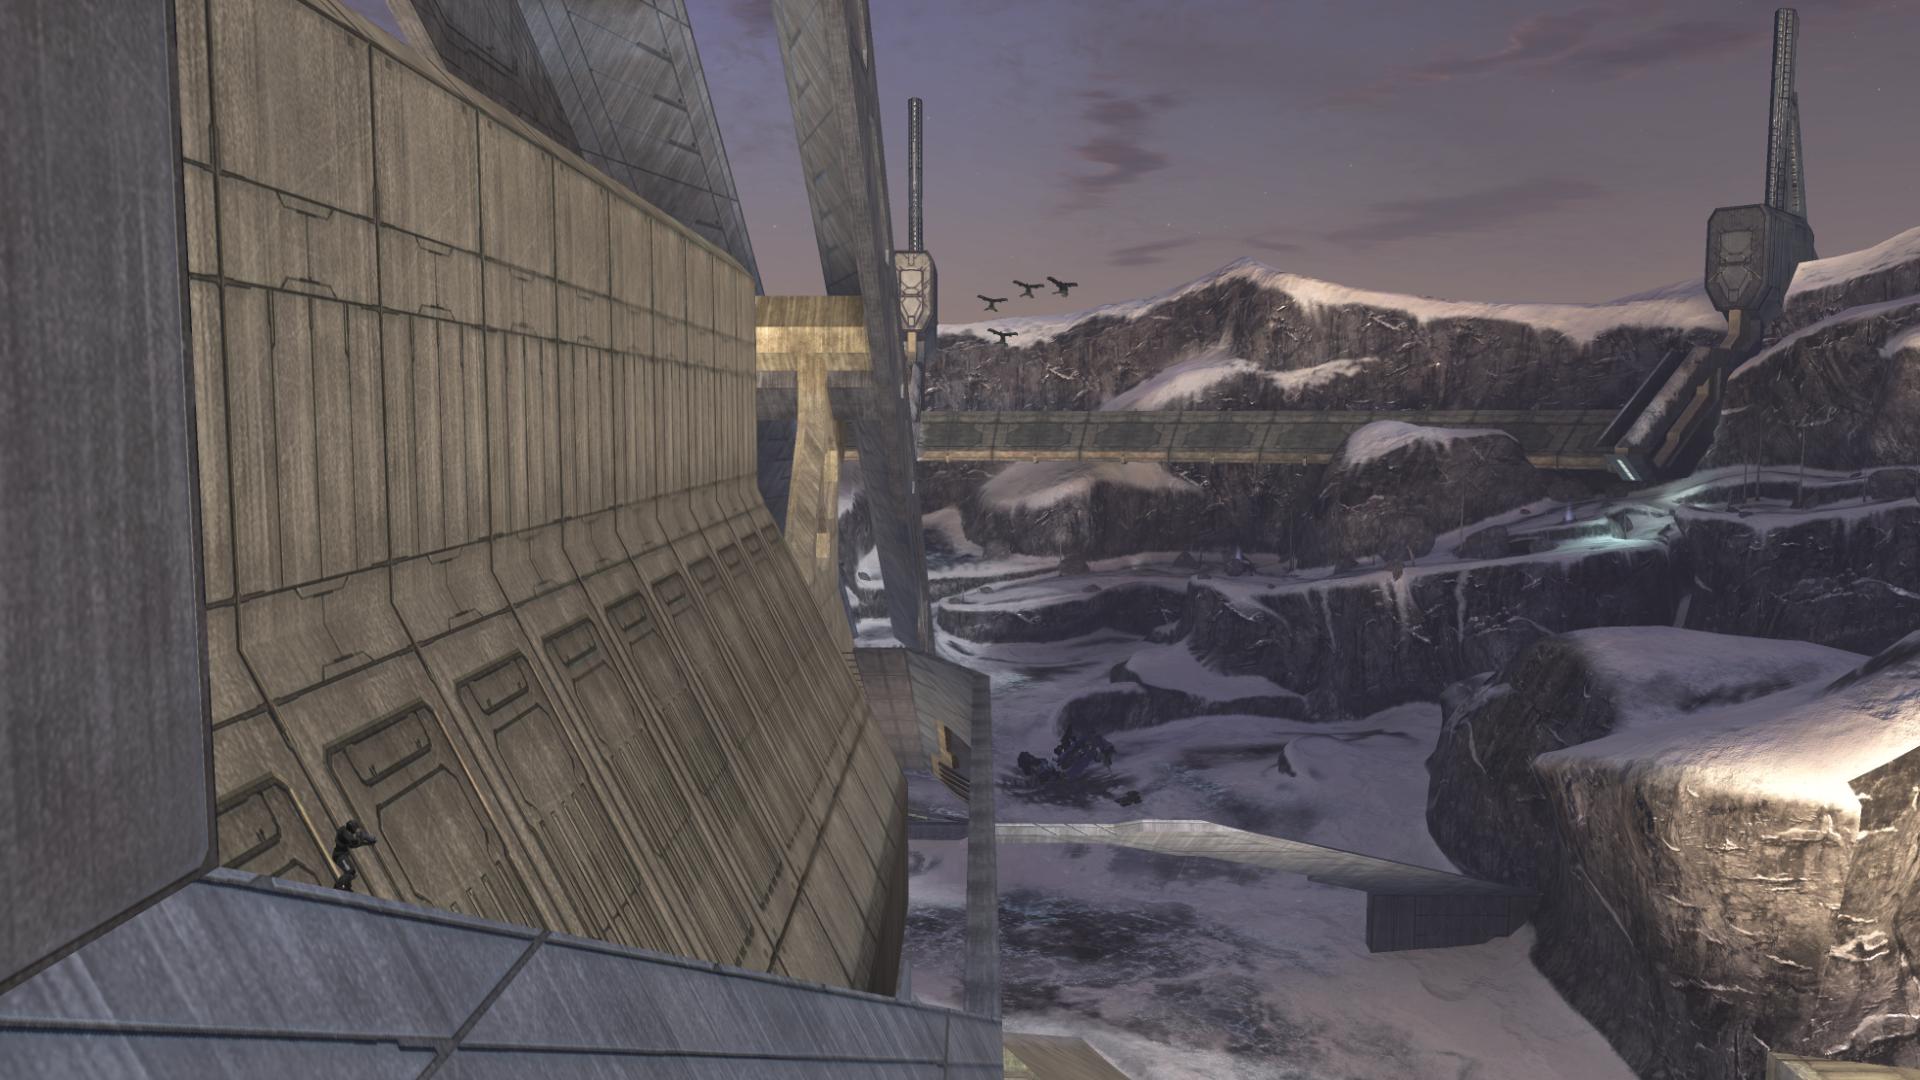
It quickly becomes obvious what is happening: a beach assault. In the previous level, Halo 3 attempted to replicate a fan favorite encounter – the sniper insertion from Halo 1’s Truth and Reconciliation. Another memorable moment from Halo 1 (some might argue the most memorable moment) was the beach assault at the beginning of The Silent Cartographer. However, keeping in step with the rest of Halo 3, the Chief’s mission here is only a single part of a greater plan:
“Johnson, drop the Chief at the first generator, then head to the third. The Elites will punch right down the middle.”
“Roger that.” [The Covenant, Halo 3]
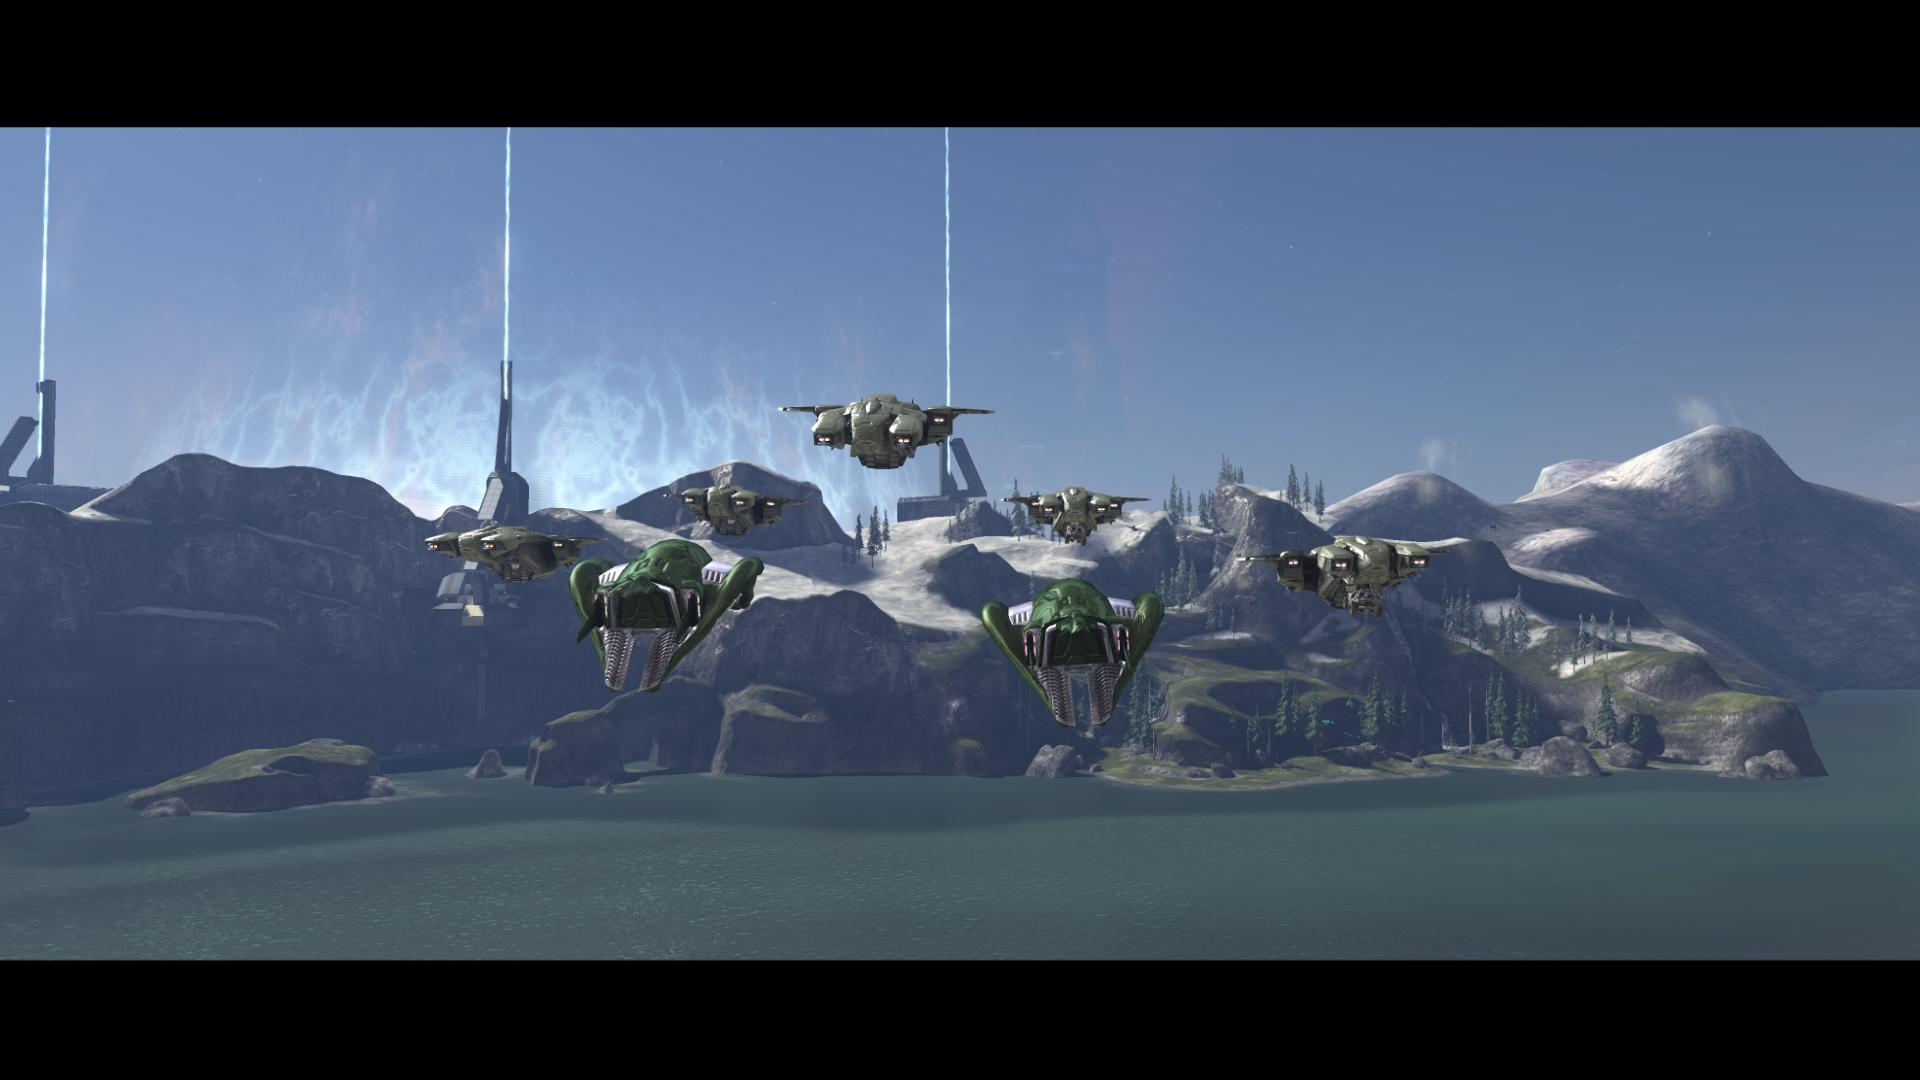
Something noteworthy at this point – there’s a “Grunt surprise” scene in every Halo game: the first game had the Assault on the Control room insertion Grunt, and the second had the Delta Halo Grunt. Halo 3’s Grunt can be found here. The poor guy turns around to see five Pelicans and two Phantoms swooping down in formation.
No plan is perfect, however, and things quickly go awry.
“Charlie, foxtrot! Tower one approach has active triple-A. ” [The Covenant, Halo 3]
“Mayday! I can’t control her!”
“Pelican down, Pelican down!”
“Brace yourselves! We’re going in a little hot!” [The Covenant, Halo 3]
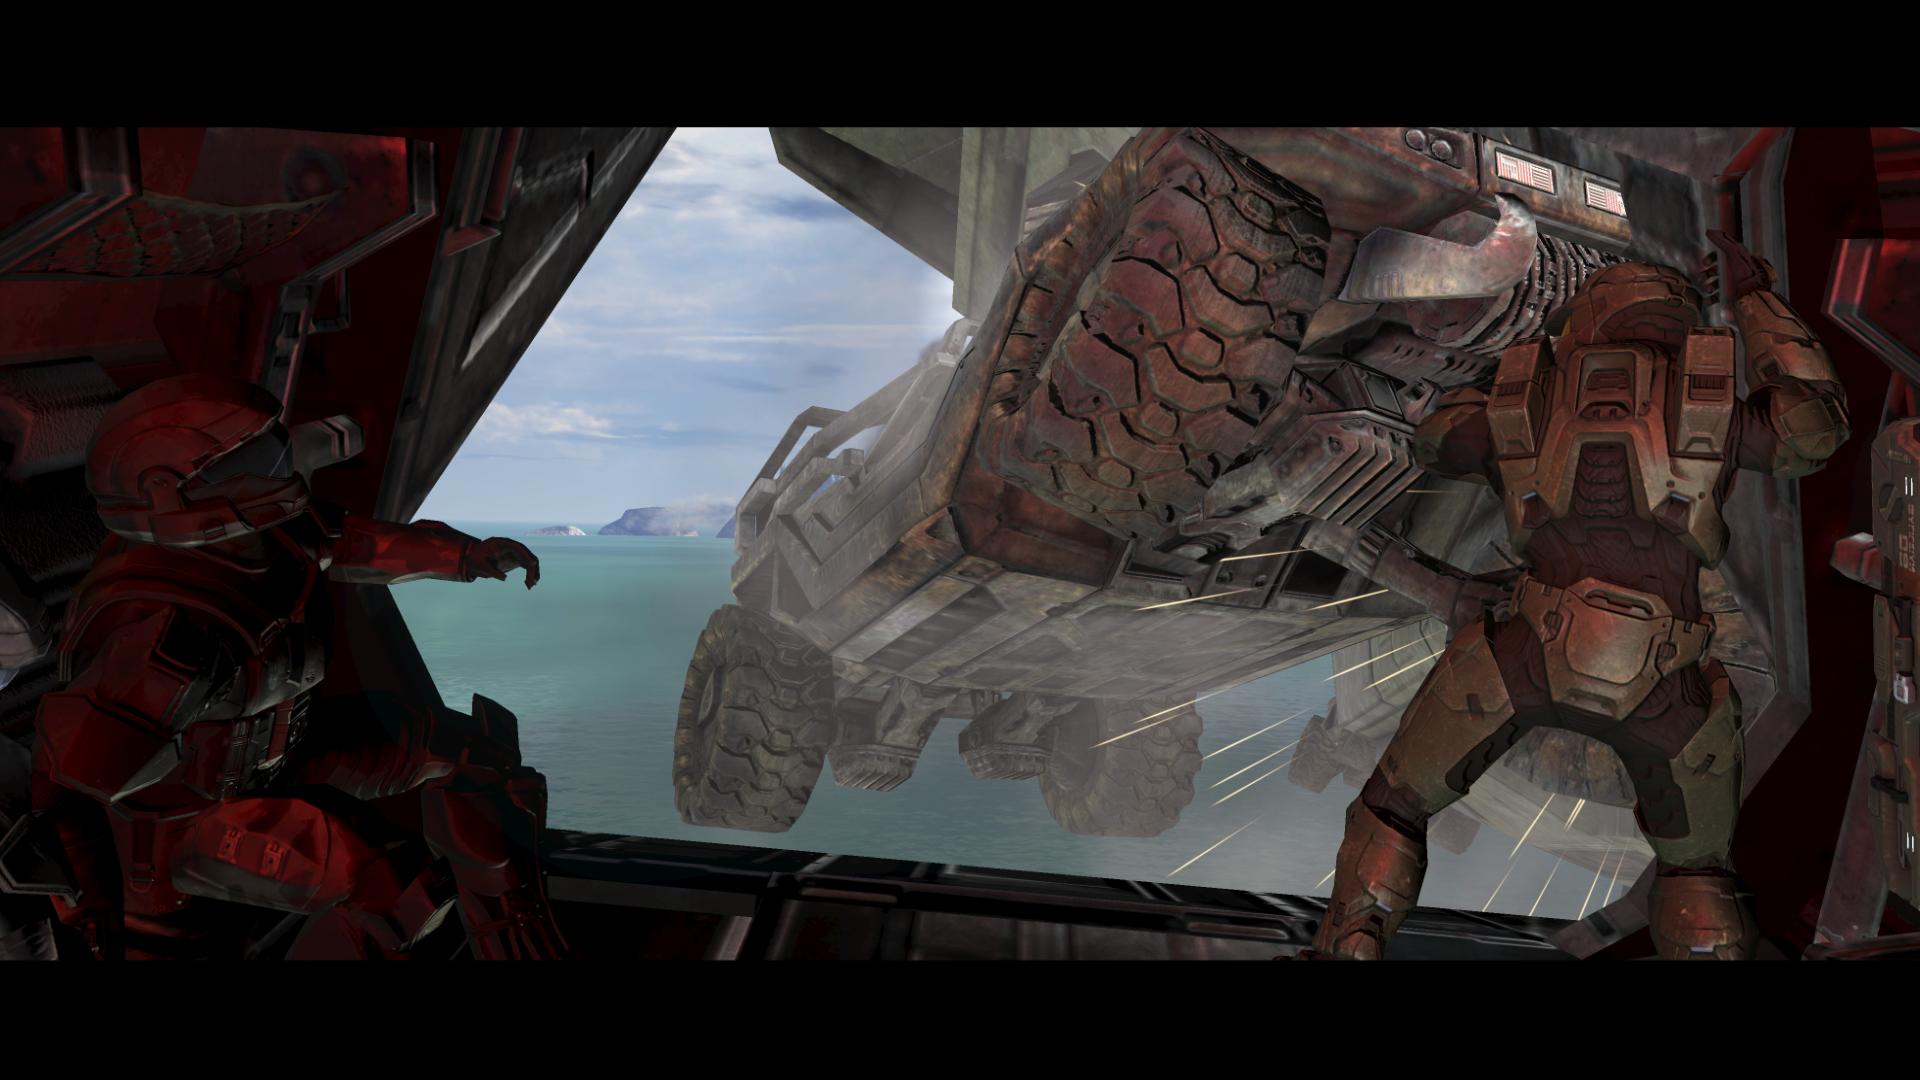
The music has intensified by this point into the classic Halo theme. An Anti-Air Wraith mortar hits the Pelican to the rear and it launches forward; the Warthog that the Chief’s Pelican was carrying slams into the passenger bay. Things are not going like they did before, on Installation 04.
The Chief does something here that is really interesting:
After the Warthog flips away and the disabled Pelican spirals downward, he briefly turns and looks at the ODST seated across from him, seemingly in a “did that just happen?” gesture. For a character that typically holds about him an air of confidence and control, this moment is telling: he is, ultimately, just a man. However, he quickly regains composure and grabs a Spartan Laser as the Pelican lands.
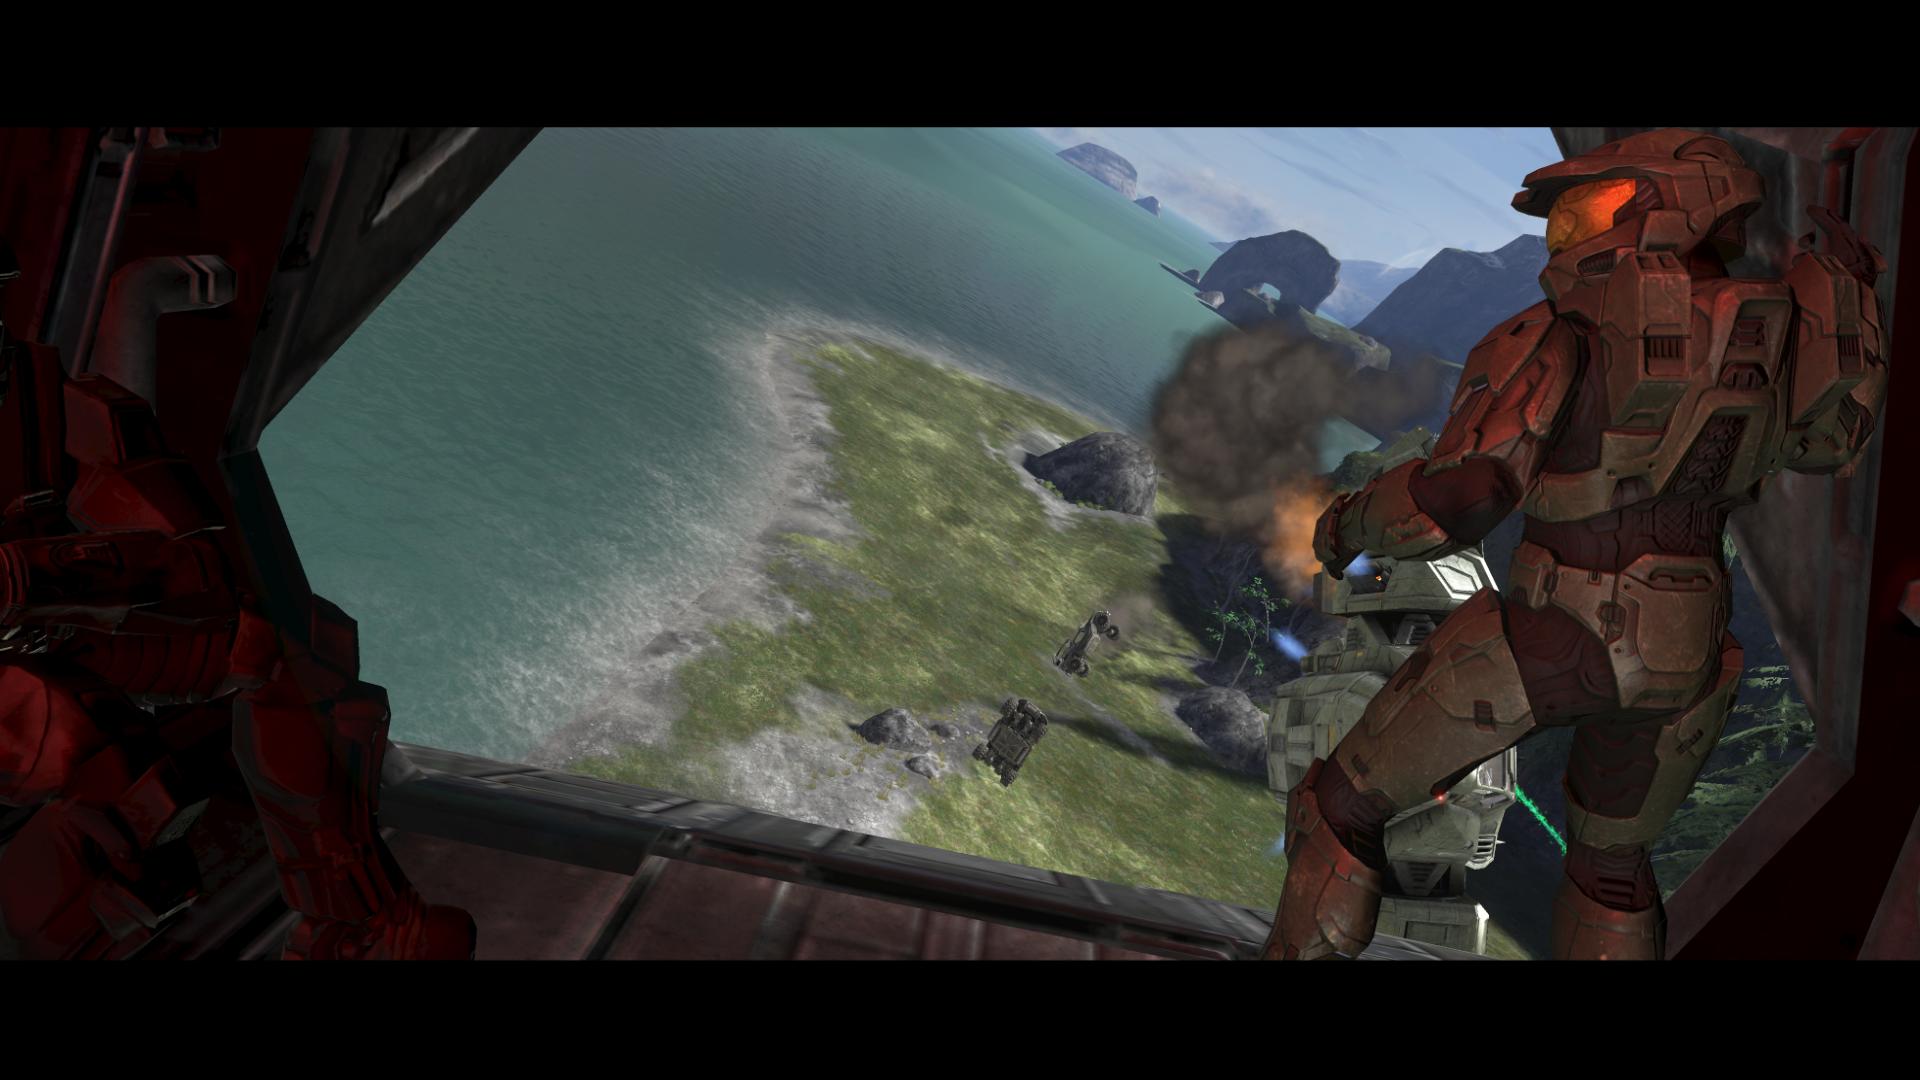
“Pile out, go, go, go! Up the beach, kill that Wraith!” [The Covenant, Halo 3]
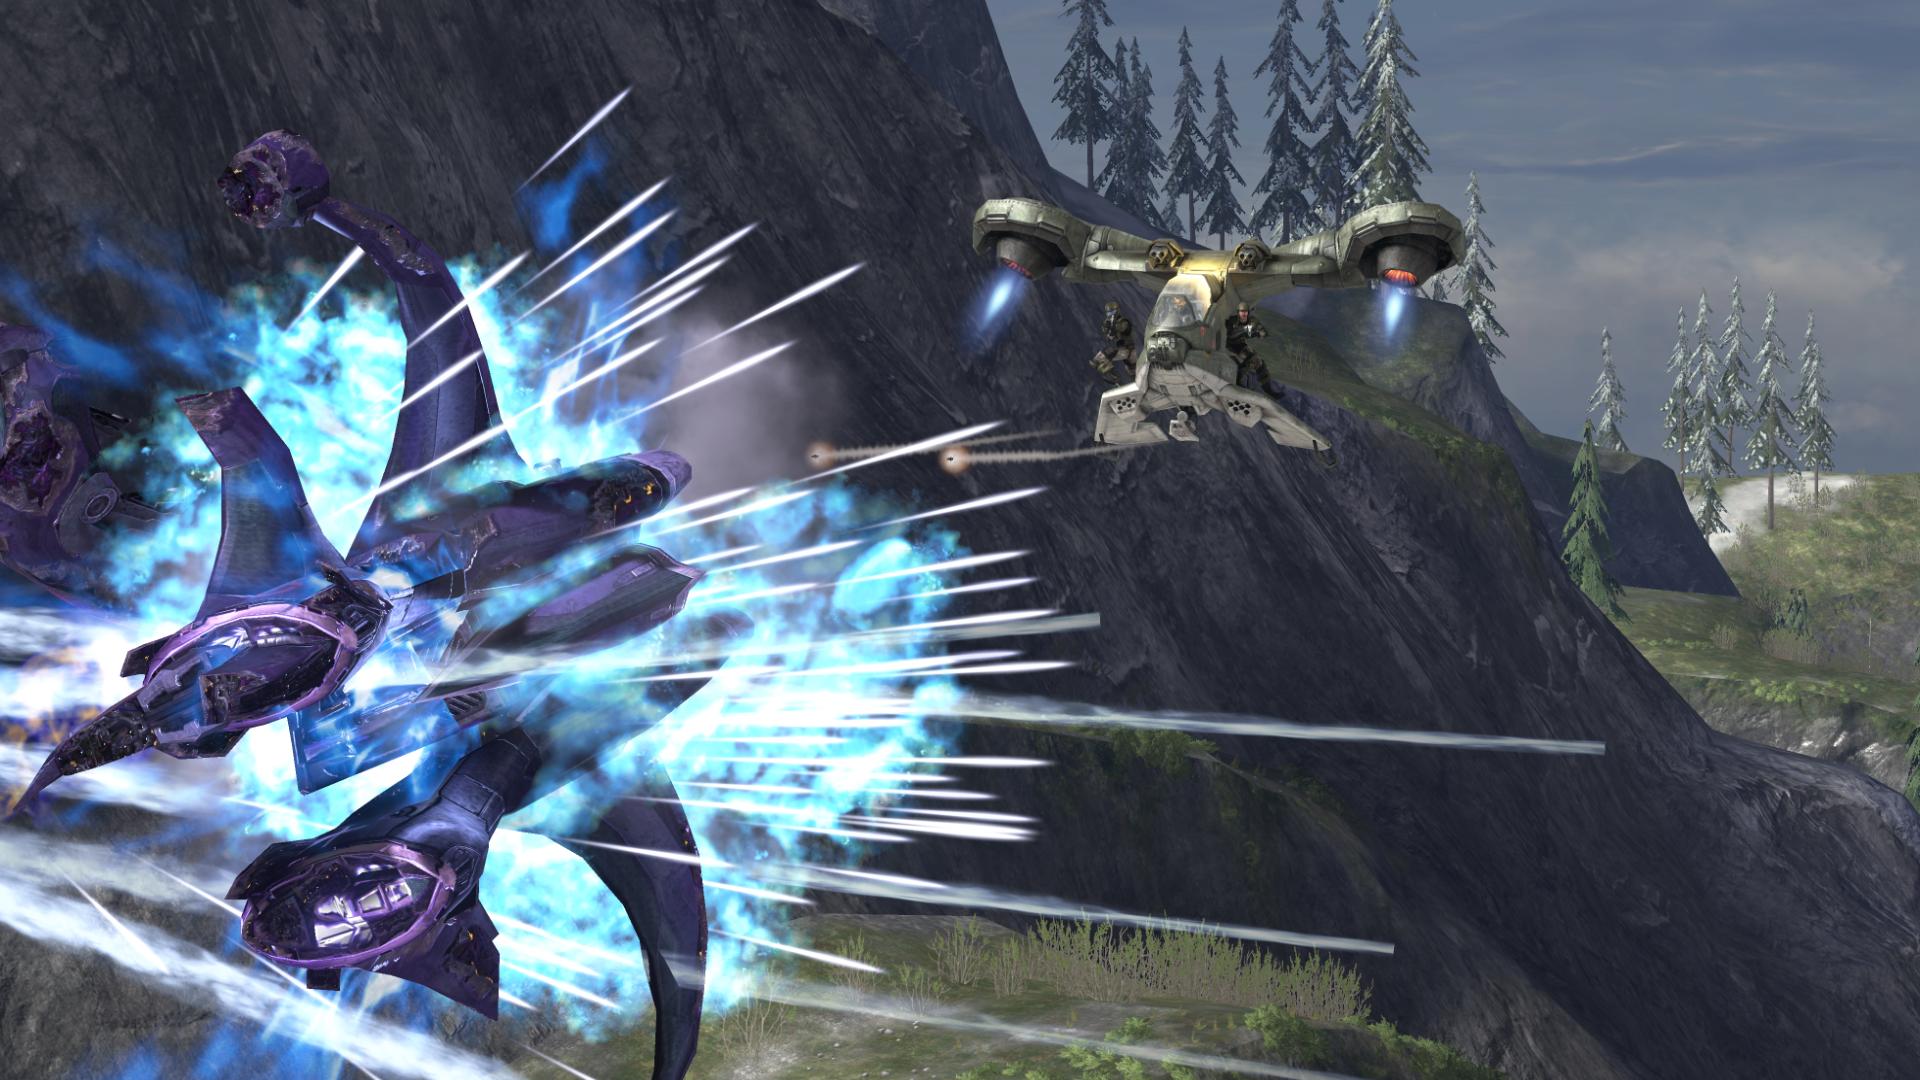
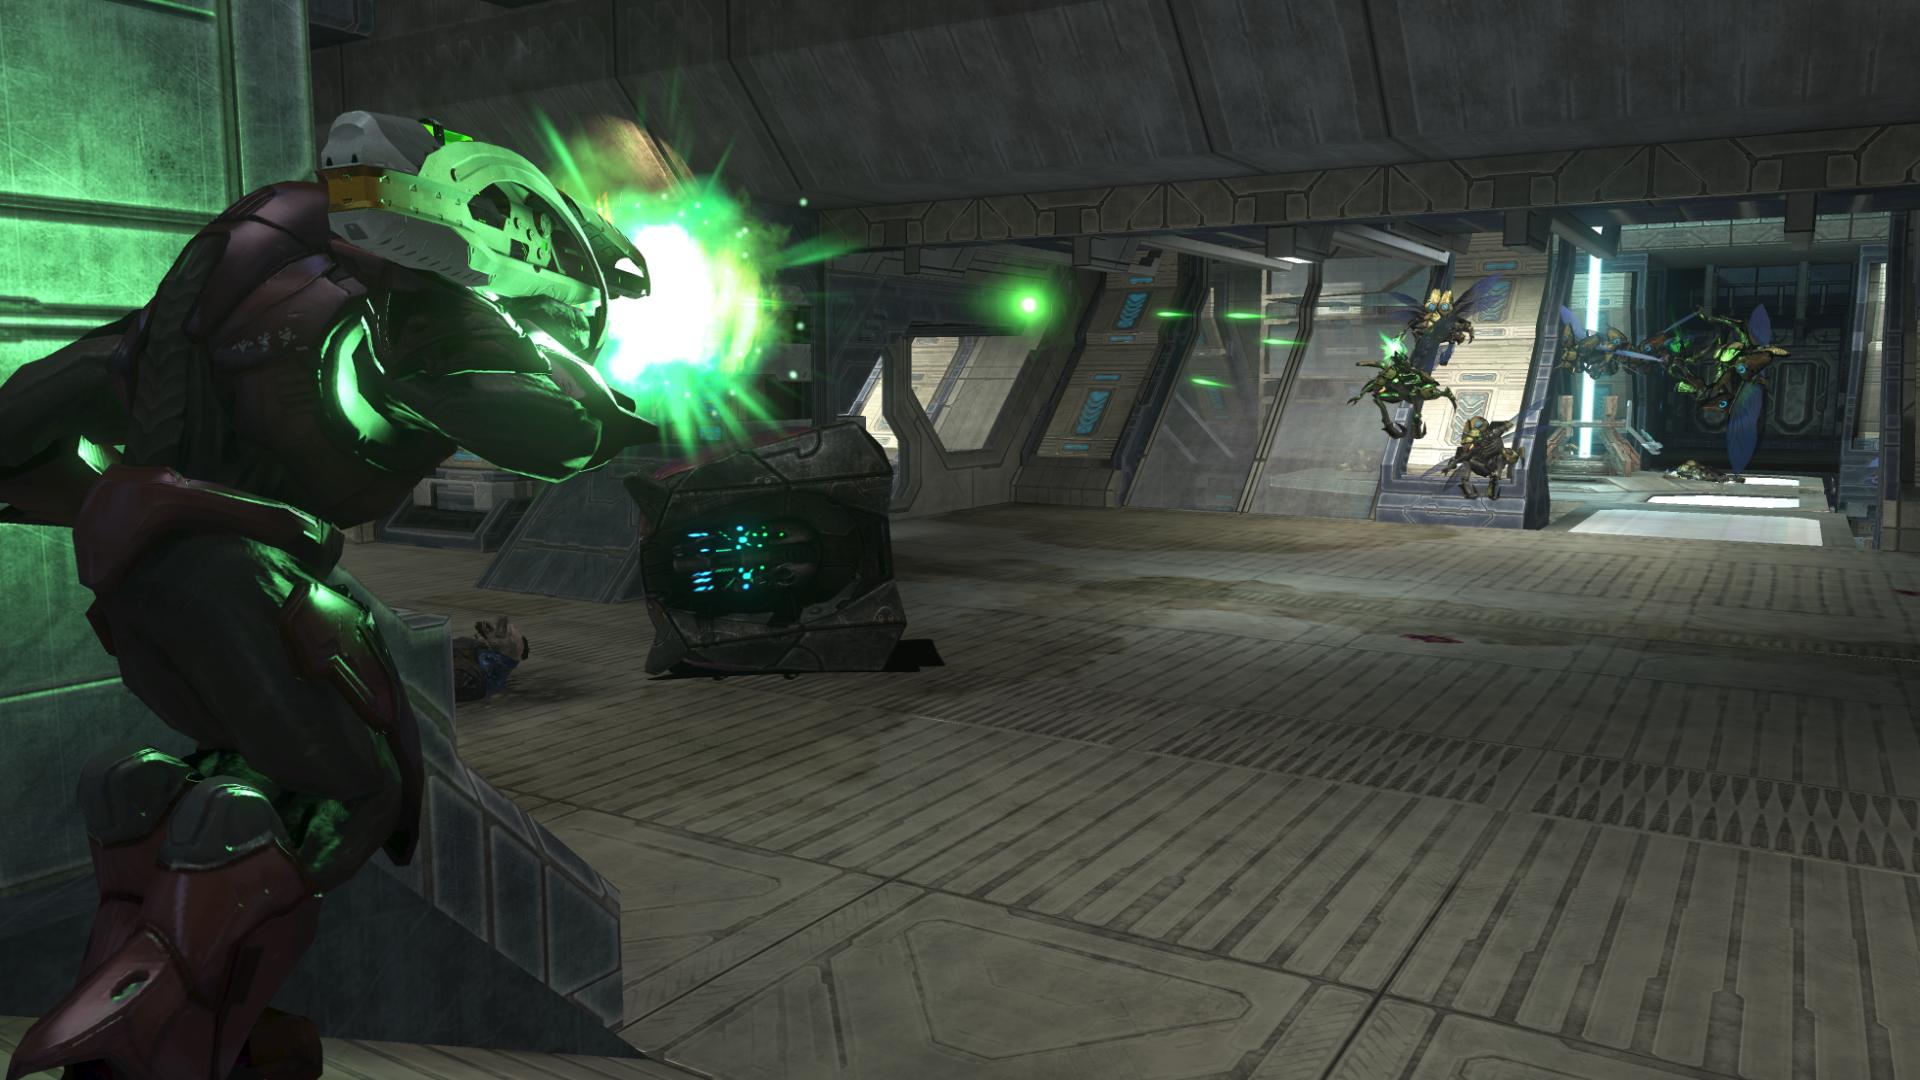
Sergeant Reynolds commands the troops; and the Spartan Laser’s purpose is quickly revealed: two turrets up ahead begin pounding the UNSC landing force. There’s a lot going on in this encounter: the Grunts and the Brutes attacking you up close, the AA Wraith firing up ahead, the Banshee/Hornet battles taking place above, and the Shadow of Intent holding position in the sky. And it all works.

The entire encounter is just amazing; just like The Silent Cartographer’s objective of “clear the beach,” this battle has the same goal. Except, in this case, you can see, and hear, the finish line throughout the entire battle: the AA Wraith firing continuously.
The last hurdle before reaching the Wraith is a Brute Chieftain wielding a Fuel Rod Gun. As always, the blasts will track you, so taking down this guy can be tough, especially since one of his comrades will often drop a Regenerator. Fighting around the downed Pelican makes for a good-looking battleground, though.
As soon as you’ve taken out all of the troops, watch out! The AA Wraith will often turn around and start firing on you as it realizes its impending doom.
After taking out the AAA, the beach is now safe enough for more supplies to be ferried in.
“Beachhead secure, commander! Hostile anti-air has been neutralized.”
“Hold position, I’m on my way. Shipmaster, begin diversionary bombardment.”
“I will beat the Prophet’s shield like a drum. By the time the barrier falls, he will beg for mercy.” [The Covenant, Halo 3]
A lot of players may miss the fact that the Shadow of Intent does actually begin to fire bursts of plasma at the shield, in order to, like Miranda said, distract Truth and his troops from the land assault.
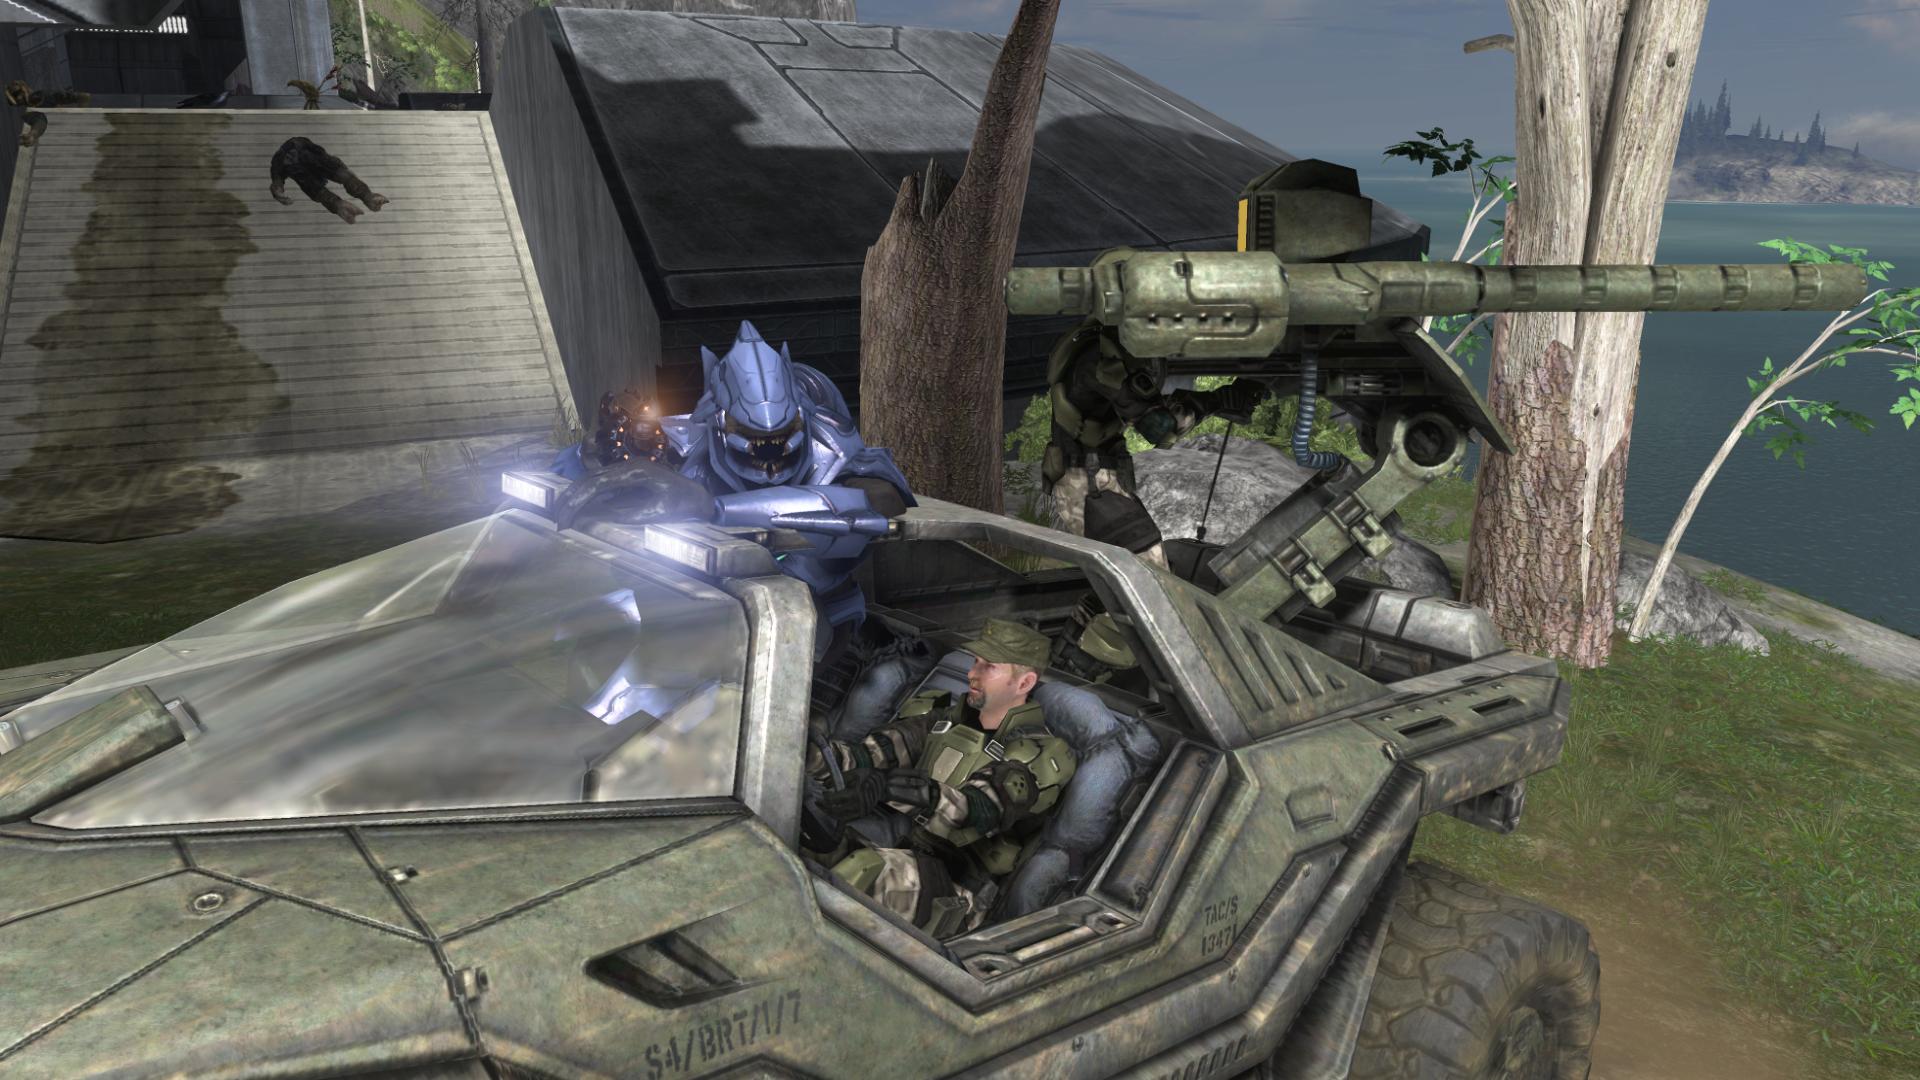
As you might recall from previous articles, one thing that I find particularly fun is handing off power weapons to Marines to use while in the passenger seat of vehicles. This section can be really fun since you can theoretically have a Marine with a Fuel Rod Gun as well as a Marine with the Spartan Laser.
And putting one of those weapons in a Marine’s hands is almost a requirement for getting past the two Banshees patrolling overhead; their plasma fire will quickly end you if they’re not dispatched.
Moving up the hill and into the canyon, you’ll run across some Ghosts and a small Covenant encampment. My Marine gunner said to me one time as I approached the enemies: “Keep ‘er steady and I’ll clean up the mess!”
“Ma’am, we’re on the ground; third tower in sight.”
“Good. The Arbiter and the Elites have touched down at number two.” [The Covenant, Halo 3]
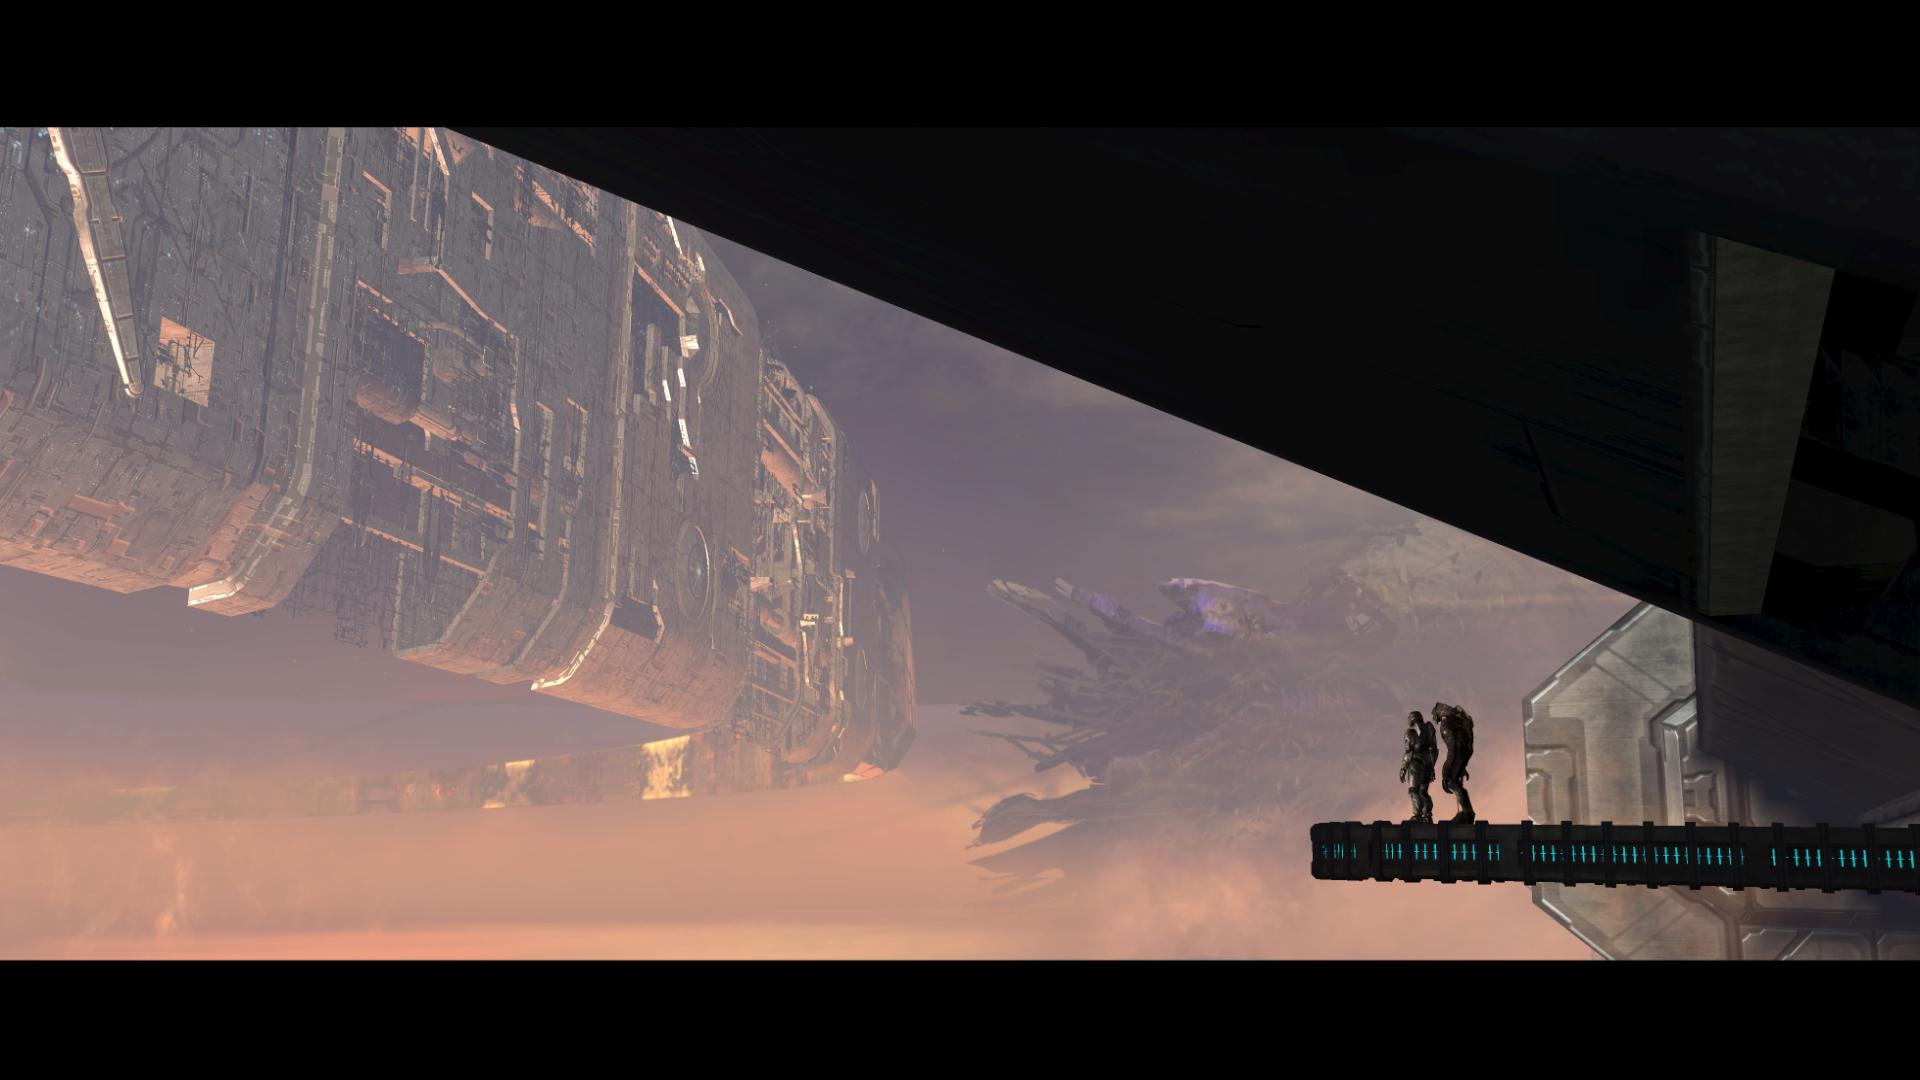
Being back on a Forerunner installation, I can’t help but compare the current mission to the days spent back on Installation 04. Back then, the Chief’s time was spent scrambling, trying to help soldiers from the Autumn regroup and get their bearings on new, foreign soil, whilst simultaneously attempting to track the Covenant and solve the mysteries of the ringworld. This time, however, things are different: with the help of the Elites, the Covenant’s space fleet has been destroyed, their greatest advantage over humanity eliminated. Truth’s only option is to keep one step ahead of the UNSC-Sangheili forces – and, so far, he’s doing a good job. The combined forces of the humans and Elites, however, are closing the gap. No longer scrambling around, barely staying alive, the UNSC’s troops are now being commanded: Miranda sits safely in orbit, directing the actions of her forces below.
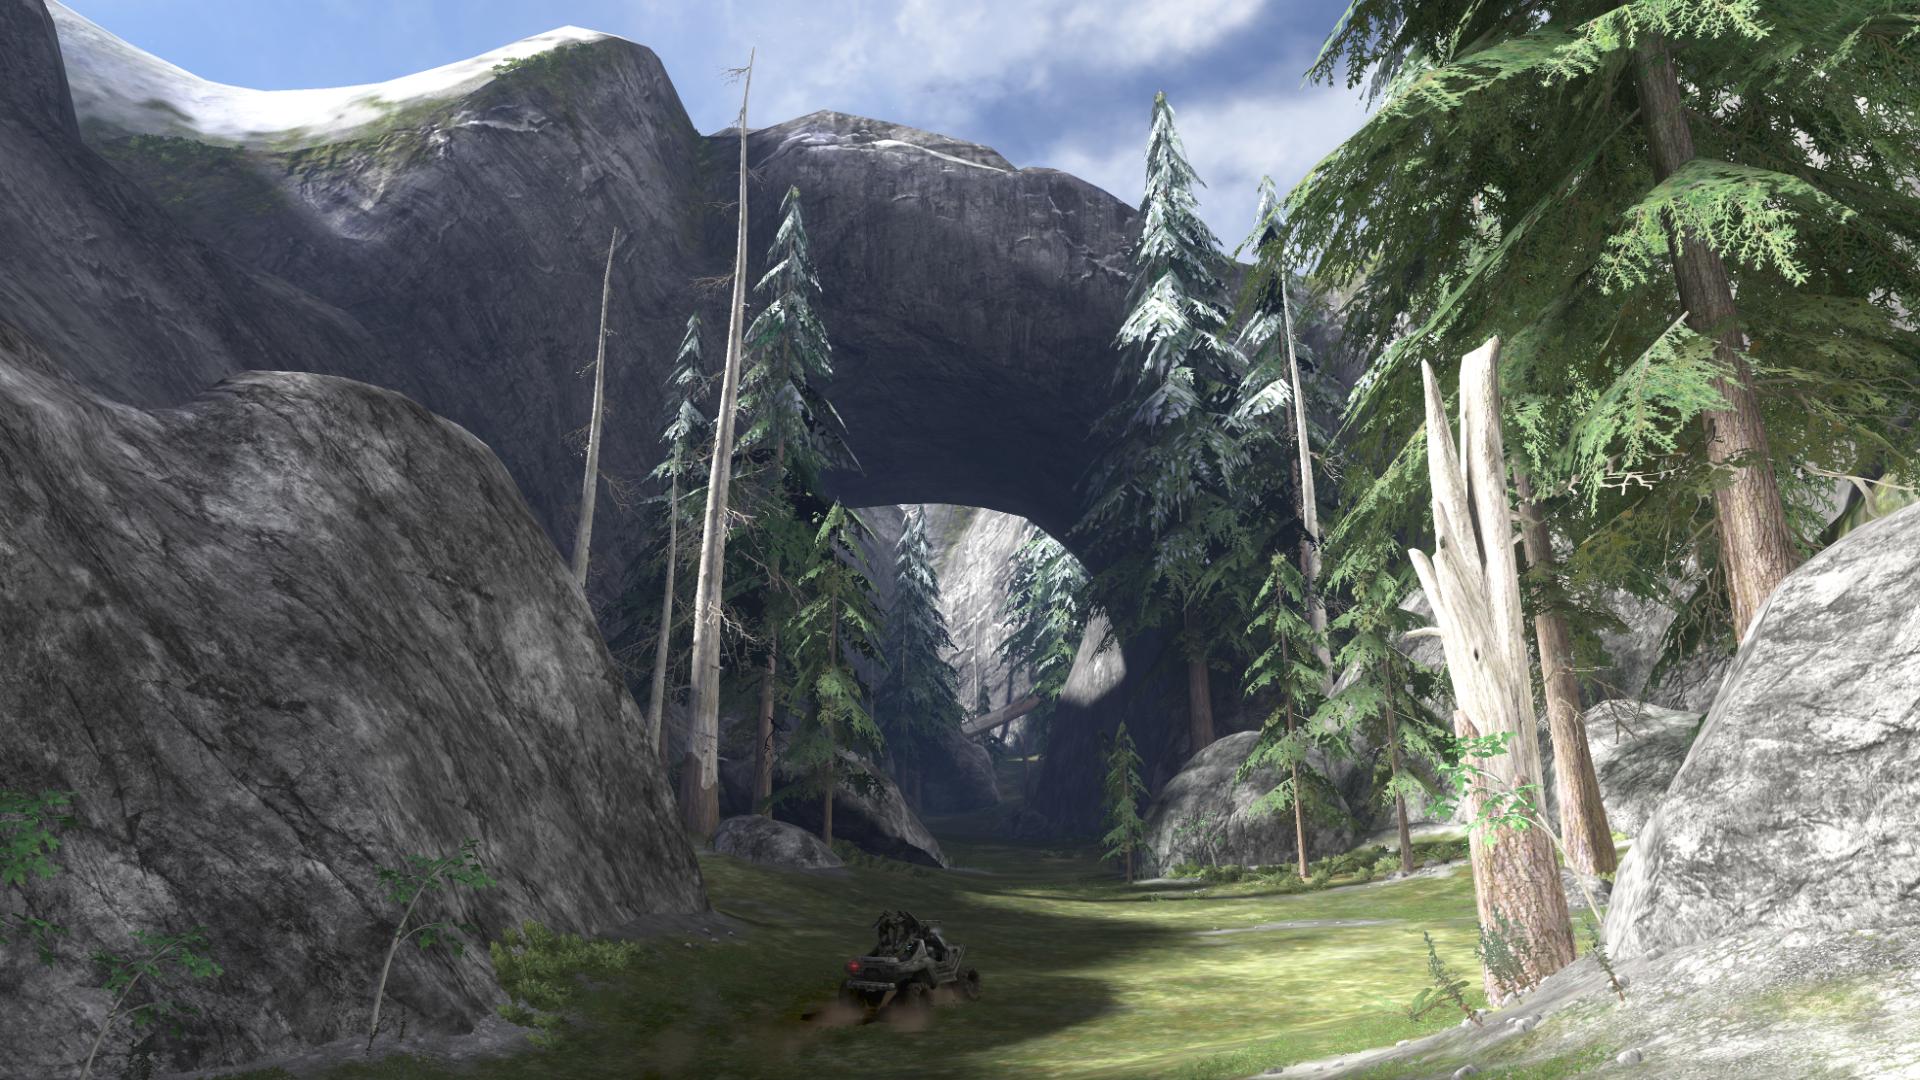
Situations have definitely changed since Installation 04, but when you get down to the basics, things are still the same: the Chief and a few Marines have a goal, and they chase after it in Warthog, speeding across alien ground.
After a few moments, the narrow canyon walls give way to an open area.
“Objective in sight! Watch for heavy armour!” [The Covenant, Halo 3]
Maybe it’s just the “heavy armour” line, but this area reminds me of the Assault on the Control Room encounter with the two Wraiths (one of which sits on a ledge above); right before you head underground for the light-bridge room.
Yes, it’s probably just the fact that they share that line, because the two encounters actually play out much differently. This area in Halo 3 gives you a few options as far as assaulting the infantry (Beam Rifles can be found at the entrance to the area), but due to the Wraith and the Prowlers that enter the arena, you’re going to need to play your cards right to get through this area. I usually still have my FRG/Spartan Laser combo, so this encounter is typically a lot of fun.
The numerous large rocks provide great cover which can be used for hit-and-run tactics – and those work especially well with Wraiths, which need time to fire and anticipate your path.
“Chief! You’ve got to offline that tower. [The Covenant, Halo 3]
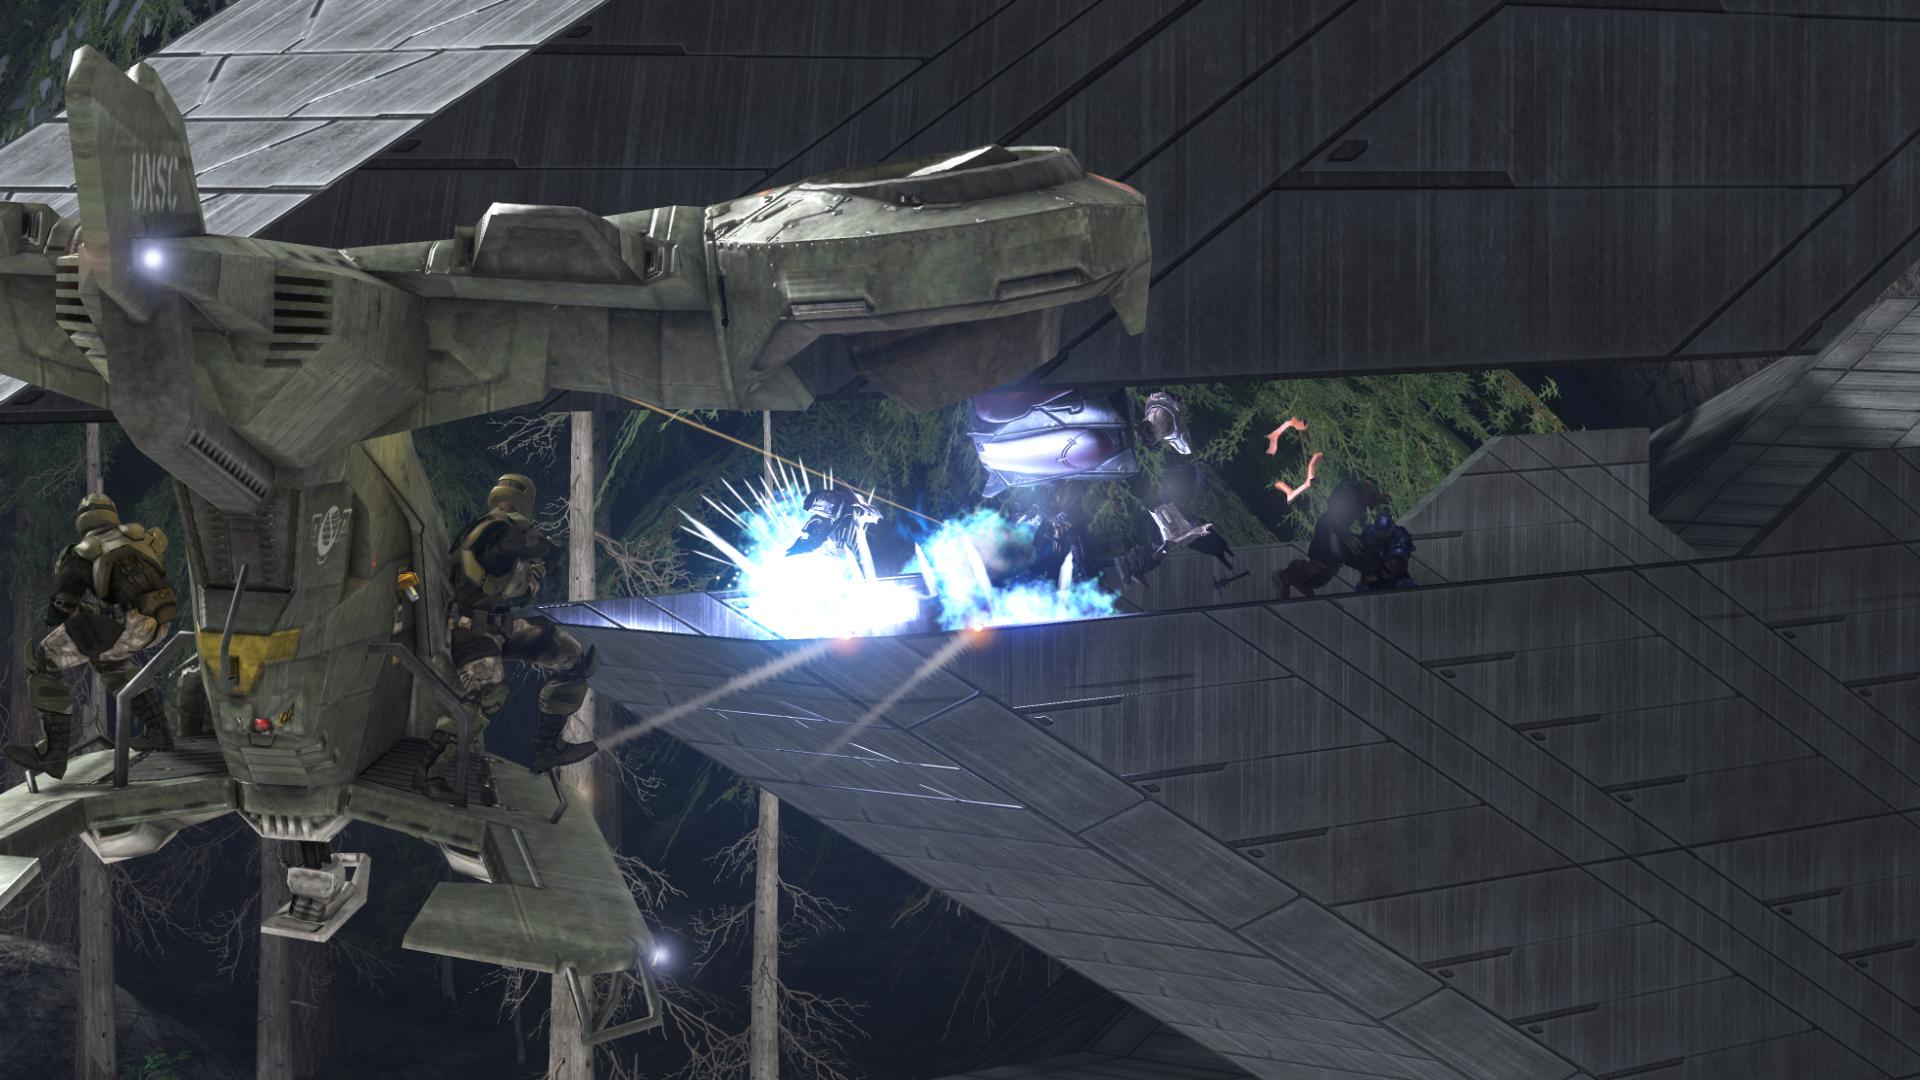
Once the enemies outside are cleared, you can begin to move toward the entrance to the tower. Of course, more Covenant are holed up at the base of the tunnel. I love it when the game gives you heavy weapons and vehicles to use against ground forces. This usually occurs right before, or right after, a vehicle-on-vehicle battle. Getting to use your remaining artillery in such a way is a nice reward for having kept said equipment intact for the the entirety of the battle.
A Pelican will come and drop off some weapons for you, including a shotgun and a Battle Rifle. There’s also a cloak at the base of the tunnel, to the left of doorway, right before you head inside. You won’t be going in empty-handed.
The interior of the tower has an architectural style that is almost identical to what was seen in the Map Room of the previous level. A standard group of enemies await inside, with a minimum amount of Brutes blocking your progress. You’ll eventually battle your way to the back of the room, and then up, and back around to the platform in the center of the main room.
It’s at this point that the first Terminal of this level (the fourth in the game) can be reached. From the center platform, jump to the room directly opposite of where you were just fighting – you’ll find the Terminal in here.
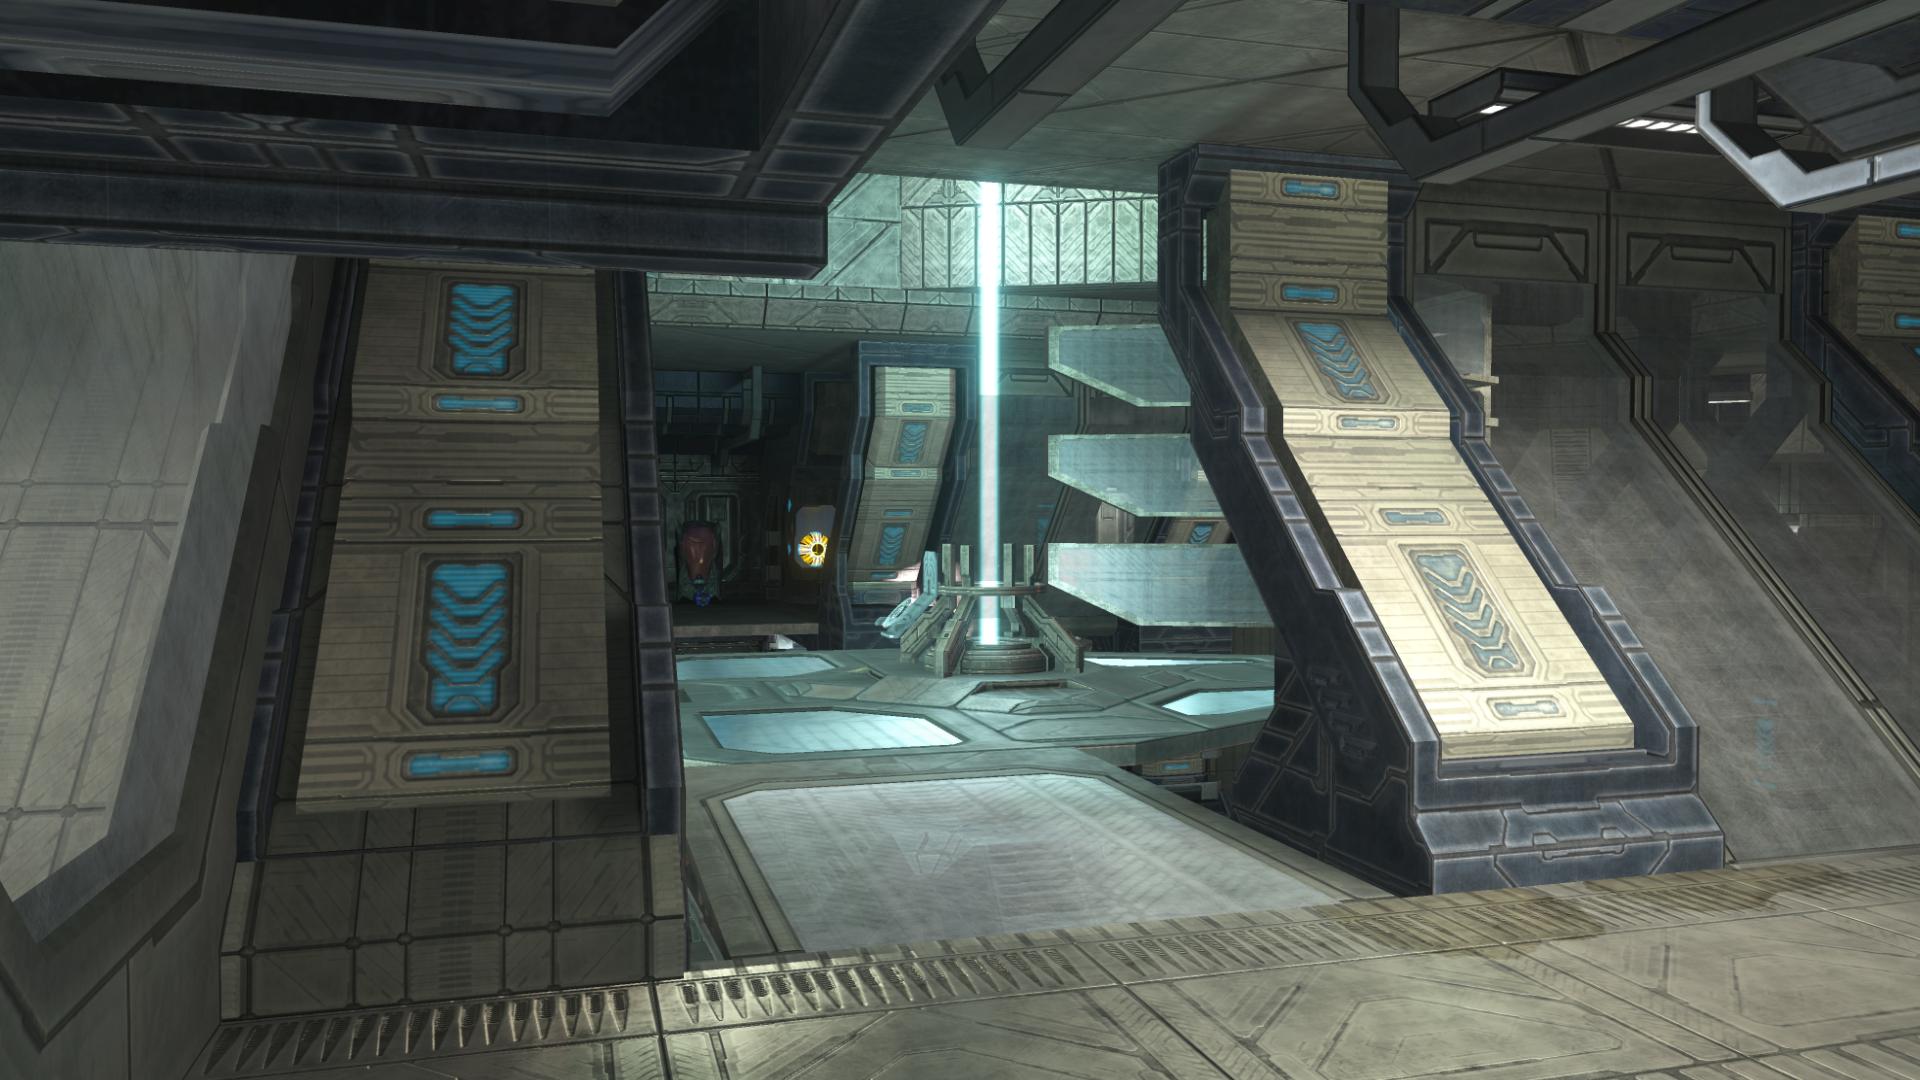
Back on the platform, with the activation of a switch, you’ll discover that it is actually an elevator. vociferous has asked me before why the Forerunners can build these massive planet-sized installations and yet they still use half-minute long elevator rides to move them places. I don’t have an answer for that, but he and I both agree that the tension is certainly raised during this brief interlude; a percussion-led musical piece begins to play, signaling you that something’s about to happen.
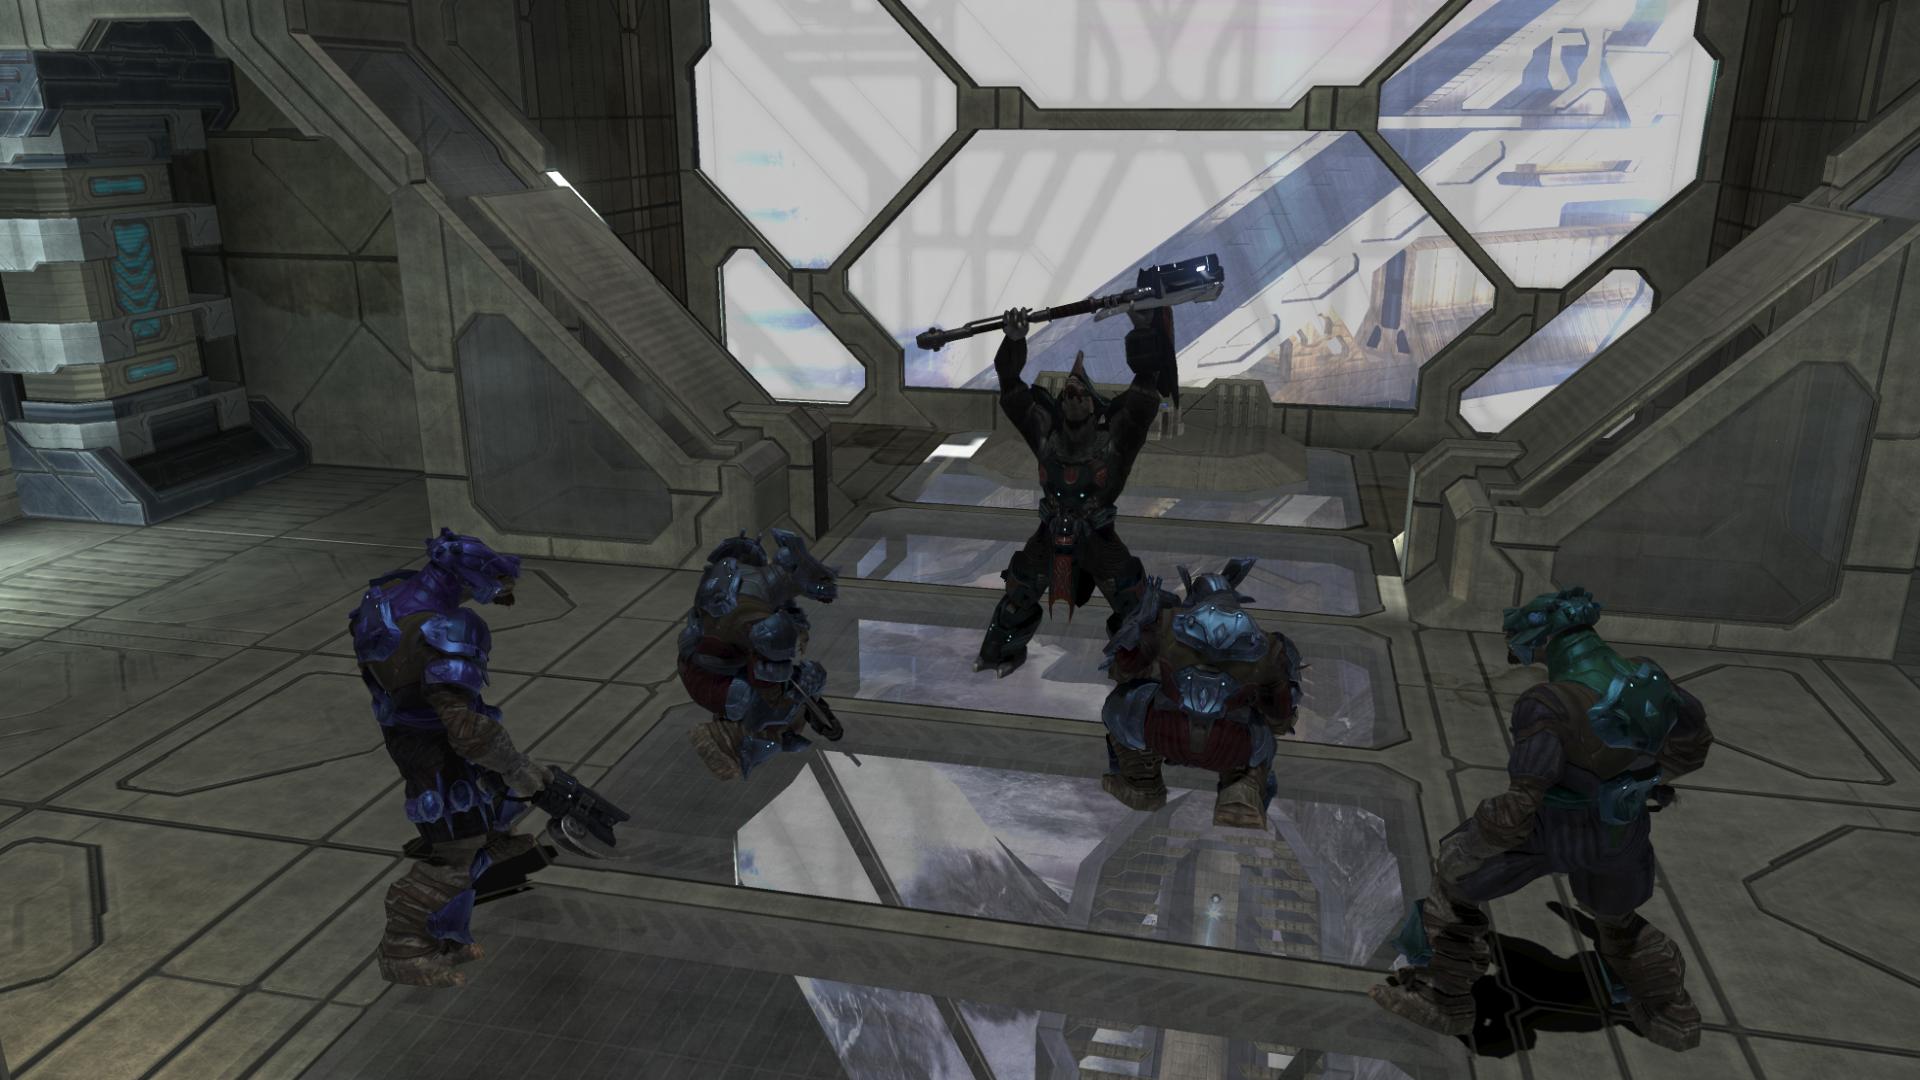
A Brute Chieftain and his pack await you in a small room at the top of the tower. Behind and below them, you can see an enormous Forerunner structure; but there is no time to gaze at it right now. Hopefully, you still have the cloak from earlier. The Chieftain, however, is a bit smarter than most of the enemies you’ve encountered in the past: he seems to be able to detect your movements, even while cloaked. He won’t chase after you or attack you with his hammer unless you brush against him, but he will try his best to track you and keep you from moving behind him and getting that one-hit KO. He also has an invincibility device, which he’ll use if his health gets too low. And in a room this cramped, there’s not really any good places to hide. Two of the Brutes in his pack wield Brute Shots, which are almost as deadly as a hammer at close range. How this encounter plays out is determined mostly by the weapons you held as you came up the elevator shaft. There are two Spike grenades and some Plasma Pistols and Spikers at the top of lift, but besides those items, you’re going to need to depend on whatever weapons you came in with.
Once you’ve cleared the room of enemies, Miranda will come in over the radio and instruct you to shut down the tower. After you’ve done so, a vignette will play as you listen in on the progress of the other two strike teams:
“Good work, Chief! That’s one. The Arbiter should be just about to… that’s two! It’s all up to Johnson’s team now…
Get back outside, Chief. Wait for transport.” [The Covenant, Halo 3]
Maybe Johnson is getting old… first, he was captured by the Brutes back on Earth, and now it seems as though he wasn’t able to complete his mission of deactivating the third tower.
“Johnson, come in. Over.”
“Brute reinforcements, ma’am… we’re pinned down!”
“I’m on my way!”
“Negative! Fire’s too heavy! Everyone fall back! Now!”
“Sergeant Major!”
“Johnson! Can you hear me? …Chief, you need to link up with the Arbiter and proceed directly to the third tower. Make your way back to the beach.” [The Covenant, Halo 3]
While, of course, we all realize that there are other things going on in the Halo universe besides what the Chief is currently doing, it’s not often that we stop and think about these things. Much like Keyes and his troops’ initial descent into the Forerunner containment facility back on Installation 04, there are often missions taking place during the games that the Chief is not directly involved with (of course, just like in 343 Guilty Spark, he often has to come in and clean up whatever mess was made). It’s just interesting to me to think about the fact that the Arbiter and his Elites, as well as Johnson and his Marines, were fighting battles probably near-identical to the one that you just fought.
Back at the bottom of the shaft, a small platoon of Covenant soldiers have moved inside in an attempt to retake the tower. They’ll typically be engaged with the Marines that you’d left here. But with only a few Grunts and Jackals, they aren’t going to be taking back anything.
Once outside, other than a new Mongoose, things are precisely as you left them; if you had an intact Warthog, it remains, as do the weapon drop-pods.
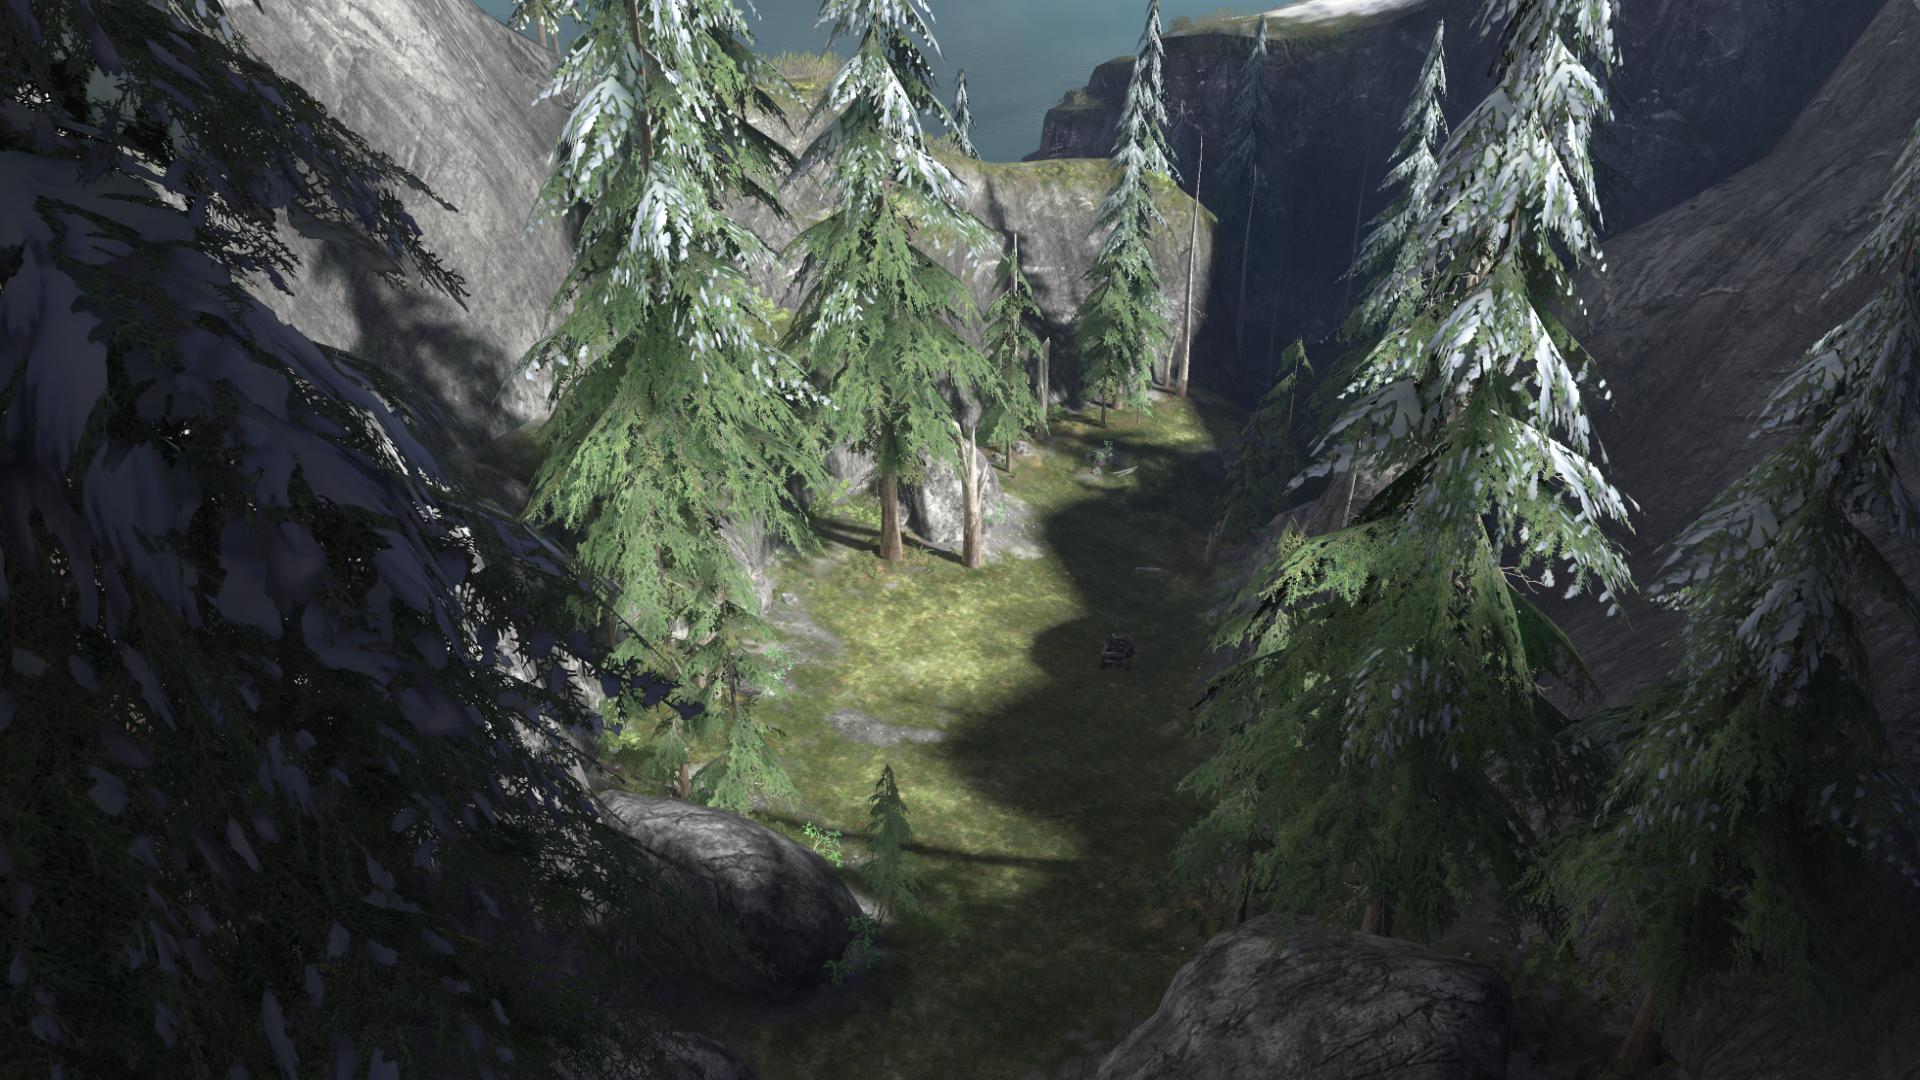
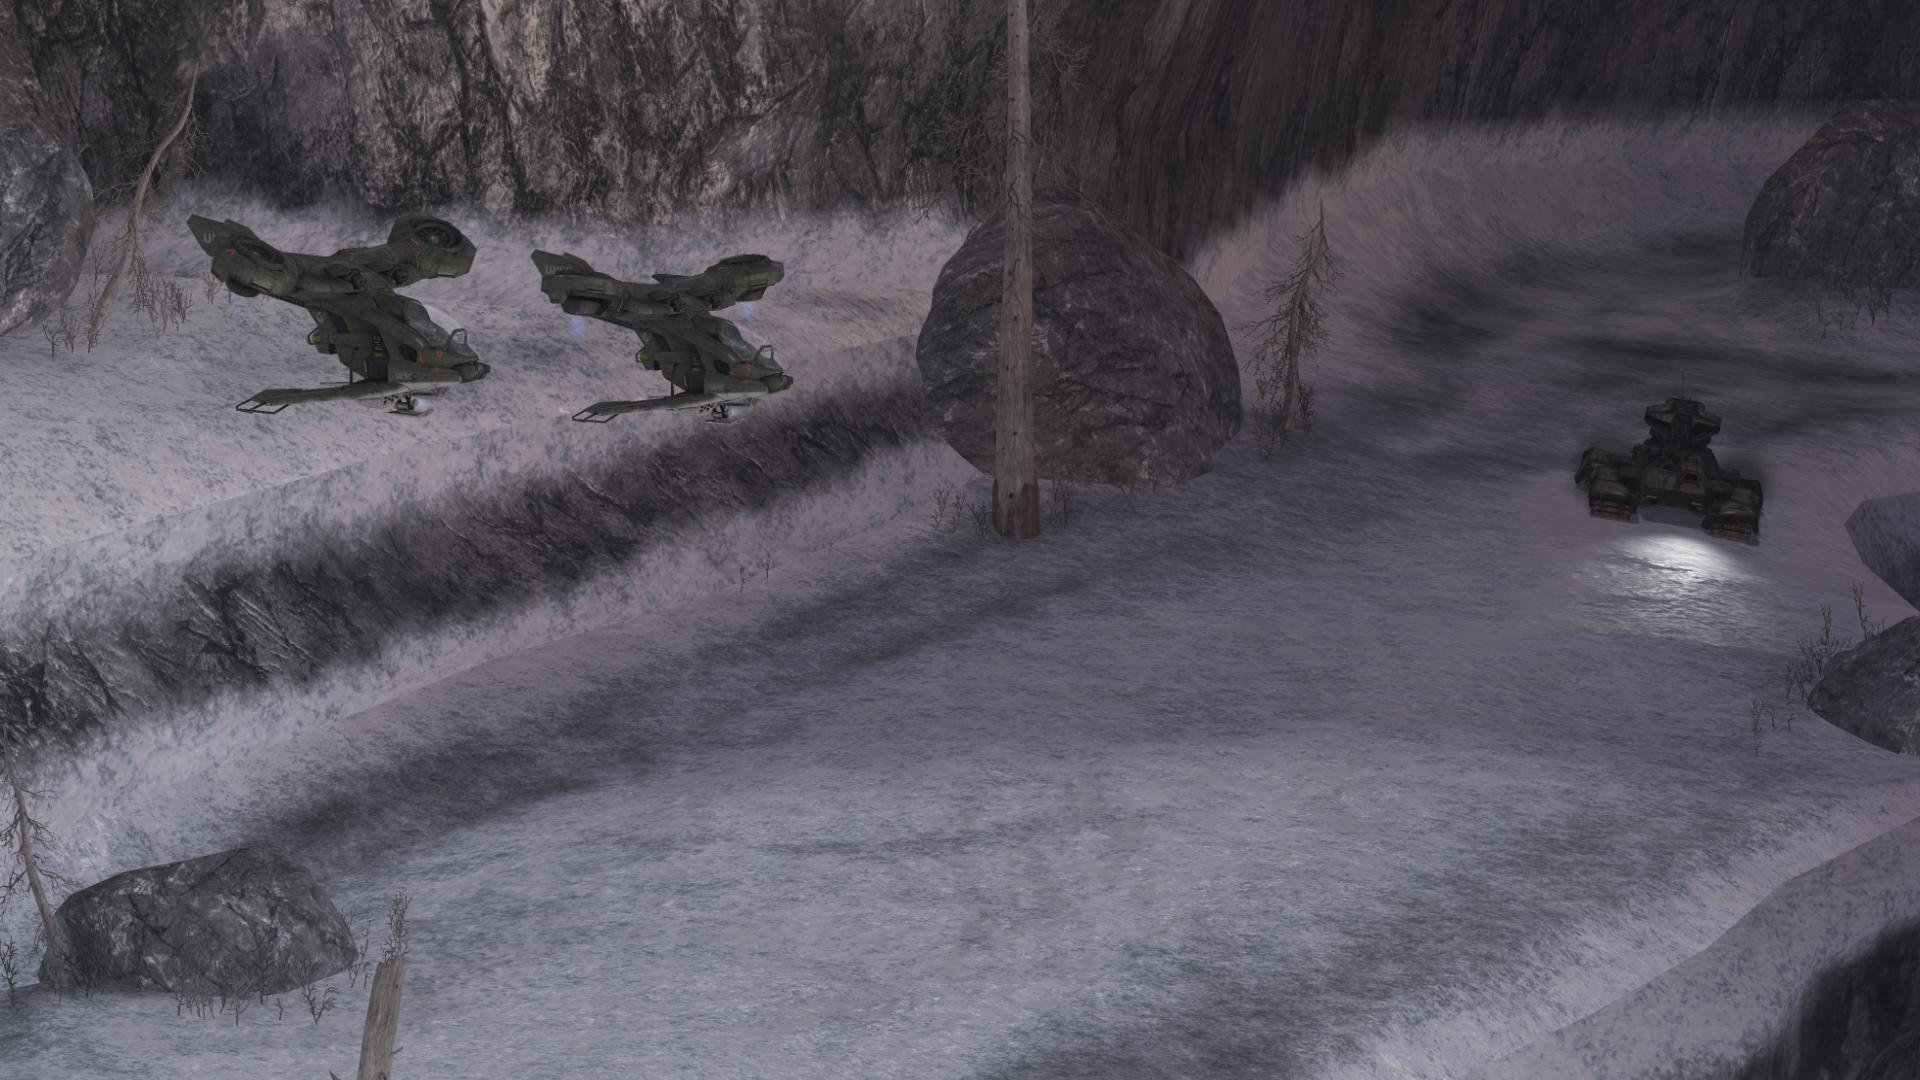
Retracing your steps is fun this time; you’ll gain speed as you move downhill which makes navigating the turns, and dodging the trees and rocks a bit tricky; it sort of reminds me of skiing. I’d also like to point out here another couple of items that make the environments in Halo so impressive: much like in Sierra 117, lifelike forest ambience can be heard behind the music. In addition, the lighting in this area is really nice: the sun above is at an angle that provides shade from the canyon wall in some areas, while letting sunlight creep over in others.
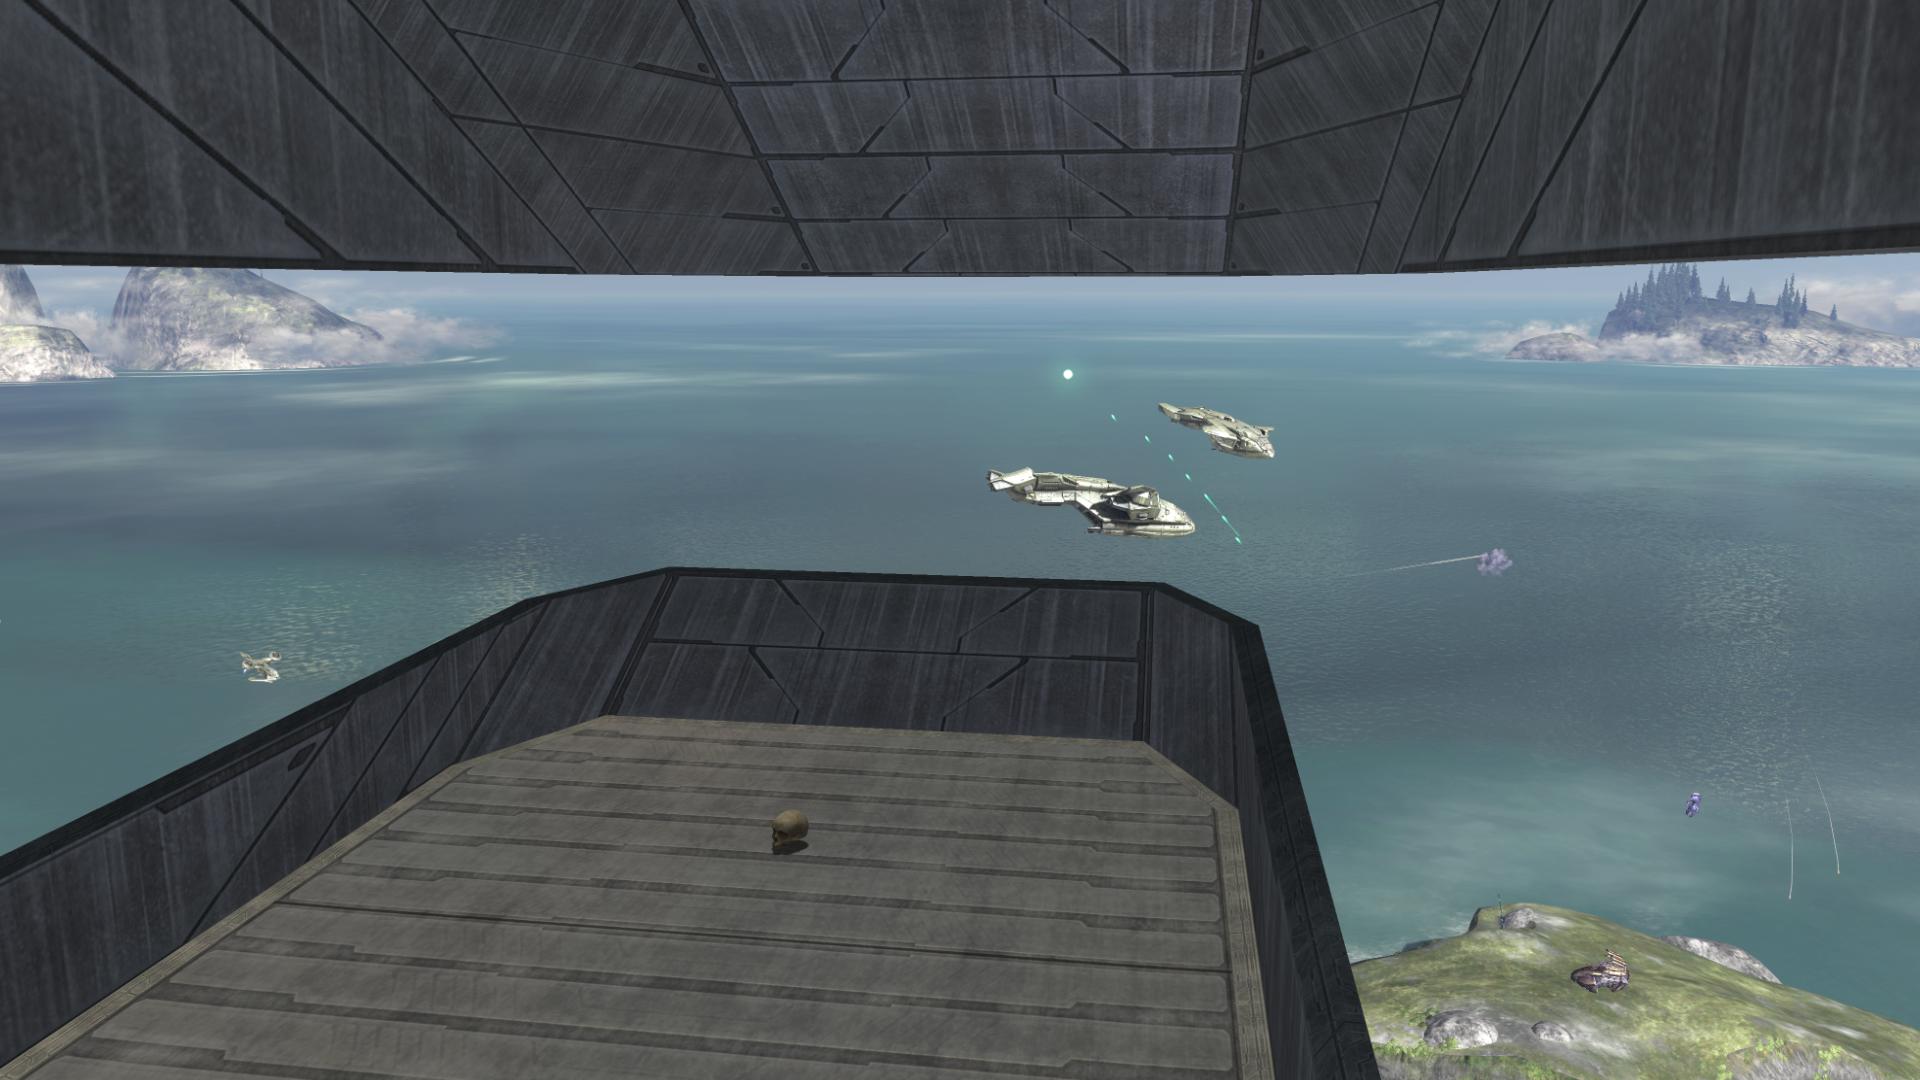
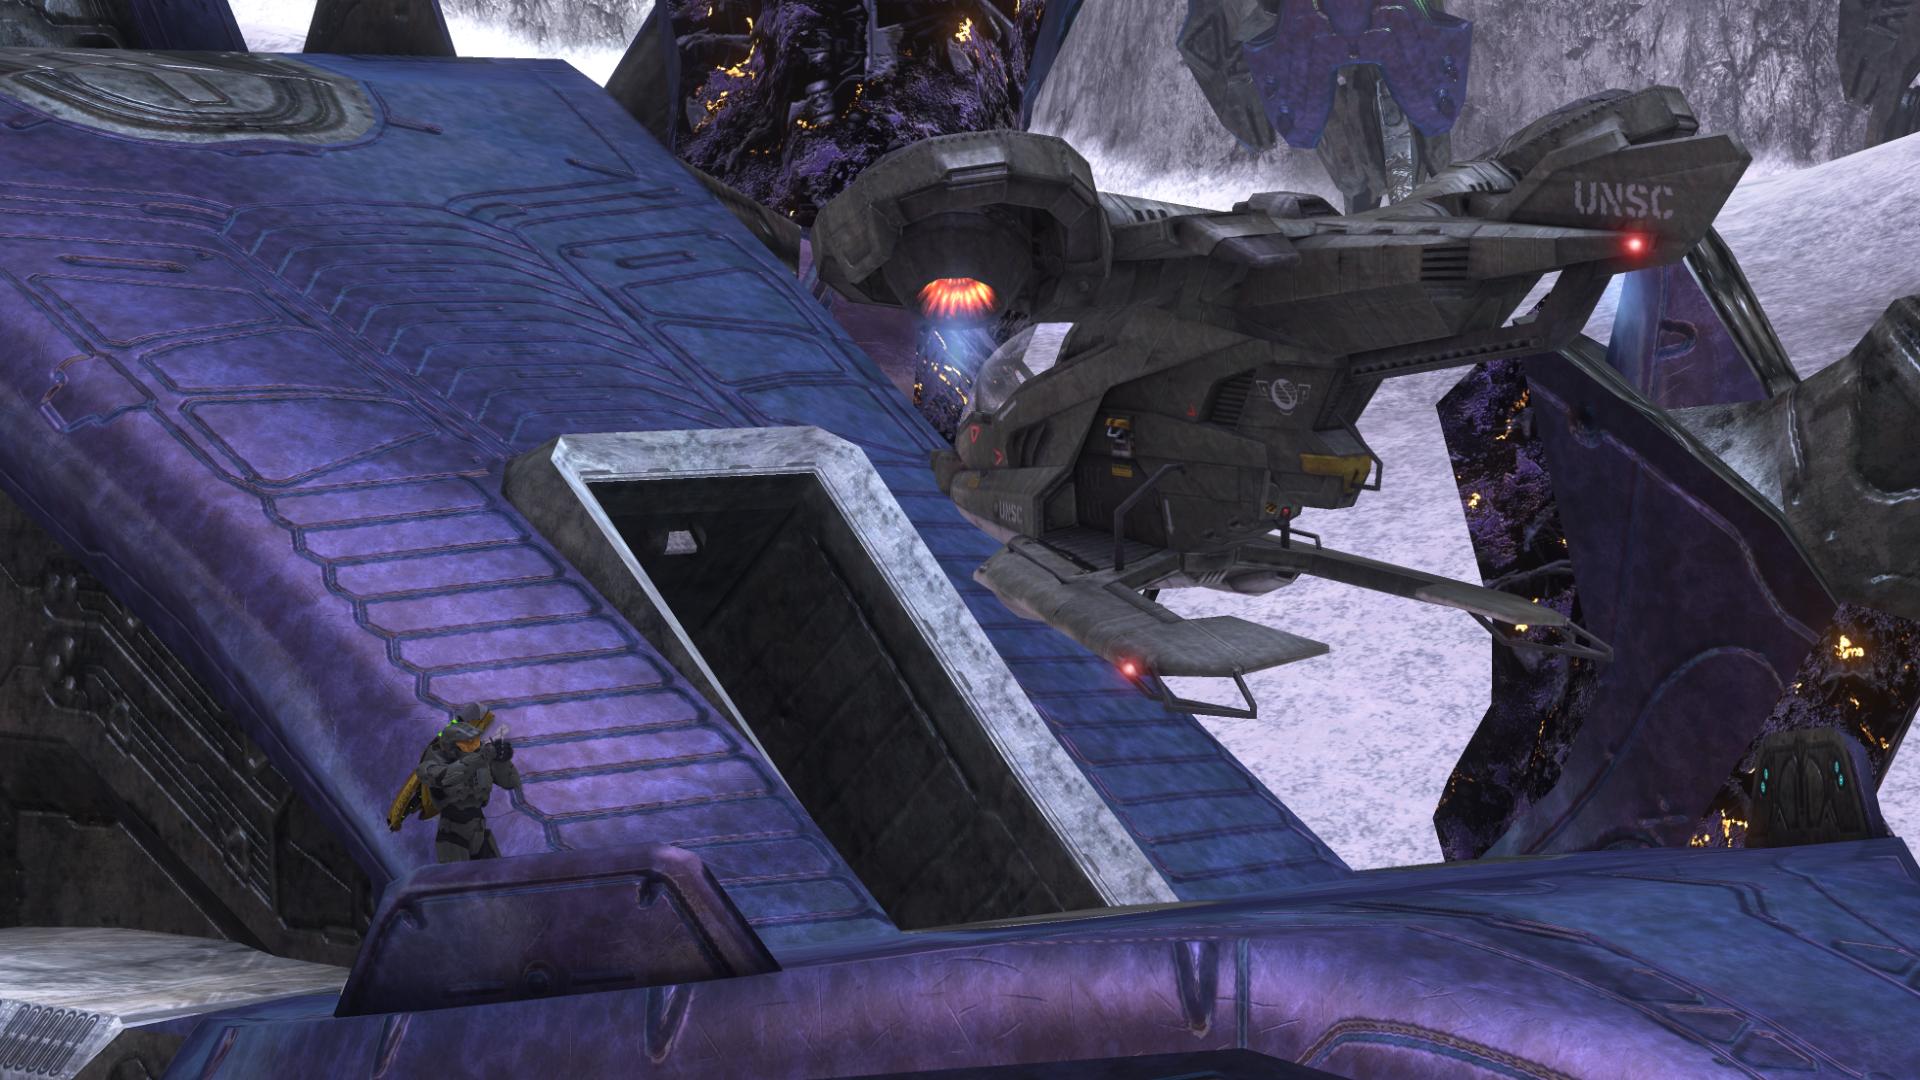
Back down on the beach, quite near to your original landing zone, you’ll find two Hornets landing on the shore.
“Sir, I’ve got a flock of birds that need an escort. Take a Hornet; get those Pelicans safely to the third tower.” [The Covenant, Halo 3]
You’ve seen Hornets battling in the skies above you for just about the entire game; now, you are able to pilot one in one of the most engaging aerial encounters of the Halo trilogy.
It may take a few moments to figure out the Hornet’s controls for the first time; it is quite unlike the series’ other aerial vehicle, the Banshee. But once you get a handle on it, you’ll discover that it packs quite a punch.
The Hornet’s missiles will track any enemies and are very destructive upon impact. Which is good, considering the amount of Banshees that control the airspace ahead.
As you approach the enemies, you’ll see a familiar green Phantom cloaking in order to escape the coming fracas. The Arbiter comes in over the radio:
“Second tower is clear, Spartan, no need to land. Let us hasten to the third tower.” [The Covenant, Halo 3]
While he is correct about the tower being clear, there are, however, a couple of reasons to land.
First, the Thunderstorm Skull can be found on a platform jutting out from the top of the tower.
Secondly, in the interior of the tower, you’ll find the fifth Terminal of the game.
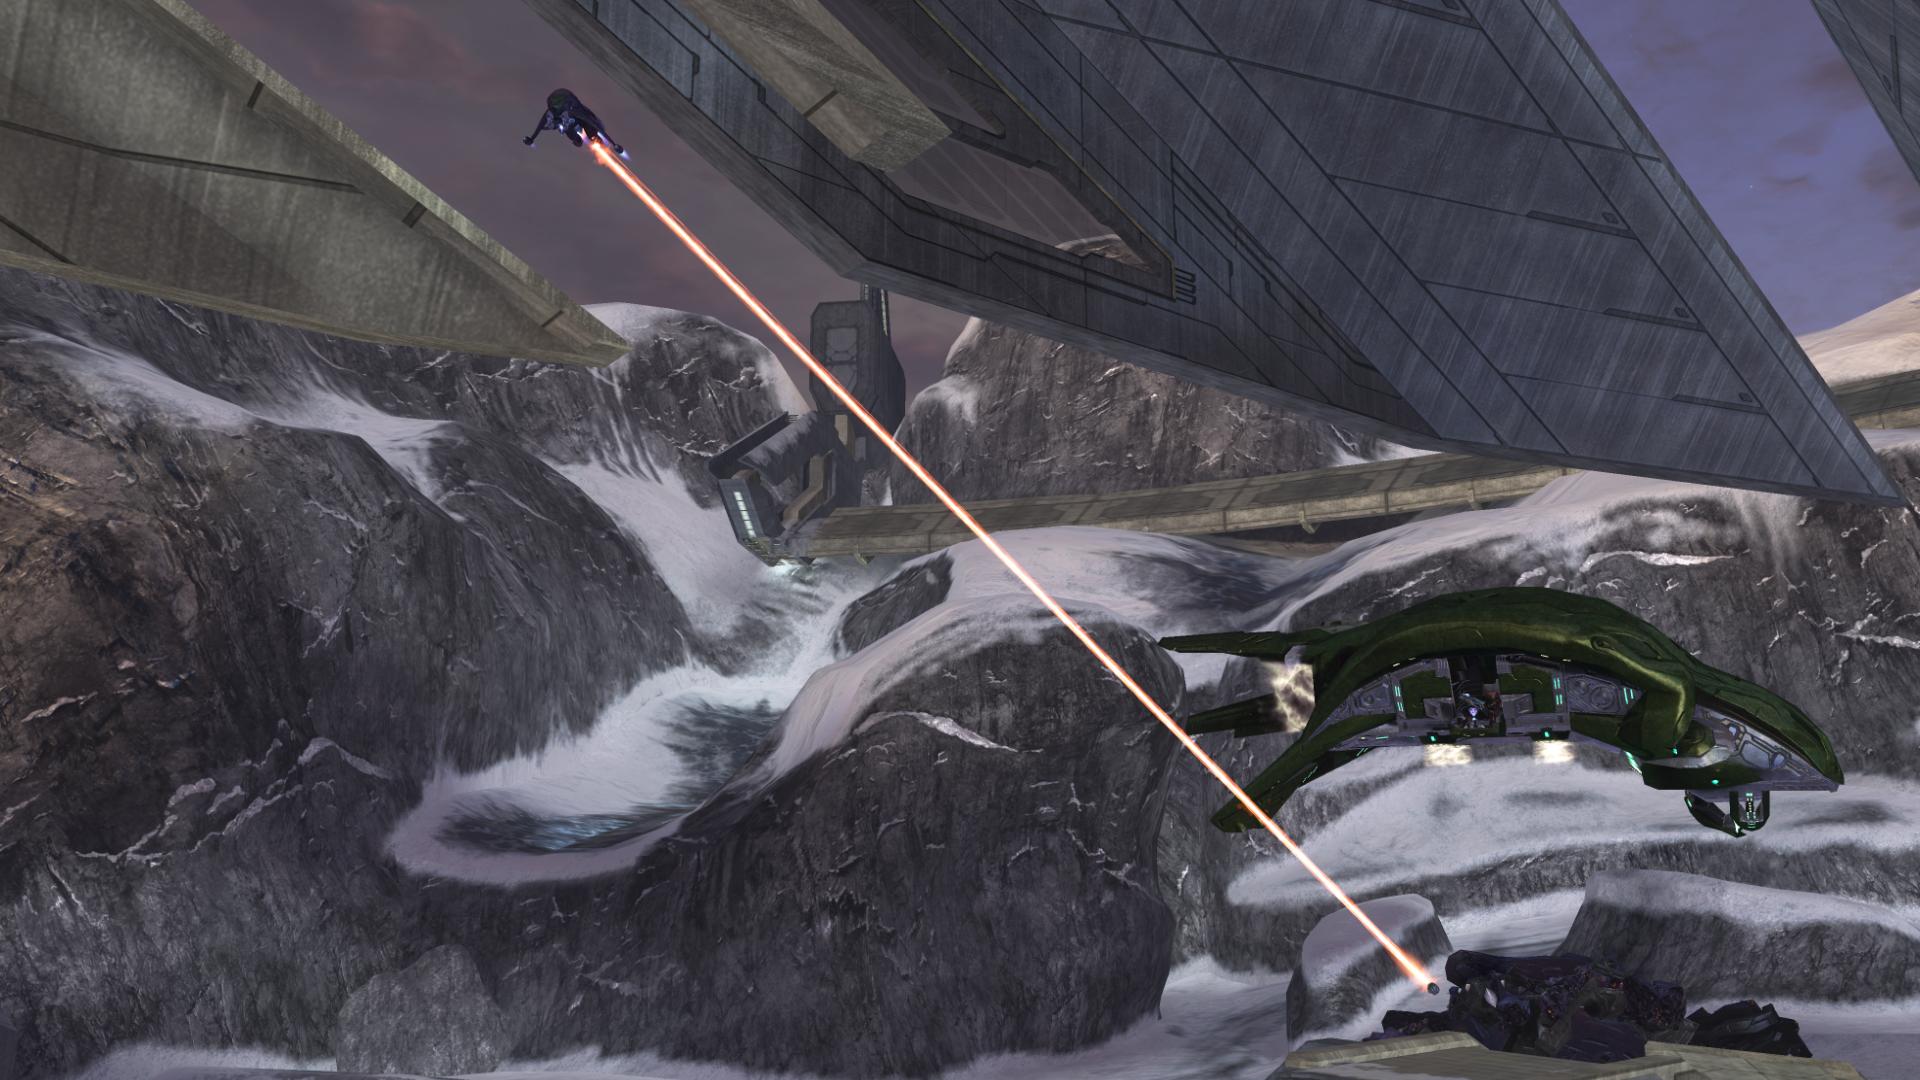
If you’ll take out the Banshees one-by-one, before they can overwhelm you, this aerial encounter can be a lot of fun. A lone Anti-Air Wraith on an island below is, like everything else, no match for your missiles. And when attacking Phantoms, remember to aim for the white-blue turbines on either side.
A few direct hits on these turbines and the Phantom will be no more.
“Objective in sight, Commander… no sign of Johnson or his team.”
“Understood. Chief, clear an LZ, then get inside the tower.” [The Covenant, Halo 3]
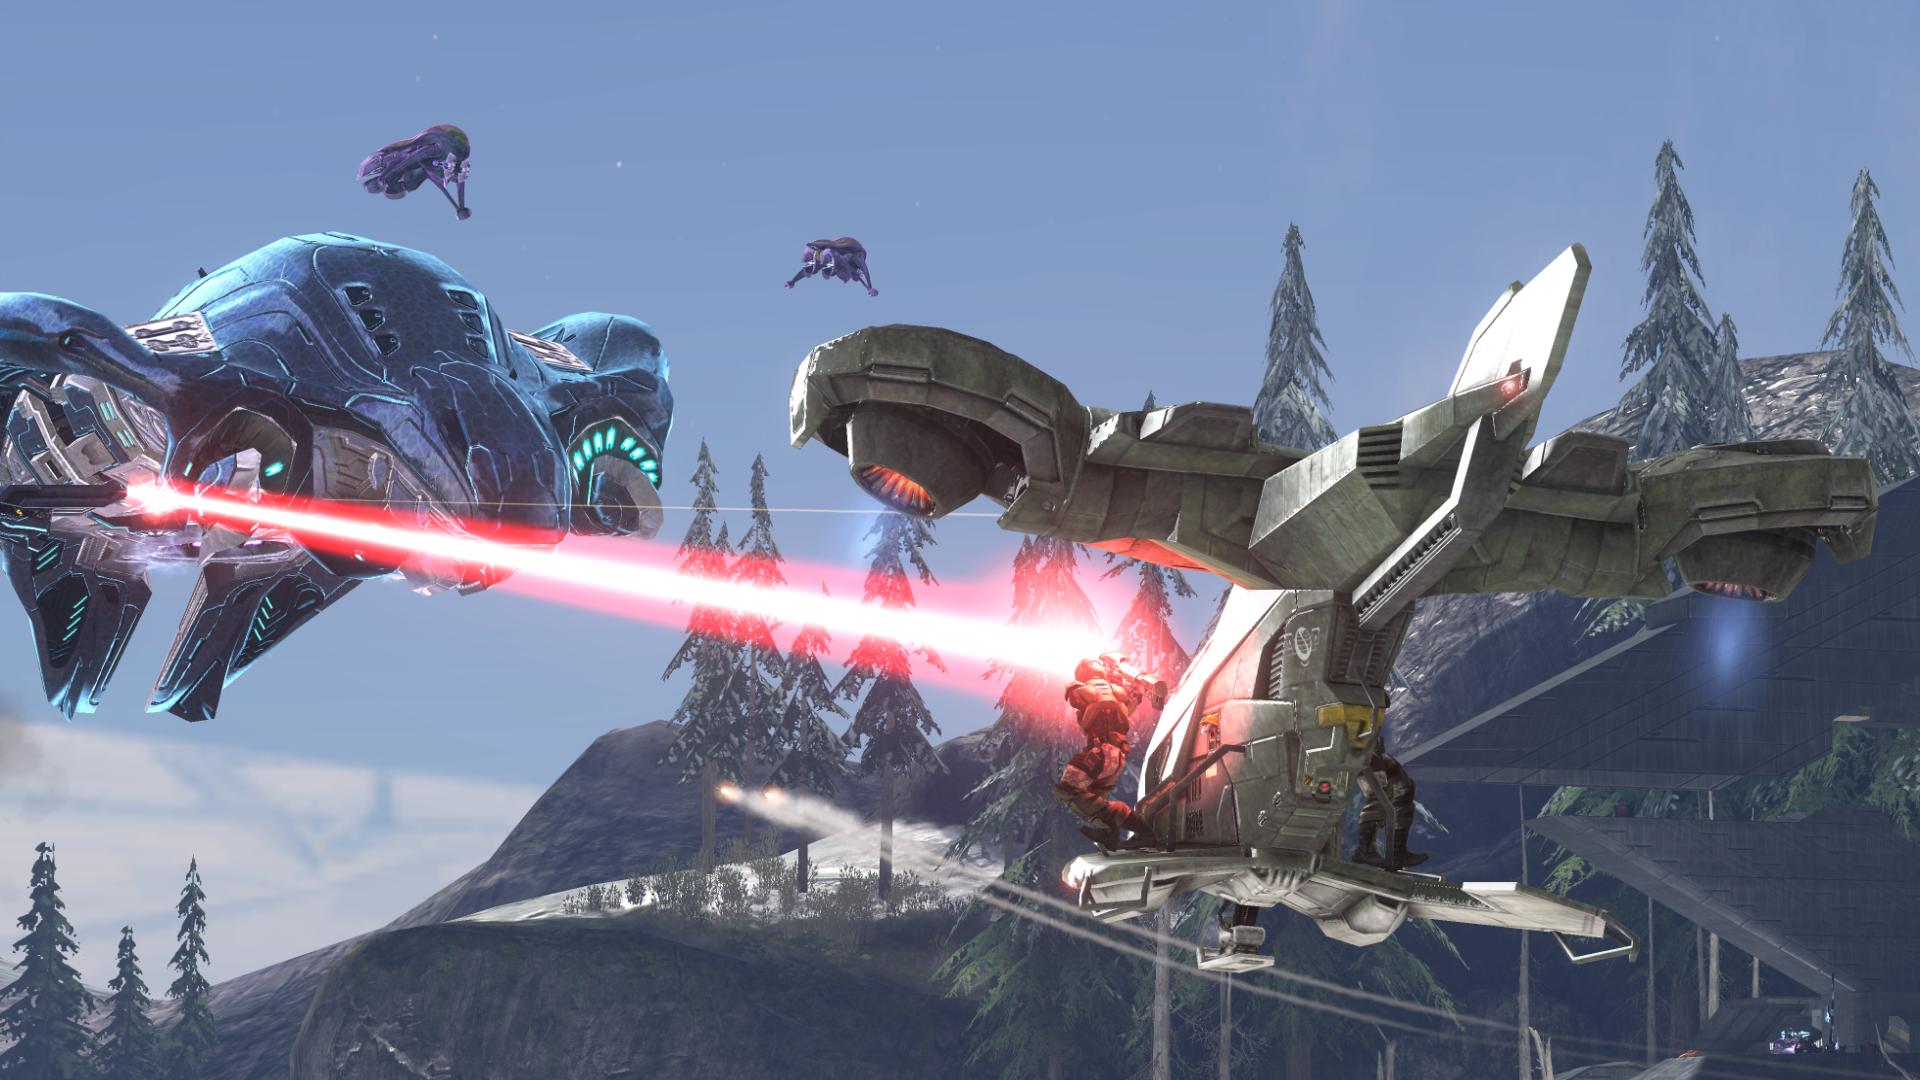
Easier said than done. Two more AA-Wraiths, as well as two turrets and a pack of Brutes, await you at the tower. Luckily, the Brutes are standing next to a pile of fusion cores.
A green Phantom reemerges to drop off the Arbiter and a small army of Elites. The pack of Brutes that await your arrival inside the tower are no match for the Chief, the Arbiter, and his Elites.
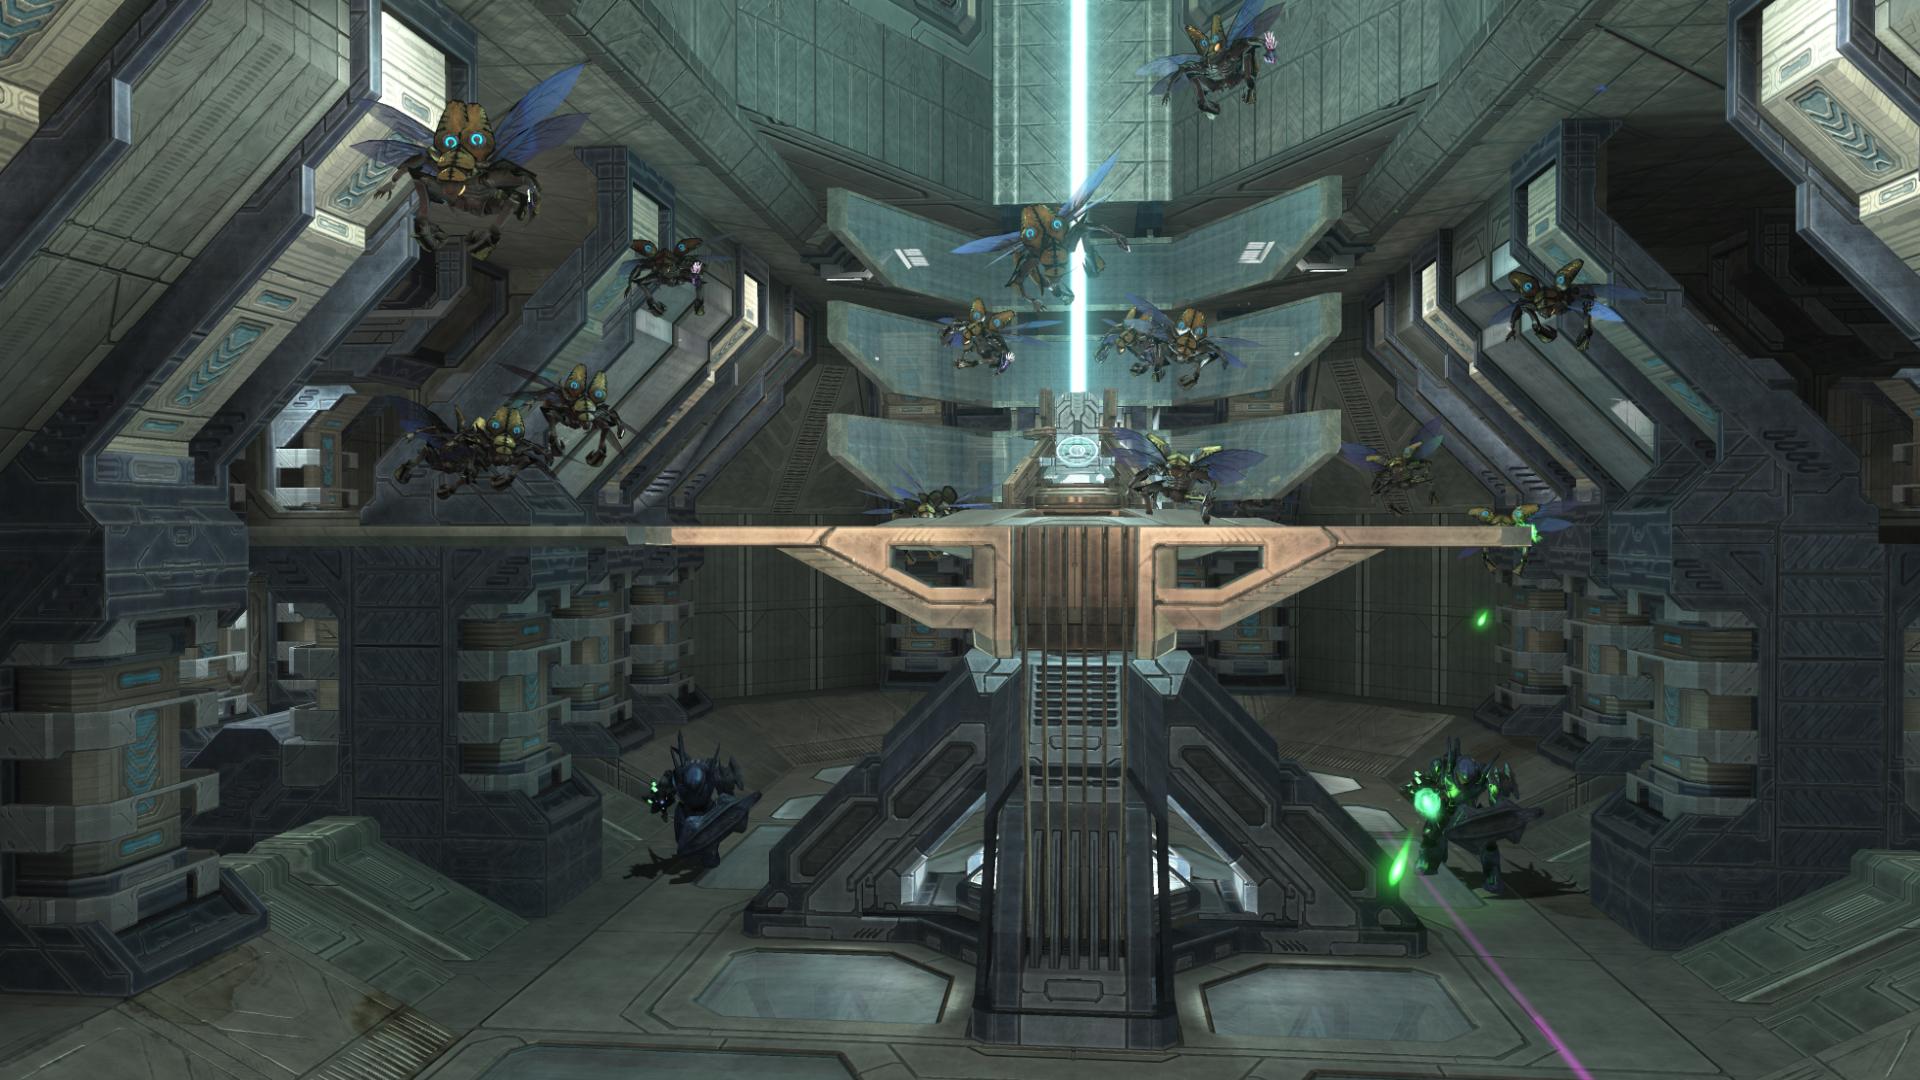
The Drones, however, can prove to be a problem. Wielding only Plasma Pistols, these guys are extremely deadly due to their numbers. A few seconds out in the open is all it takes for their plasma barrage to take you down. And as if that weren’t enough, two Hunters stalk the ground below them.
Alright, Johnson, I understand now; I guess I can let this one slide.
Fighting with the Elites is a refreshing change; while their chatter (“A pair of Hunters!”) is much like the Marines’, their voices and dialogue are distinctly different – and there’s just something awesome about going into battle with them.
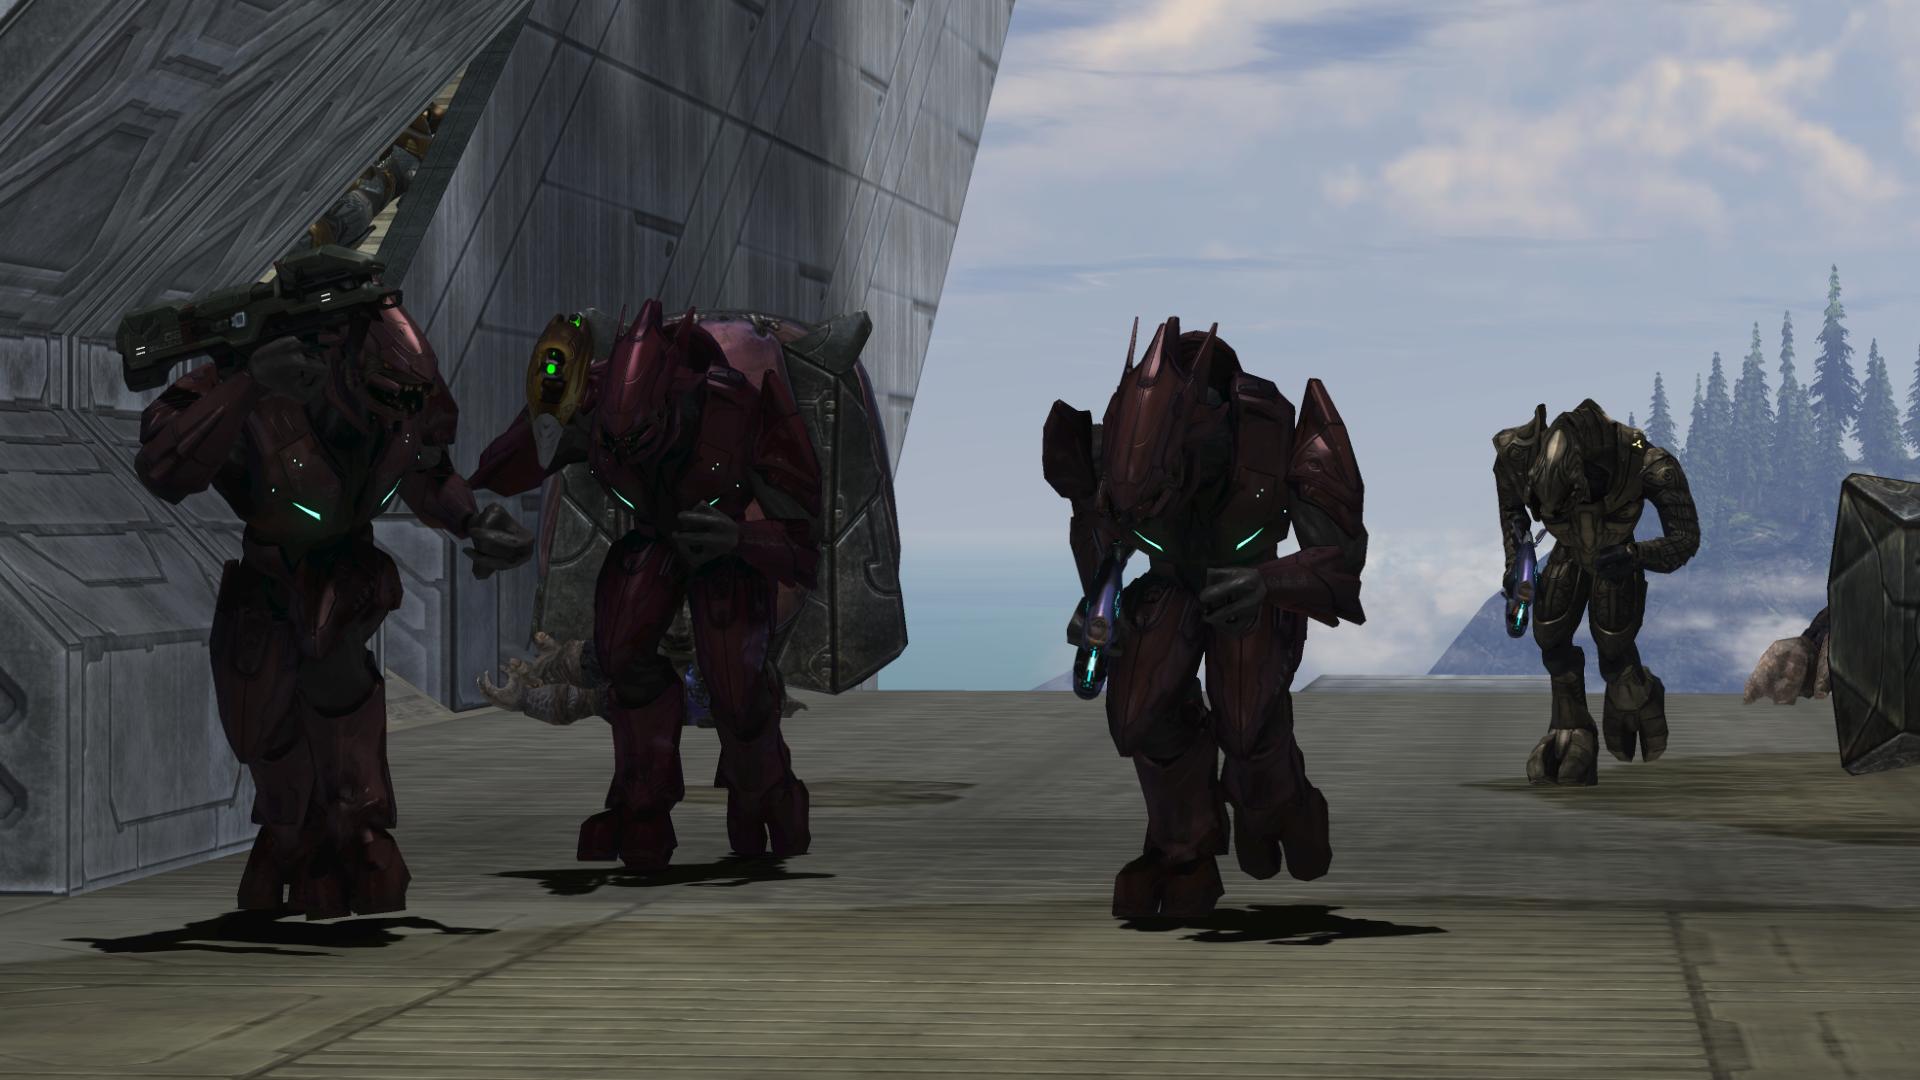
Moving around in what is basically a mirror-image of the room you fought through in the first tower, you’ll encounter more Brutes this time around. Luckily, you’ve got the Elites (if the Drones didn’t get them) to help you clear the way.
Too bad they don’t come up the elevator with you.
Before moving on, I’d like to point out that the final Terminal of this level can be found in this room; it is in the same location as the other was in the first tower, taking into consideration that this tower is a mirror-image.
“Darken this tower and the barrier will fall. Go, Spartan! We have no time to waste.” [The Covenant, Halo 3]
This time, a Chieftain with a plasma turret, and a pack of Brute Stalkers guard the tower controls. You’re given plenty of Maulers in a Covenant weapons crate, though, so they shouldn’t be a problem.
With the press of a switch, the barrier protecting Truth is dropped, and Half-Jaw moves his carrier in to take position over the Forerunner structure.
“Now, Prophet – your end has come…” [The Covenant, Halo 3]
But suddenly…
“High Charity? By the gods… brace for impact!” [The Covenant, Halo 3]
Half-Jaw immediately recognizes his once-Holy City; not only did the Sangheili-schism from the Covenant turn this city in an unwelcome place for him and his kind, but the Flood’s capture of the city makes it even more perilous than he could have imagined.
Debris from this massive city strikes Half-Jaw’s carrier.
“Shipmaster, what’s your status?”
“Significant damage! Weapon systems disabled!”
“Move to a safe distance! Stay away from the Flood.”
“Why would the parasite come here?” [The Covenant, Halo 3]
The Monitor offers a response:
“The Ark is out of range of all the active installations! Priority: We must contain this outbreak before -”
“No! First, we stop Truth! Then we deal with the Flood.” [The Covenant, Halo 3]
Miranda remains focused: the Flood, as dangerous as they are, must not be allowed to slow down the UNSC-Sangheili forces; finding Truth and preventing him from activating the Array must be their primary objective.
The Flood, of course, cannot simply be ignored, though.
Debris crashes into the room that the Chief is located in; Infection and Combat forms emerge from the rubble. This small force is easily dispatched, though, and you’re free to activate the elevator to move back down below.
The Arbiter, plus however many were left of his Sangheili brethren, will be engaged with the Flood when you reach the bottom of the shaft. The fallen Elite warriors from the earlier Drone/Hunter battle will rise with new life as the Flood Parasite forms infect them to gain more warriors.
Still, though, the Flood are few in numbers at this juncture, and pushing past them is not difficult. But a new urgency is felt: locating Truth may be taking too long.
UNSC and Sangheili forces are gathering outside to get ready for a final push to Truth’s location.

“Shipmaster’s carrier is out of commission, Chief. I need you to take down Truth. The Flood’s just going to put pressure on him and accelerate his plans. Punch through the cliffs! Get inside that citadel!” [The Covenant, Halo 3]
There are a lot of Marines here. A lot. And any Sangheili forces that survived the previous battle will come along with you. I’ve often had a tank filled with five Marines, a Mongoose with two more, and a Warthog of two Marines and an Elite.
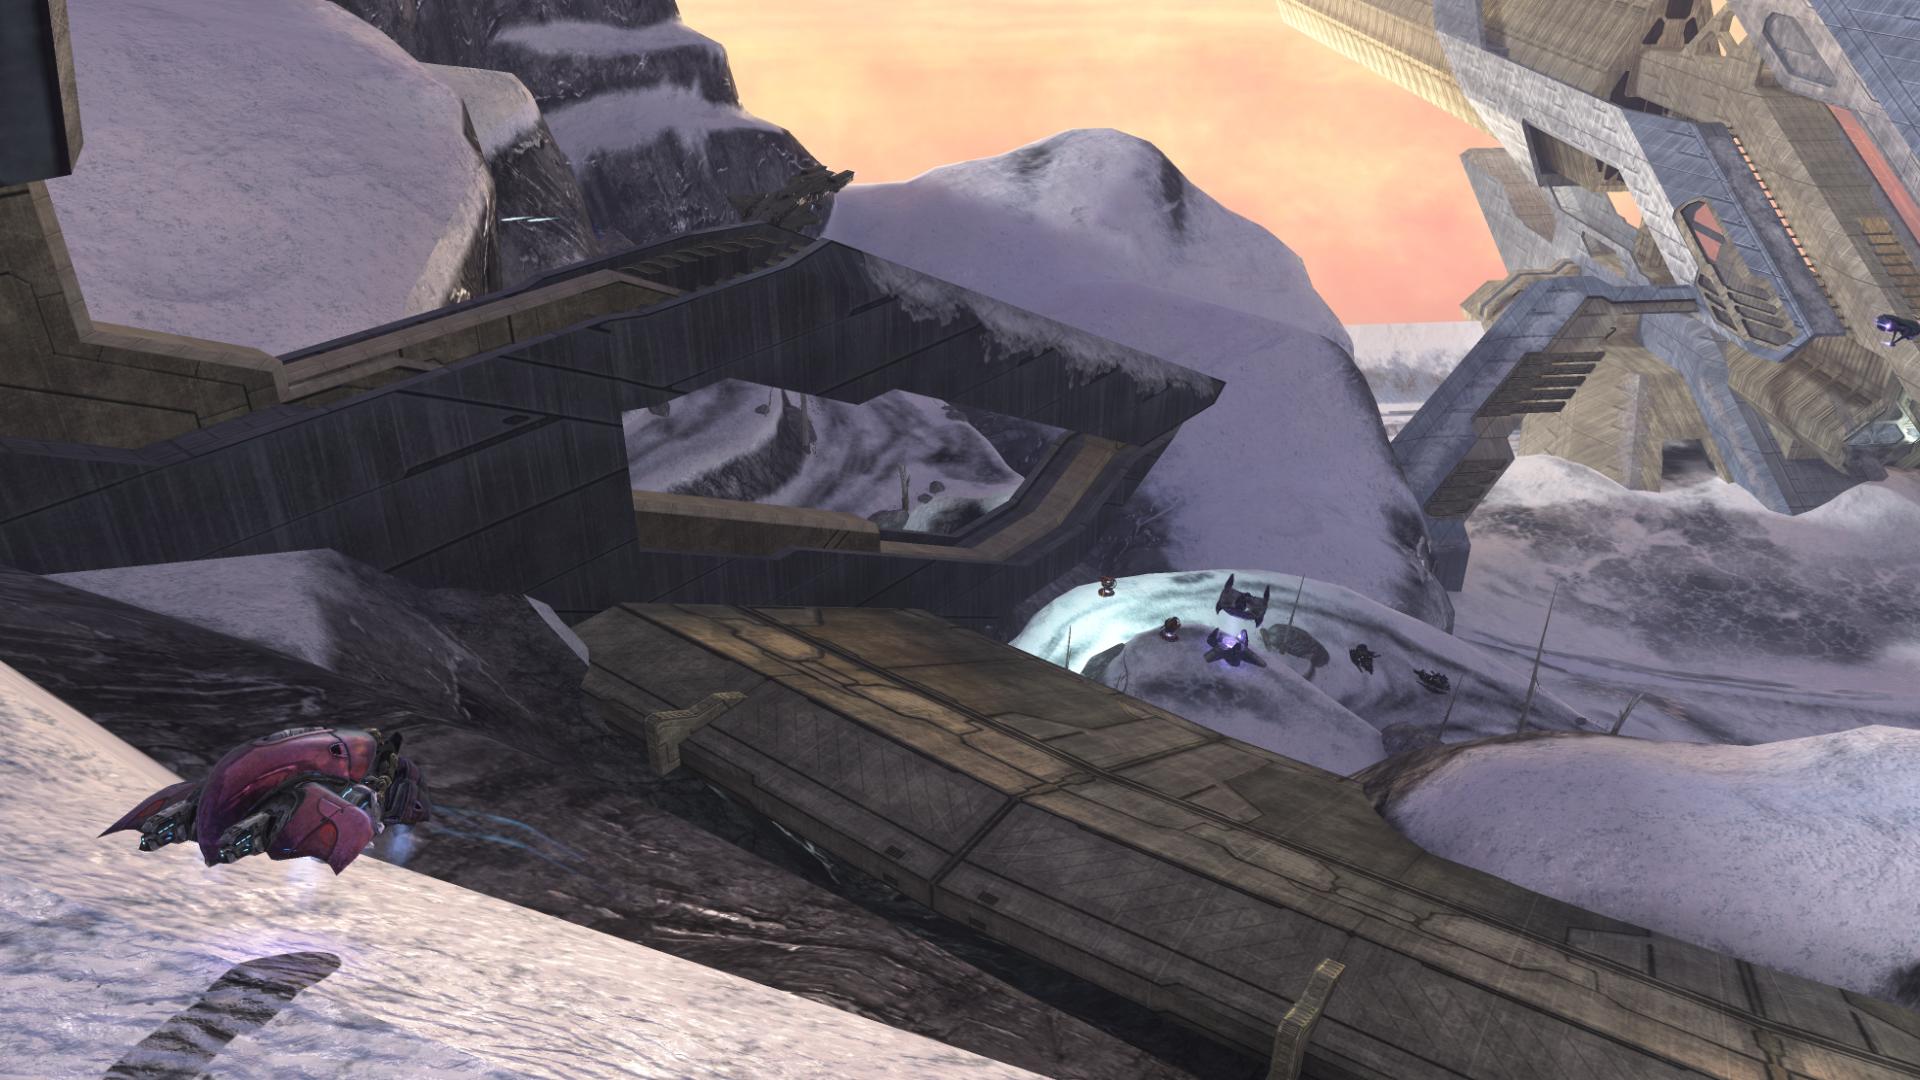
Passing through the tunnel, you find yourself in a snowy canyon, in stark contrast to the greenery just a hundred yards back.
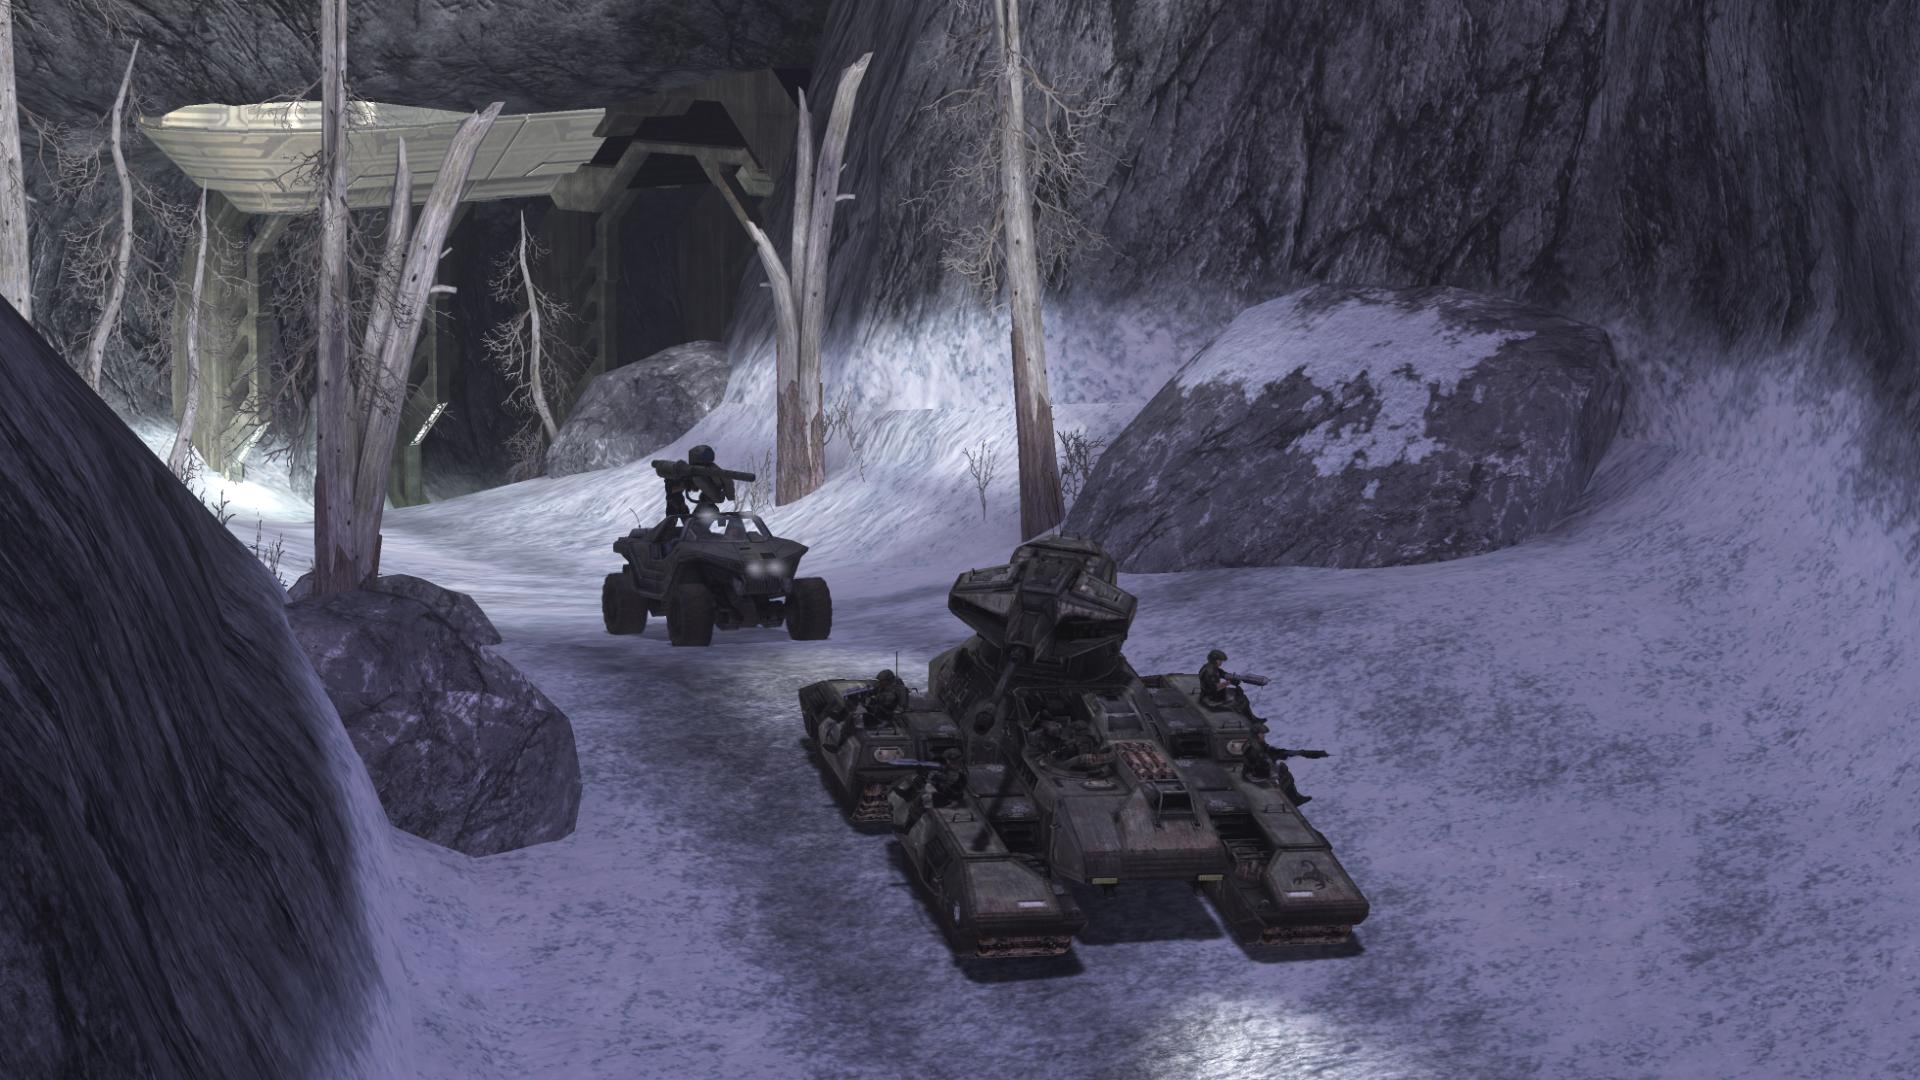
Rounding the corner, you’ll find yourself in trouble already. A small, but dangerous, pack of Brutes lie in wait. They include a fully-laden Brute Prowler, and a Chieftain with a Fuel Rod Gun. The Gauss ‘hog and the Scorpion tank should be able to handle, them, though.
After a few more turns, you find yourself at the edge of the bowl that you had looked into earlier from the heights of the two barrier control towers.
“Citadel in sight! Brutes are mobilizing everything they got.” [The Covenant, Halo 3]
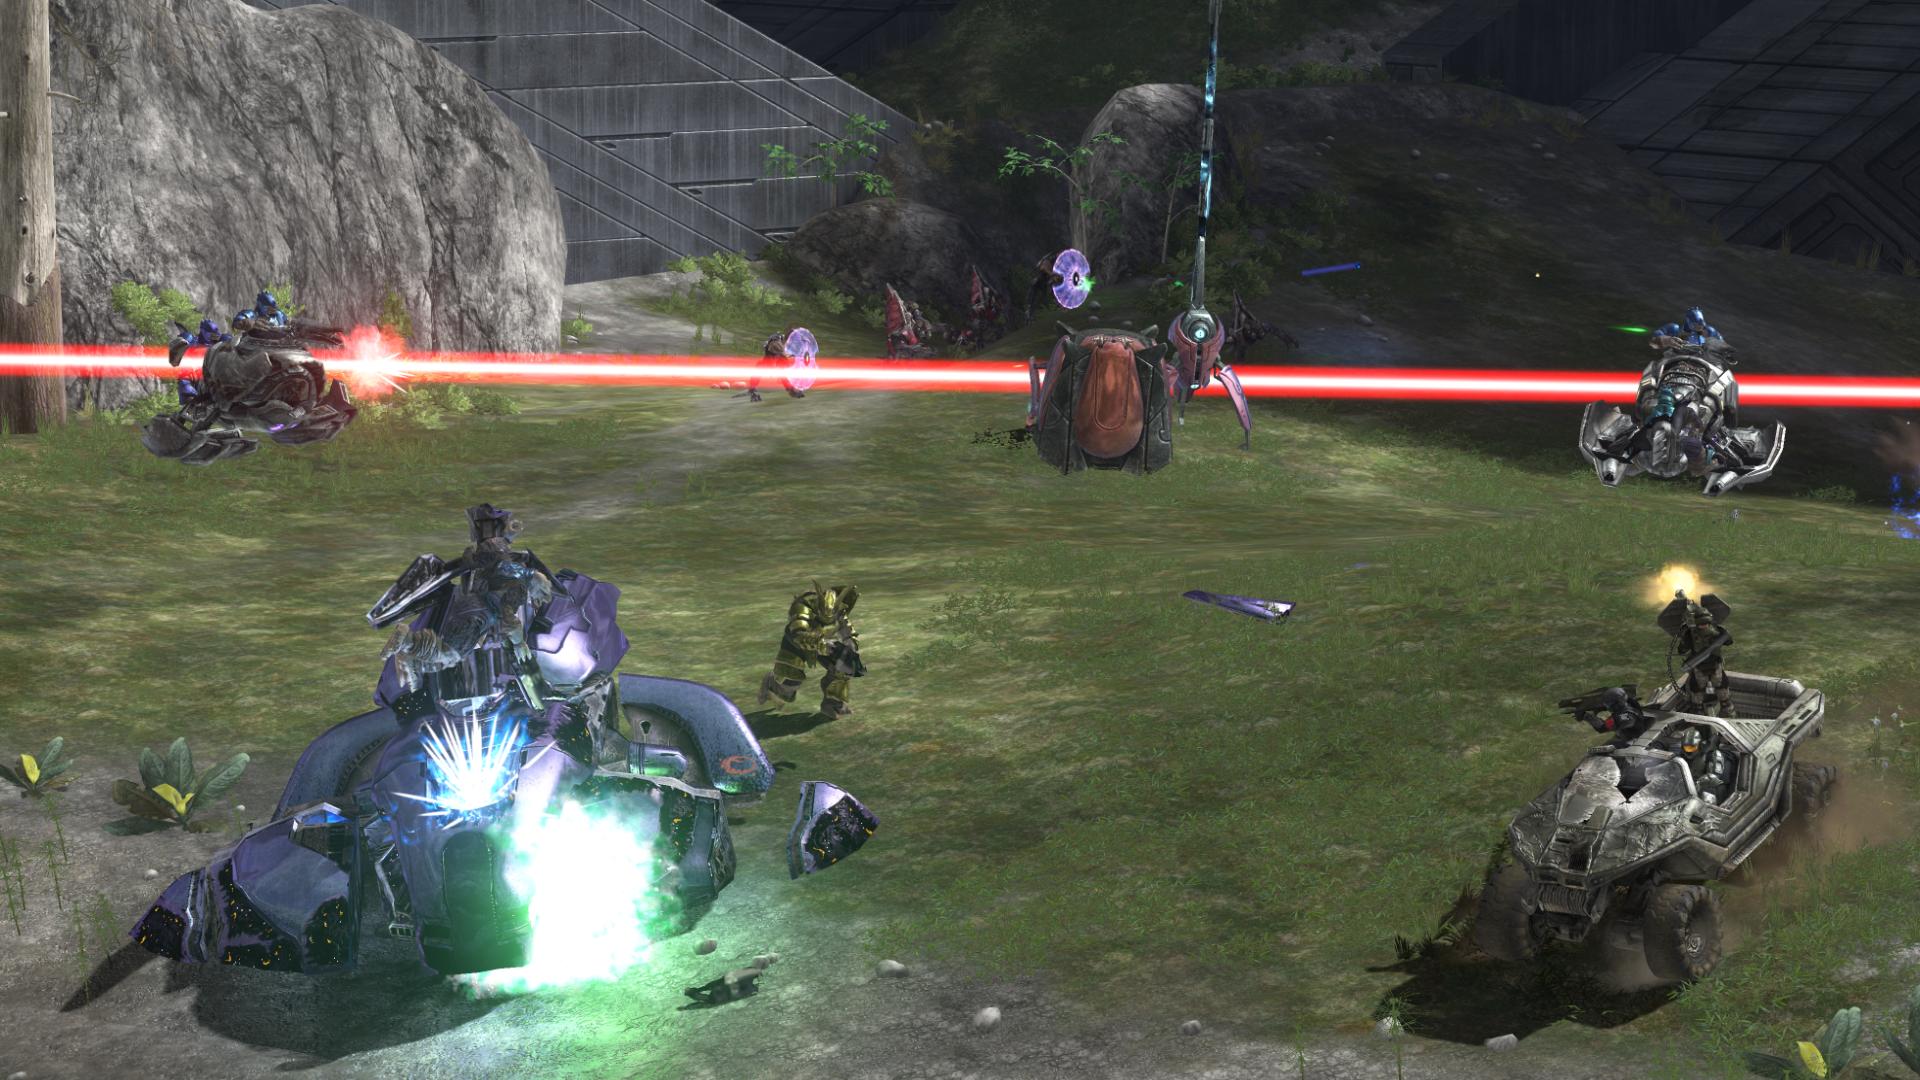
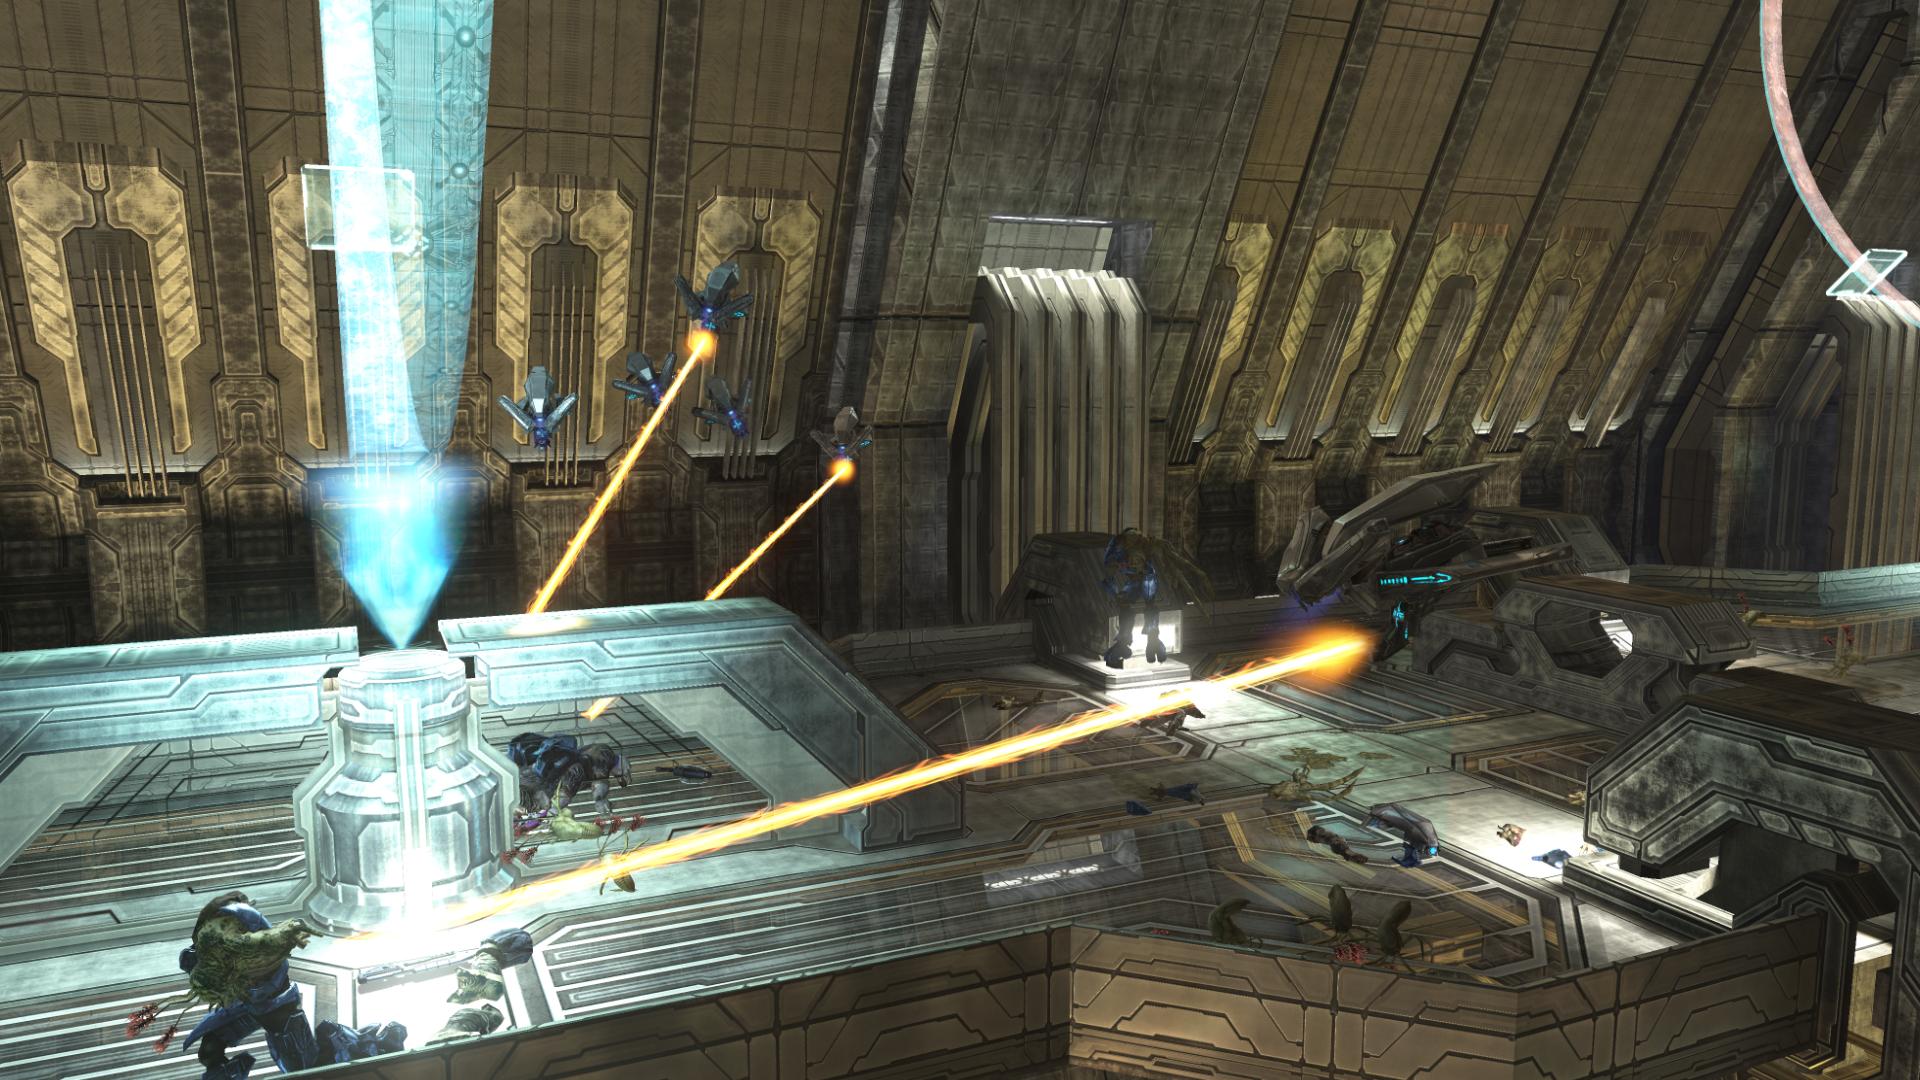
The piano-led Halo theme from the announcement trailer begins to play… a massive aerial battle is taking place in the skies up ahead; at least twenty Hornets and Banshees are engaged in dogfights.
A series of winding paths lead you downhill.

Sometimes, it’s easy to blow through this area without really thinking about what’s happening. Ghosts, Prowlers, Wraiths, turrets, and grav platforms laden with Brutes are all scattered down the pathway… and the aerial battle above continues.
The steep walls and winding path keep the combat focused; you’re given enemies in front of you that you must quickly take out before they get too close, but you’re never quite overwhelmed. Once they’re destroyed, you’ll round a corner and face another group of combatants.
I think that the word “epic” is a good representation of what’s taking place here. The music, the amount of enemies, the nonstop action, and the unbelievably massive environment are the culmination of what the Halo trilogy offers as far as encounters. And the Marine’s line earlier (“Brutes are mobilizing everything they’ve got!”) set the stage plotwise.
When there finally is a lull in the fighting, you should stop and take note of where you’ve arrived:

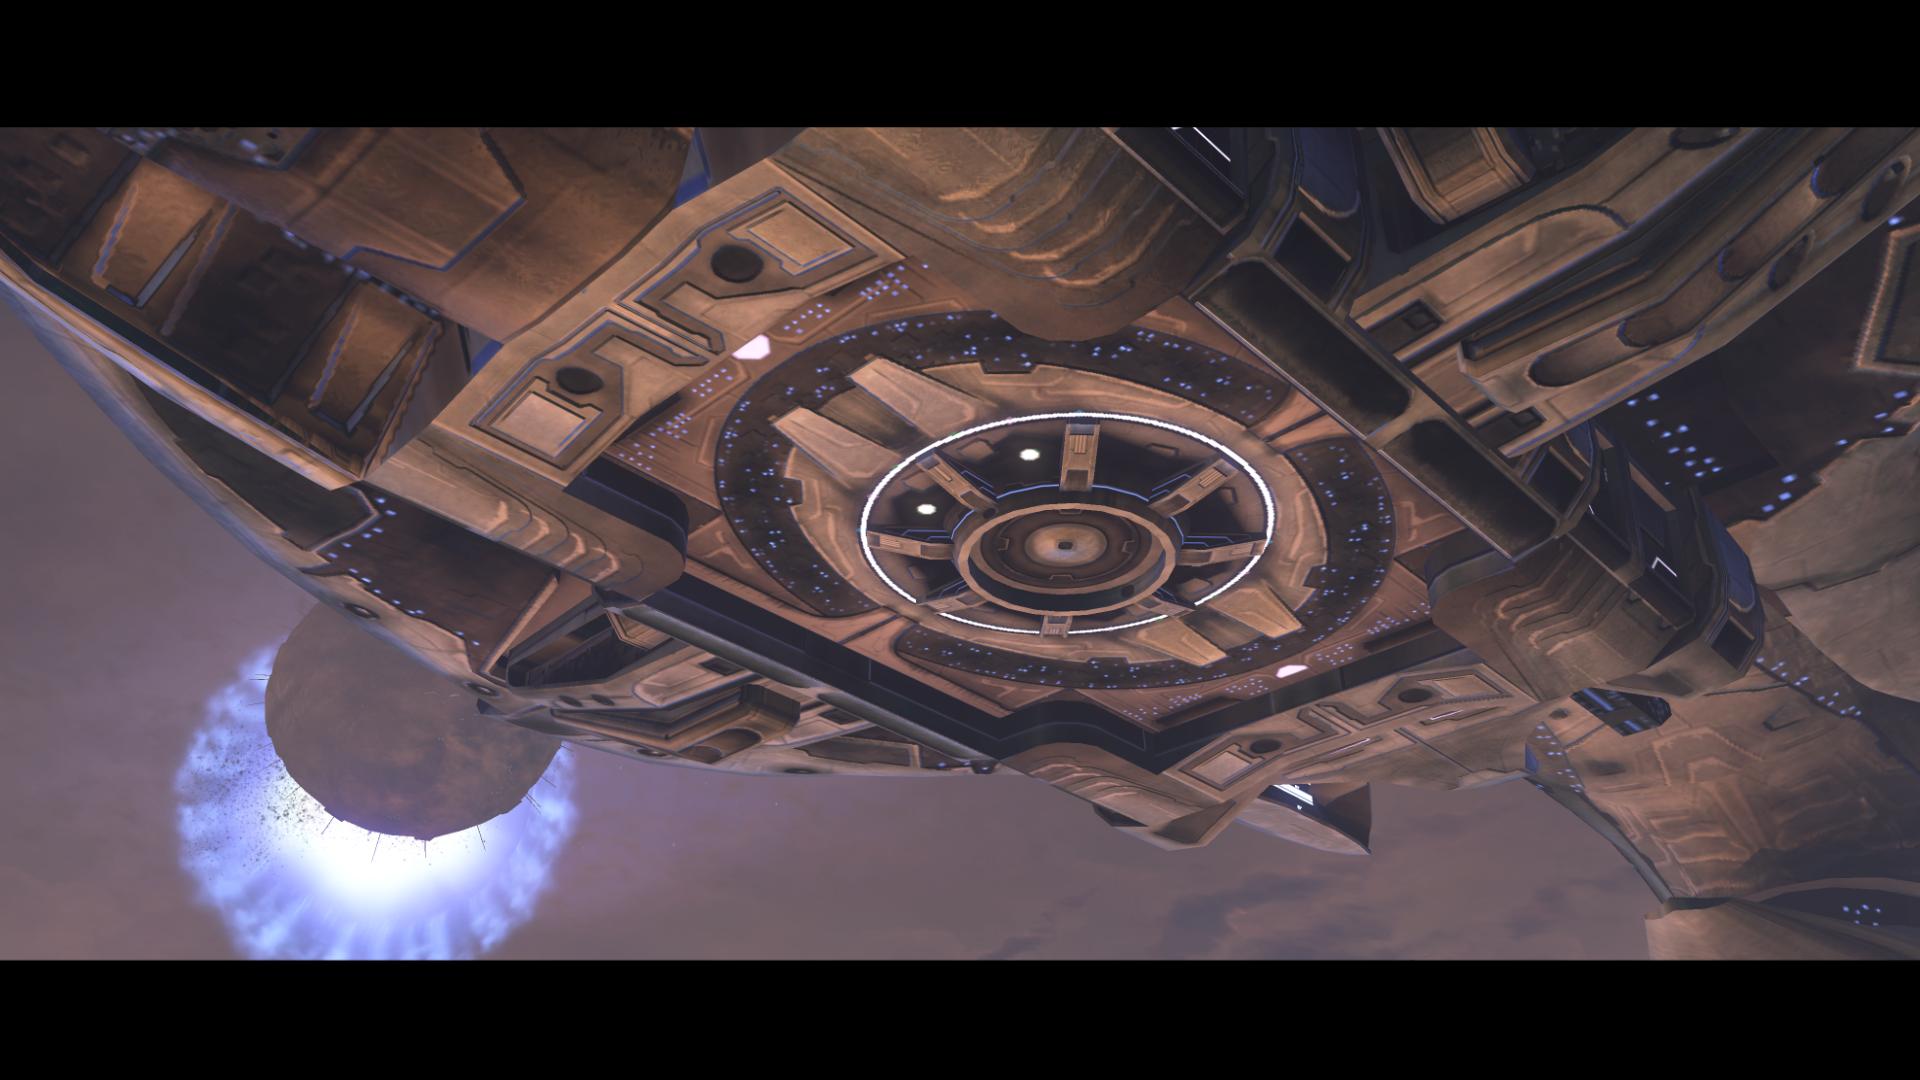
The planet-like structure that you’ve seen in the sky since you landed on the Ark can now be seen directly past the Forerunner structure that you’re moving toward. This planetoid, from what we’ve seen, is at the direct center of the Ark, and, based on its color, looks to be made out of some kind of metal or ore.
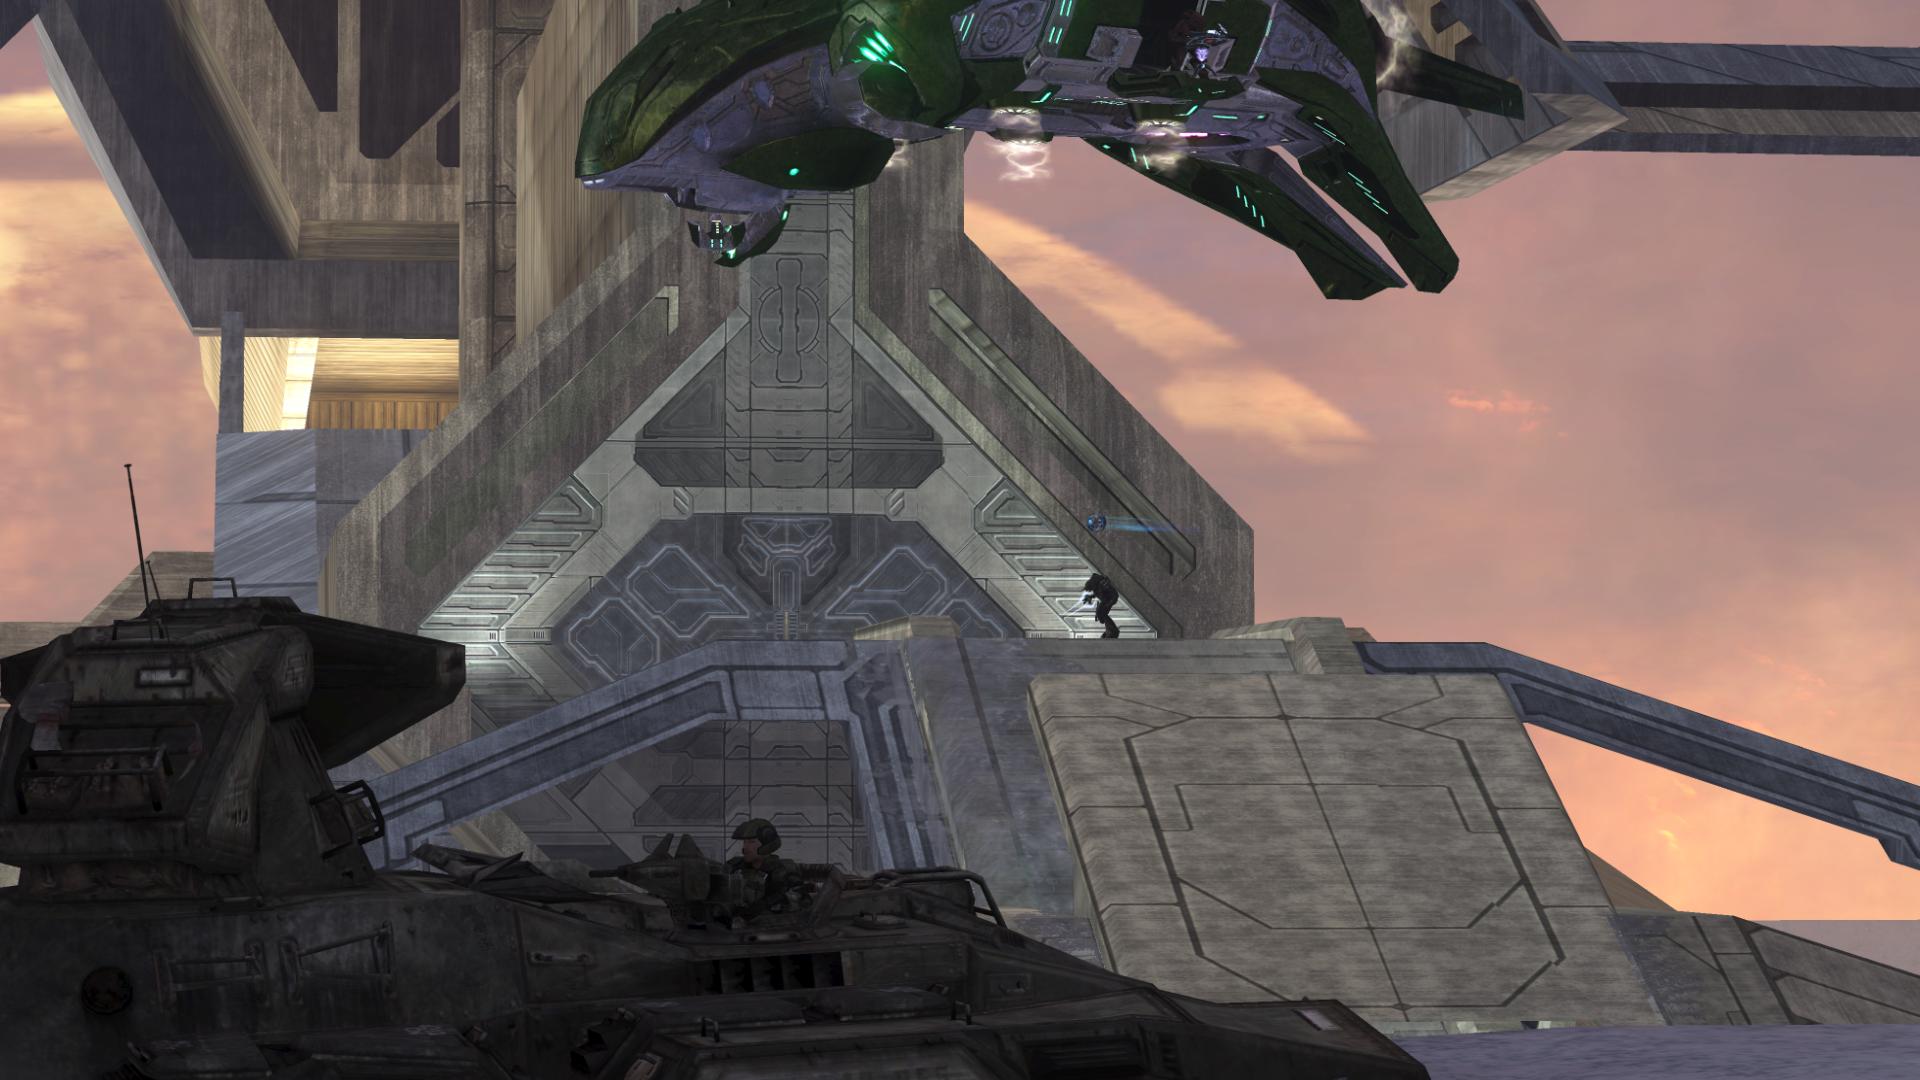
Finally, as the fighting subsides, a pair of Hornets land ahead:
“Hornets, inbound!” [The Covenant, Halo 3]
It’s at this point that you have some tough decisions: do you keep the Scorpion tank, or pilot one of the Hornets? I doubt that you could have ever convinced me that I might want to abandon a Scorpion tank in favor of another vehicle… but I often choose that way, here! In addition to these two options, you can also drive (or ride in) the Gauss Warthog, if it’s still intact, and lastly, you have one more option – as the Hornets landed, you may noticed that one remained hovering. This is because you can ride as a passenger, and let a Marine pilot! The reason for this abundance of options quickly presents itself…

“I count two Scarabs! Repeat: Two Scarabs!” [The Covenant, Halo 3]
Two Scarabs literally drop out of the sky and land at the base of the massive Forerunner structure. If Truth was going to summon anything to buy him time, two Scarabs was probably his best option. In the past, just taking down one of these mammoths was a massive undertaking… tackling two may (and will) prove to be a very tough feat.
If you chose to ride sideseat in one of the Hornets, the pilot will actually drop you off on one of the Scarabs! Unlike past Scarabs, both of these two each hold multiple Brutes, and a Chieftain with a Fuel Rod Gun, so clearing them out and taking them down is not going to be easy if you’re planning to board them. If you have one of the Hornets drop you off, and you successfully destroy the core of the Scarab, the pilot will come back to pick you up and ferry you to the next Scarab!
I find this tactic to be incredibly fun, and brutally punishing. There are a thousand things that can go wrong: you can miss your initial drop onto the Scarab, and land on the ice floor below, alone and afraid. You can (and probably will) get killed by one of the many Brutes that inhabit the Scarab. And, oftentimes, if you actually manage to clear the enemies out and take out the core, you’ll find that your Hornet pilot is no longer alive to pick you back up!
Piloting a Hornet can be fun, as well, but remember that you have to deal with four Scarab cannons (their main cannons and their smaller, but deadly, plasma cannons). In addition to this, the Banshees that roam the air will attack you when you have your attention focused on the Scarabs.
The tank seems to be your best option. Its main cannon is devastating, especially to a Scarab’s legs. But there are Ghosts and Prowlers patrolling the ground, and their sole purpose is to prevent you from succeeding in this tactic.
Once you’ve taken out the first Scarab, it’s as though the Banshees realize the seriousness of the situation, because they will almost always turn their attention on you (if they haven’t, already). But if you can avoid them, the Ghosts, the Prowlers, the Brutes manning the plasma turrets on the Scarabs, and finally the Scarabs themselves, then this battle will be yours.
Easy enough, right?

I want to touch on a few things before we leave this area. First, let’s discuss, for a moment, the battle itself. As the final major confrontation with the Covenant, I can’t blame anyone for being a bit disappointed with the scale of things. Two Scarabs, as epic of an encounter as they make, are still only two Scarabs. At any given time there are maybe two Ghosts and a Prowler on the deck, and then, of course, there are the countless aerial vehicles. Lastly, there are the enemies on board the Scarabs. There are not multiple battles taking place on the ground, there are no Phantom drop-offs of enemies, and there are no Marine contingents doing battle with Covenant squads…
Fictionally, there’s a reason for this. The majority of the Covenant fleet has already been decimated, as Half-Jaw mentioned back outside the Map Room. But, again, realistically speaking, I cannot find fault with anyone that expected this final confrontation to be unimaginably epic – the last battle with the alien race that has pushed humanity to the edge of extinction.
I also want to make note of something that does not help to at all to dissuade one from feeling a bit disappointed: while there are no Phantoms involved in this battle, there is a lone Pelican that flies around the Scarab. But if you watch carefully, you’ll see that flying around is all that it does! It hovers around and keeps its nose pointed directly at the Scarab, as though it were trying to intimidate it to death. I have to say, this really breaks the intensity of the moment for me, now that I’ve noticed it.
I’d like to point out that this battle is hard enough as it is. The Ghosts, the Prowlers and the Banshees make it very tough to stay alive on the ground or in the air for very long, and the Fuel Rod-wielding Chieftains making infiltrating the Scarabs extremely difficult, as well. So, from that perspective, I’m glad that this encounter was not made any more difficult than it already is.
By the way, if any enemies are left after the second Scarab is destroyed, 343 Guilty Spark will take it upon himself to get rid of them.
Let’s take a look at something else, now. A very specific location on the exterior of the Forerunner structure is home to a really interesting easter egg.
The Chief can be seen in the bottom left-hand corner of this screenshot. If you stand at that precise location, and wait for just a moment, a song will begin to play! This is, of course, the Siege of Madrigal, from an earlier Bungie game, Myth. This song is widely known amongst Halo fans for its inclusion as an easter egg in the first Halo game; it could be found in multiple locations, but the one that was easiest to access (and therefore most famous) was at the top of the Control Room spire on Assault on the Control Room. The version heard here in Halo 3 is identical, but we’ve made an mp3 available for download, nonetheless. You can find it here.
One last thing before we move on. This is something that should probably be classified as an interesting bug, as opposed to an easter egg, but for documentation’s sake, I want to list it here anyway. High above the battle, over the edge of the bowl, you can find something very interesting.
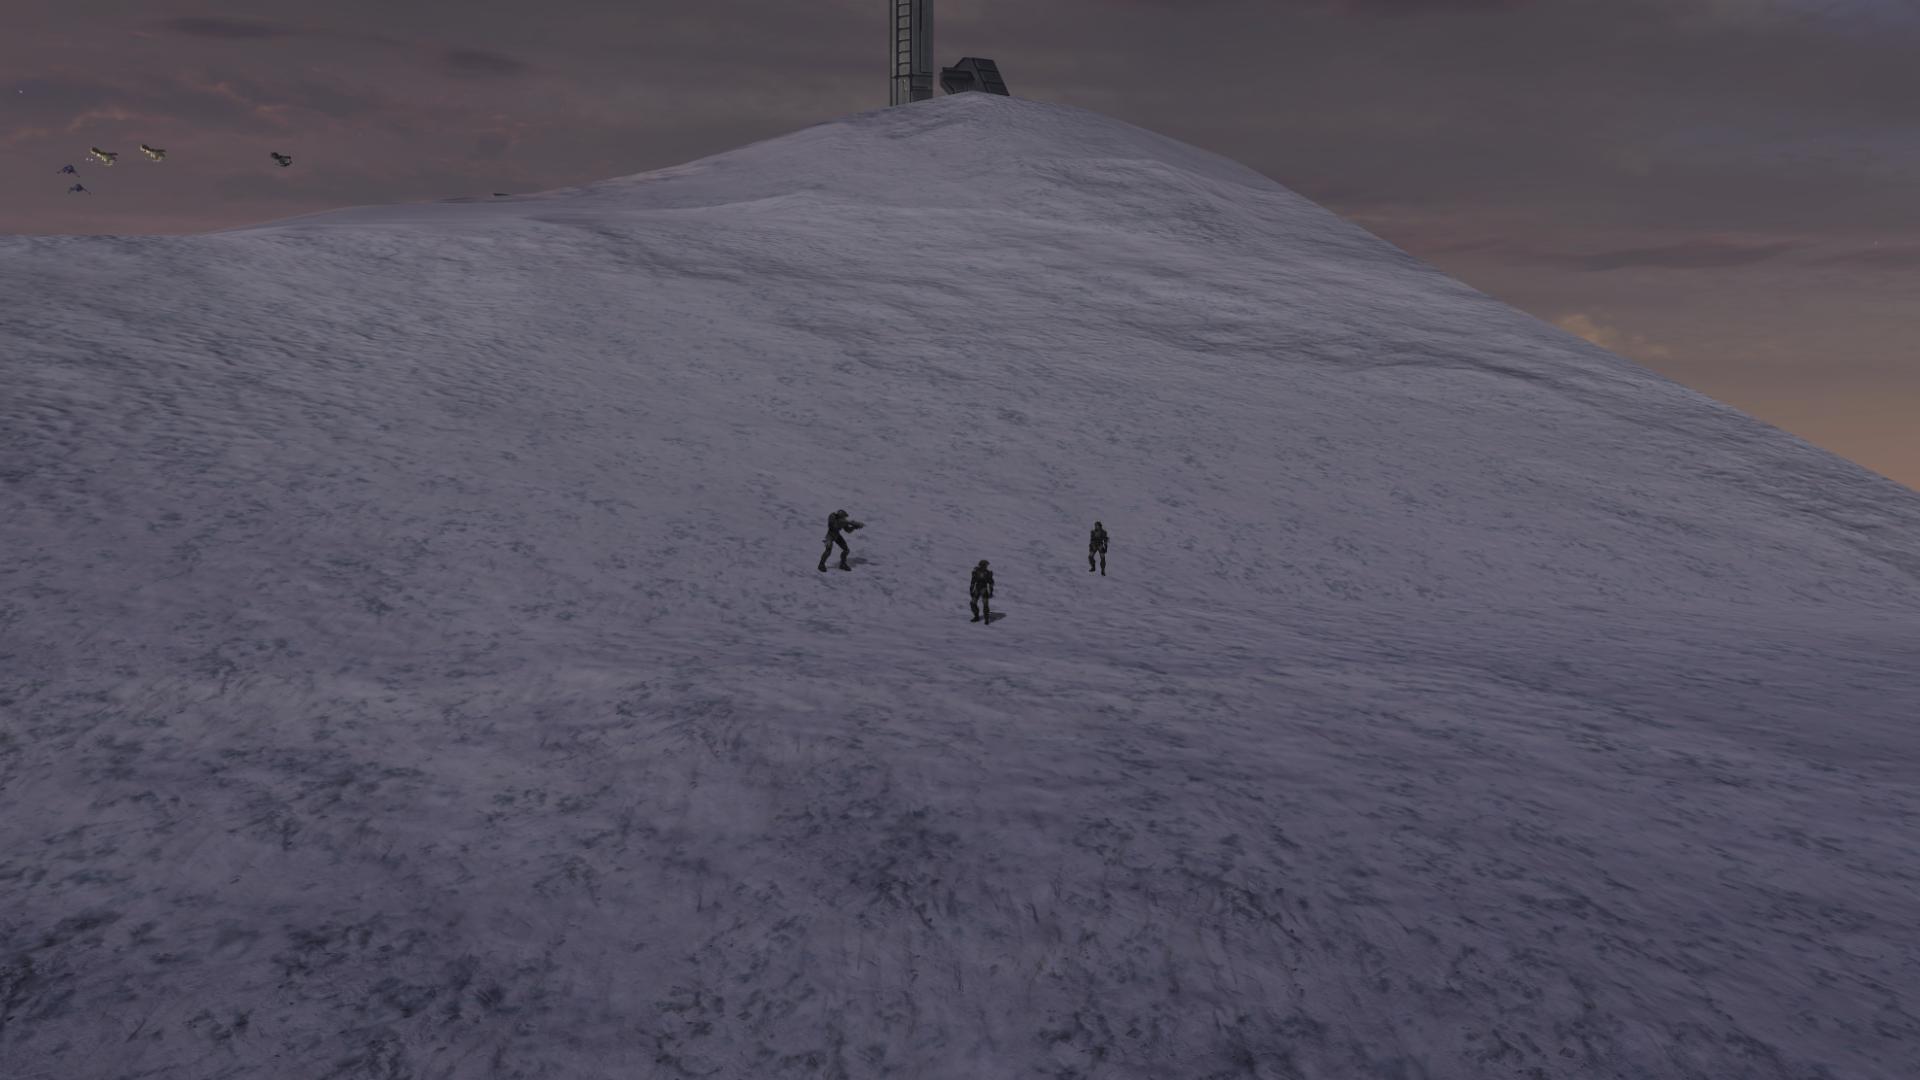
One or two Marines can often be found here, alone and stationary. They appear to spawn only when you rush into the bowl; whenever I’ve stopped and fought enemies, and then visited this location, they had not spawned. The number and types of Marines that spawn appears to be random. There are lots of theories about their purpose, but I think that the most likely explanation is that it is just a bug. If you’d like to see another screenshot that should help you see how to reach this area, you can do so here. Hijacking a Ghost is the easiest way to get there.
Moving on…
“Spartan, come to me. This platform hides a path!”
“Spark has found a way into the citadel. He’s waiting for you on the platform, Chief. Go!” [The Covenant, Halo 3]
The Arbiter, having dropped out of a Phantom which now hovers above him, waits alongside the Monitor.
“The Flood scales the citadel’s far wall. Activate this bridge, Oracle! The Prophet will die by my hands, not theirs.” [The Covenant, Halo 3]
Time is running out in both directions: Truth, inside the structure, is about to activate the Array; and the Flood are pressing in from all around.
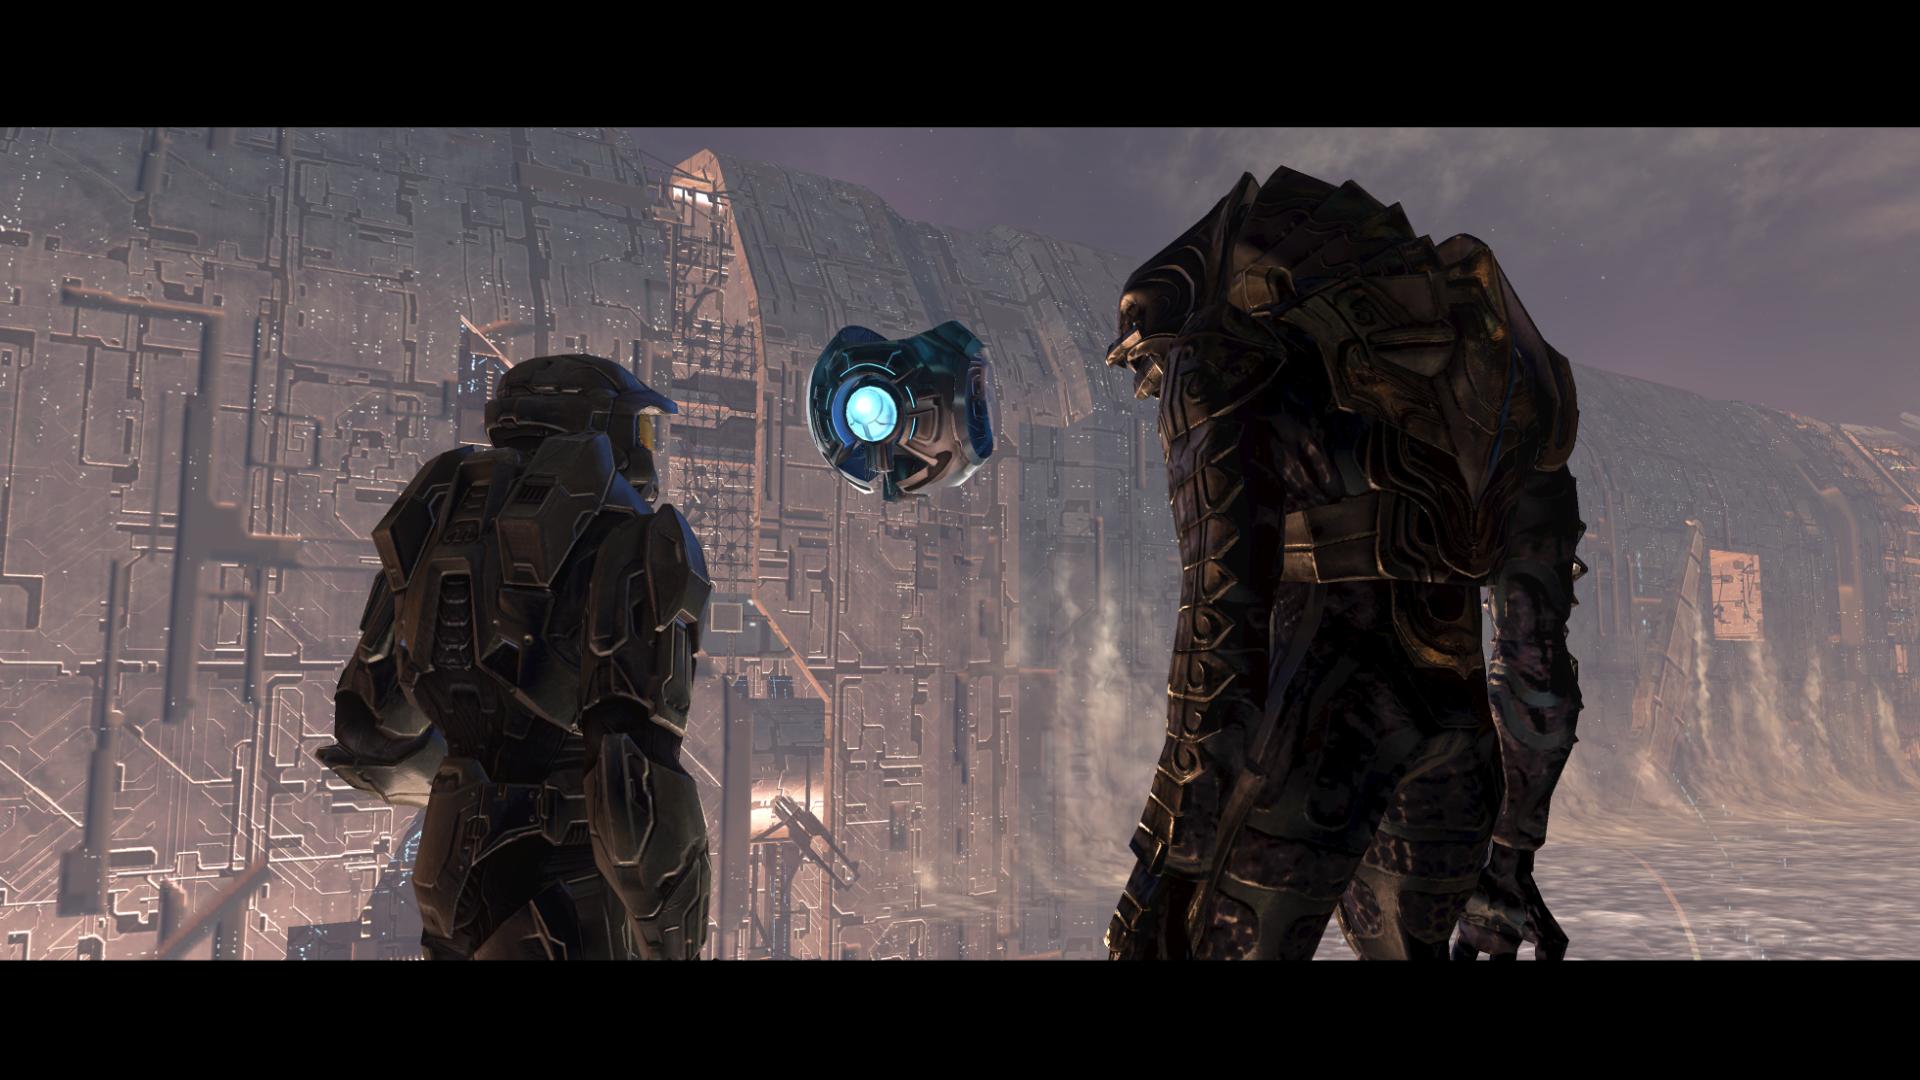
343 Guilty Spark activates a light bridge, and the Chief and the Arbiter make their way toward the entrance.
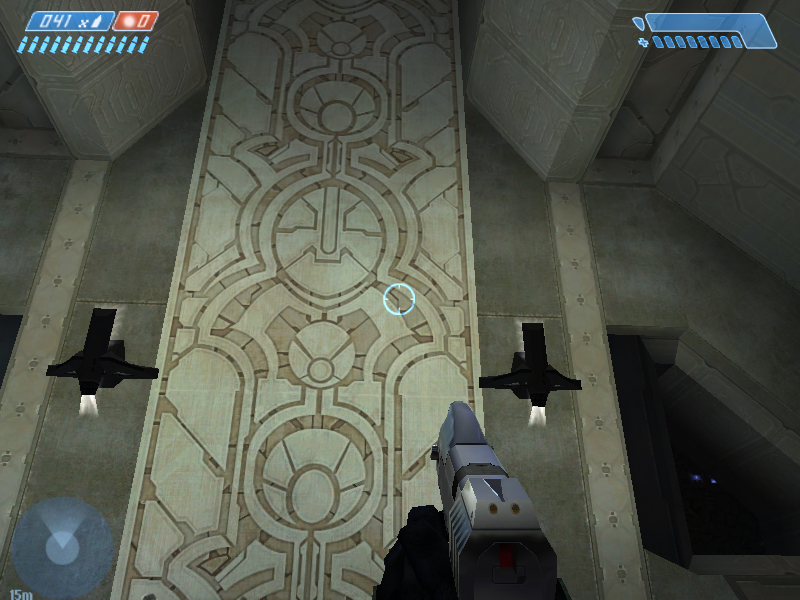
The door to the interior should remind players of past Halo games; it is of the same design as the doors on the level The Assault on the Control Room. In addition to this, the holograms found decorating the chamber are worth taking a look at:
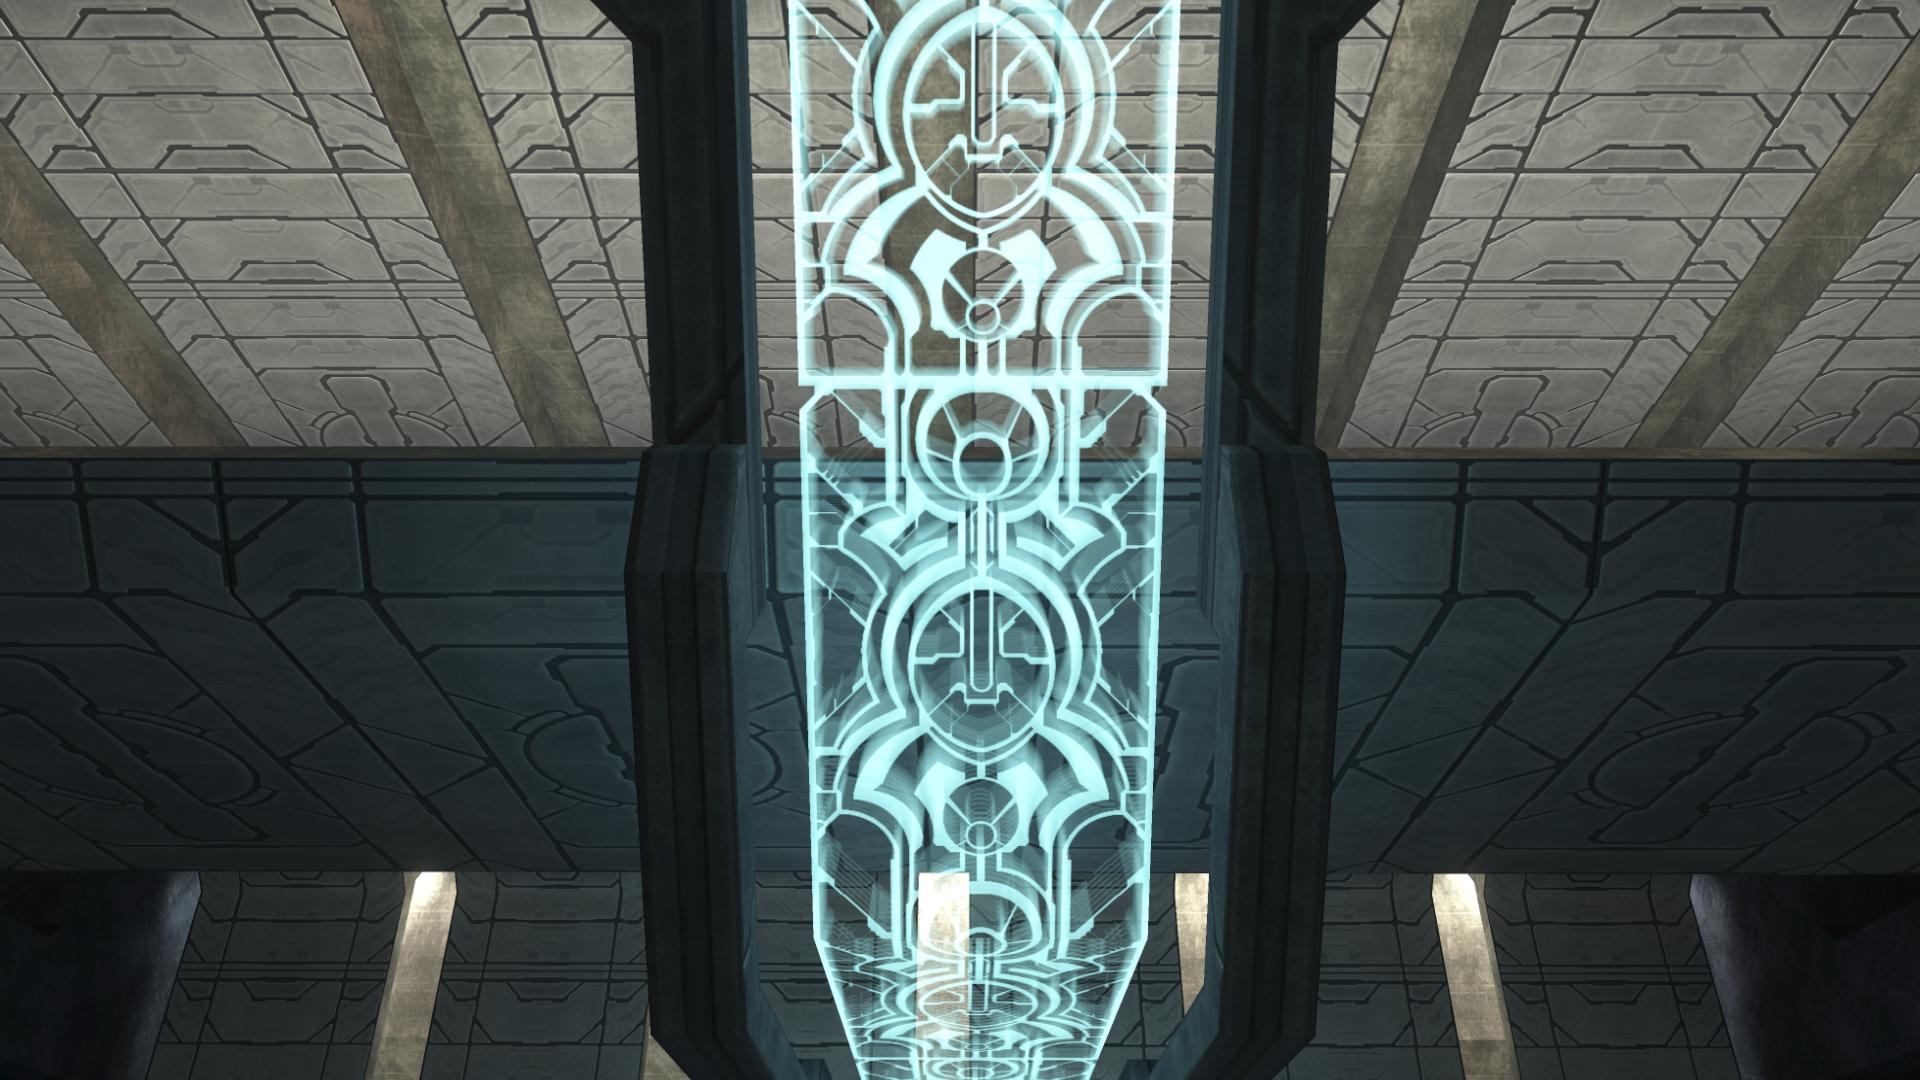
This pattern of symbols has been repeated very often throughout the series; it was seen as early as The Silent Cartographer in the first Halo game (see here). One part of the symbol may be recognized as being quite Monitor-esque.
Cortana speaks – for the first time since the Chief has left Earth:
“It asked, and I answered; for a moment of safety, I loosed damnation on the stars.” [The Covenant, Halo 3]
Truth appears on the holographic panels that displayed Cortana only moments ago:
“My faithful, stand firm. Though our enemies crowd around us, we tread the blessed path! In a moment I will light the rings, and all who believe shall be saved.” [The Covenant, Halo 3]
The Chief and the Arbiter break into a run; wherever Truth is, he’s within moments of firing the Array.
“Chief! How close are you?” [The Covenant, Halo 3]
“Not close enough.” [The Covenant, Halo 3]
Truth steps aside to display Johnson being held by a Brute Chieftain. Something is revealed that we may have overlooked – he will need a Reclaimer to activate the Array; he cannot do it himself.
Johnson taunts the Chieftain, who lashes out with violence. Truth points out to the Brute that Johnson is knowingly baiting him; as deluded as Truth may be, he is not incompetent enough to destroy his ticket to the Great Journey.
Speaking to Johnson:
“I admit – I need your help. But that secret dies with all the rest.” [The Covenant, Halo 3]
This line is very telling, and at the same time, quite puzzling. What exactly does Truth think is humanity’s relationship to the Forerunners? He certainly knows that humanity is the rightful heir to the Forerunners’ technology – he has heard this truth firsthand, when he first presented the discovery of humanity to a Forerunner A.I. (presumed to be Mendicant Bias):
< THIS IS NOT RECLAMATION > the Oracle boomed. < THIS IS RECLAIMER > [Halo: Contact Harvest, pg. 274]
< AND THOSE IS REPRESENTS ARE MY MAKERS >
Now it was Fortitude [Truth]’s turn to feel weak in the knees. He grasped the arms of his throne and tried to come to terms with an impossible revelation: each glyph represented a Reclaimer, not a relic, and each Reclaimer was one of the planet’s aliens – which could only mean one thing.
“The Forerunners,” the Minister whispered… [Halo: Contact Harvest, pg. 275]
…the Minister was at a loss for words.
He could honestly say that he had spent his entire life without experiencing a single moment of spiritual crisis. He had accepted the Forerunners’ existence because their relics were there to find. He believed in the Forerunners’ divination because in all their Ages of searching, the San’Shyuum had found no bones or other remains. He knew the Covenant’s core promise that all would walk The Path and follow in the Forerunners’ footsteps was critical to the union’s stability.
And he was certain that if anyone learned they might be left behind, the Covenant was doomed. [Halo: Contact Harvest, pg. 277]
“We must take no chances with these… Reclaimers.” Fortitude could not bring himself to say “Forerunners.” He grabbed his wattle and gave it a steady tug. “They must be expunged. Before anyone knows of their existence.” [Halo: Contact Harvest, pg. 278]
“If the Oracle speaks the truth, than [sic] all we believe is a lie.” Fortitude’s voice filled with sudden strength. “If the masses knew this, they would revolt. And I will not let that come to pass.” [Halo: Contact Harvest, pg. 278]
Much is revealed about Truth, formerly the Minister of Fortitude, in these passages. As the novel progresses, Truth expresses his doubt as to the factuality of the Oracle’s statements. But if the Oracle would tell him falsehoods, then all he knows is a lie, anyway – who can he trust, if not an Oracle left behind by the gods themselves?
So why has Truth continued to pursue his conquest of humanity, and, more importantly, his goal of activating the Array? If humanity is truly the race of “Reclaimers” – further cemented by the fact that only they are able to command the Array – then surely the Covenant would be left behind on any Great Journey that were to take place… right?
The most reasonable thesis for his actions is that he is simply unable to accept the truths placed before him… not only has he devoted his entire life to his religion, but he is the leader of untold millions that have also devoted their lives to the same religion. As he himself concluded: “if anyone learned they might be left behind, the Covenant was doomed.” Not only doomed as a group, but doomed as individuals… countless millions, having lived, breathed, and died in pursuit of a lie.
And thus was the situation that was presented to Truth that day on the Dreadnought – and his choice has guided his actions, and the Covenant, from then on.
But before carrying out the final phase, Miranda attempts a last ditch effort: piloting a Pelican in through the glass window above the platform, she crash lands mere feet away from Truth.
“Johnson! Sound off!”
“Get out of here!”
“Not without you!” [The Covenant, Halo 3]
Despite Miranda’s interference – she has her weapons trained on Truth’s Brutes – Truth remains focused:
“You delay the inevitable. One of you will light the rings. You cannot hope to kill them all!”
“You’re right…” [The Covenant, Halo 3]
Miranda realizes that she has remaining to her only one option…
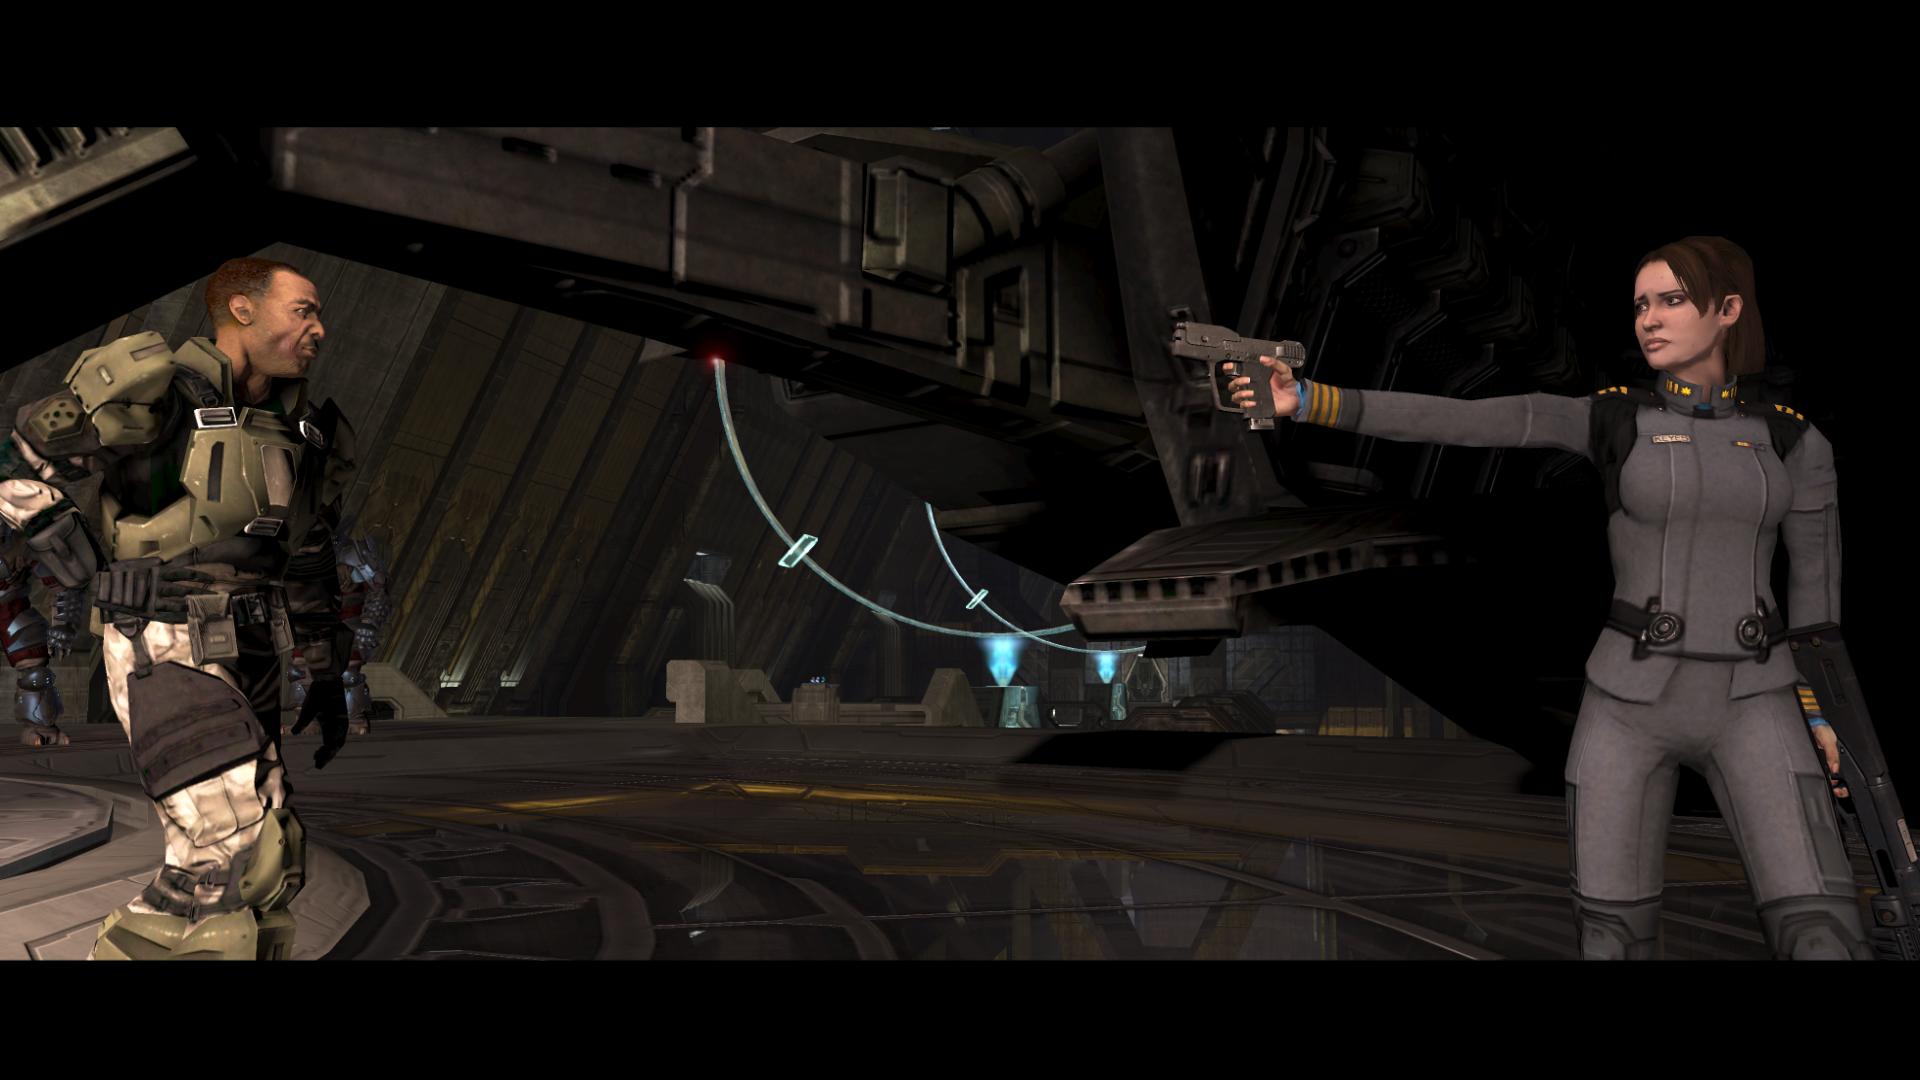
Johnson pressures her:
“Do it. Me – then you… Now!” [The Covenant, Halo 3]
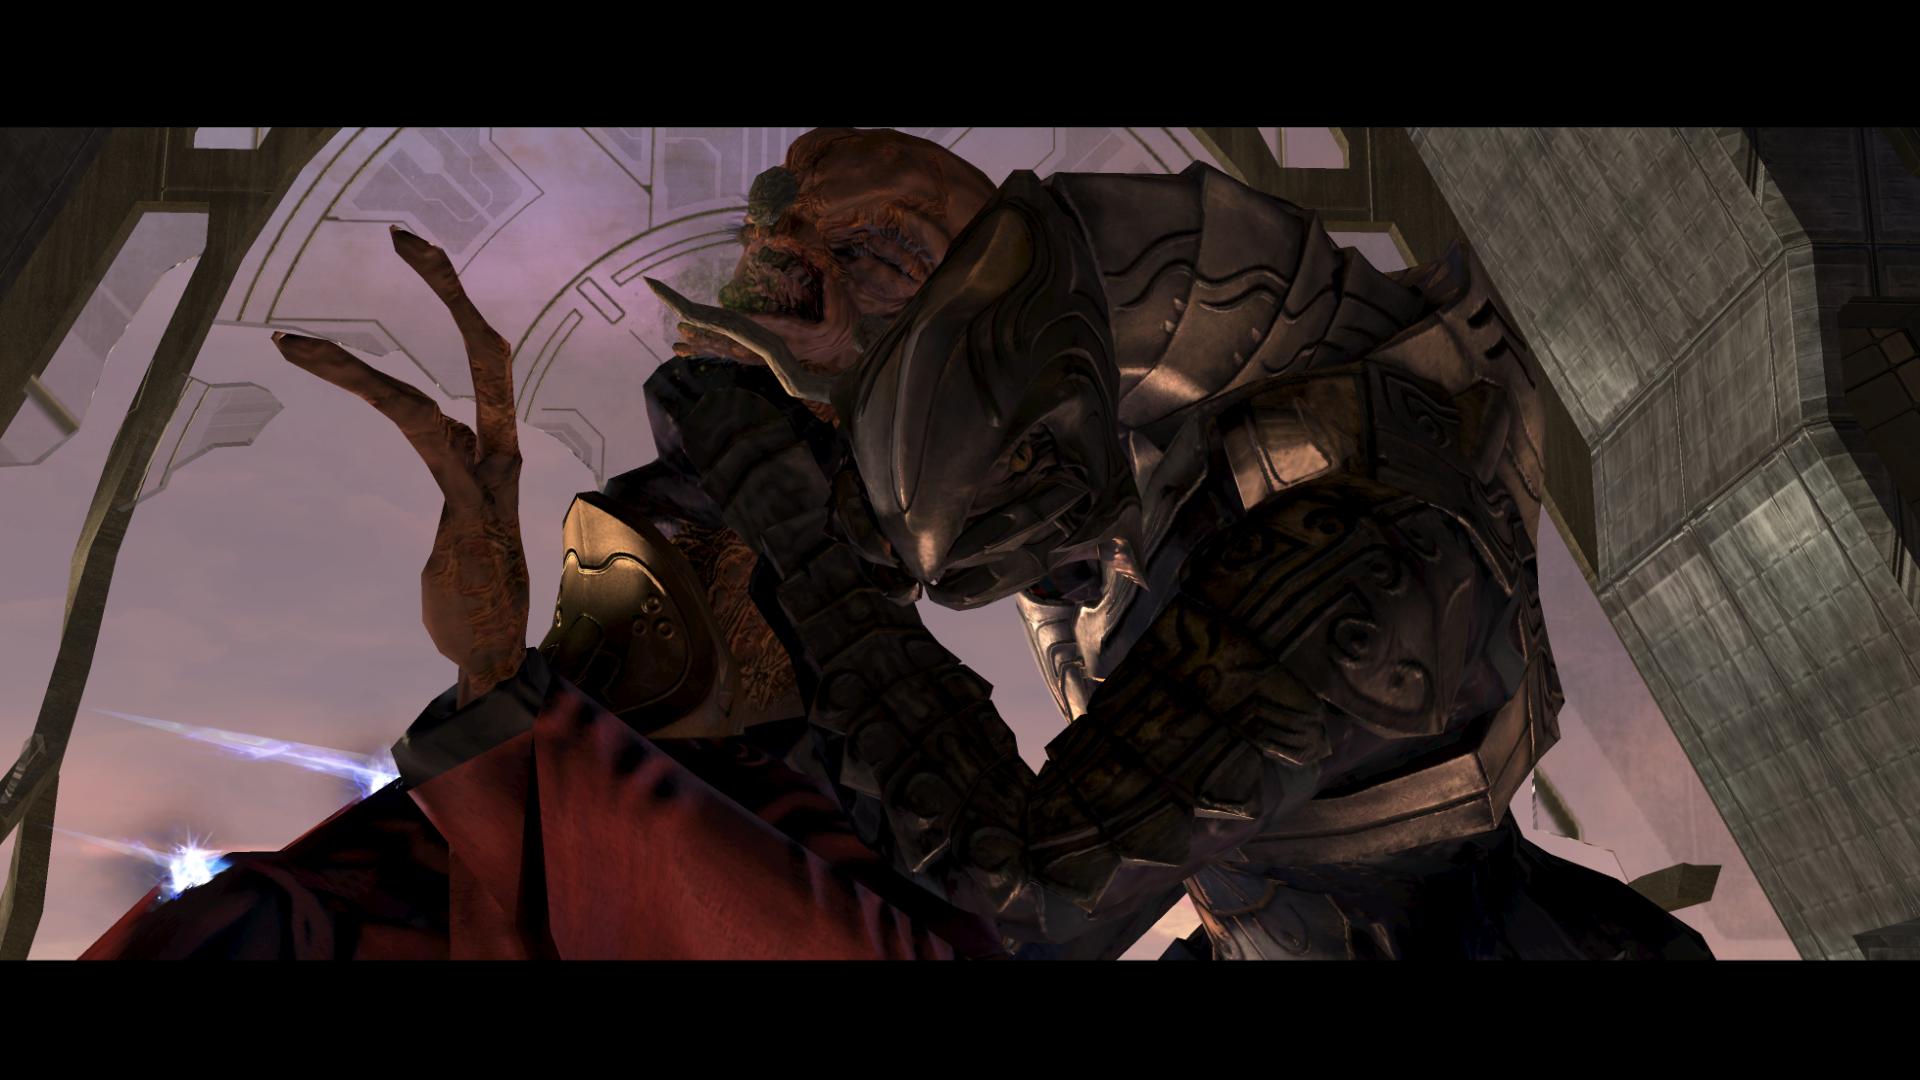
Unfortunately, Miranda hesitates… and in that moment of hesitation, Truth takes it upon himself to use one of the Brute’s Spiker Rifles to impale Miranda in the back.
She falls, dead.
“Your forefathers wisely set aside their compassion – steeled themselves for what needed to be done. I see now why they left you behind. You were weak… and gods must be strong.” [The Covenant, Halo 3]
And with these words, Truth accomplishes the two objectives most important to him: he verbally discounts the Oracle’s claims of humanity being the rightful heir to the Forerunner – obviously more for his own sake than for Johnson’s – and he initiates the activation of the Array.
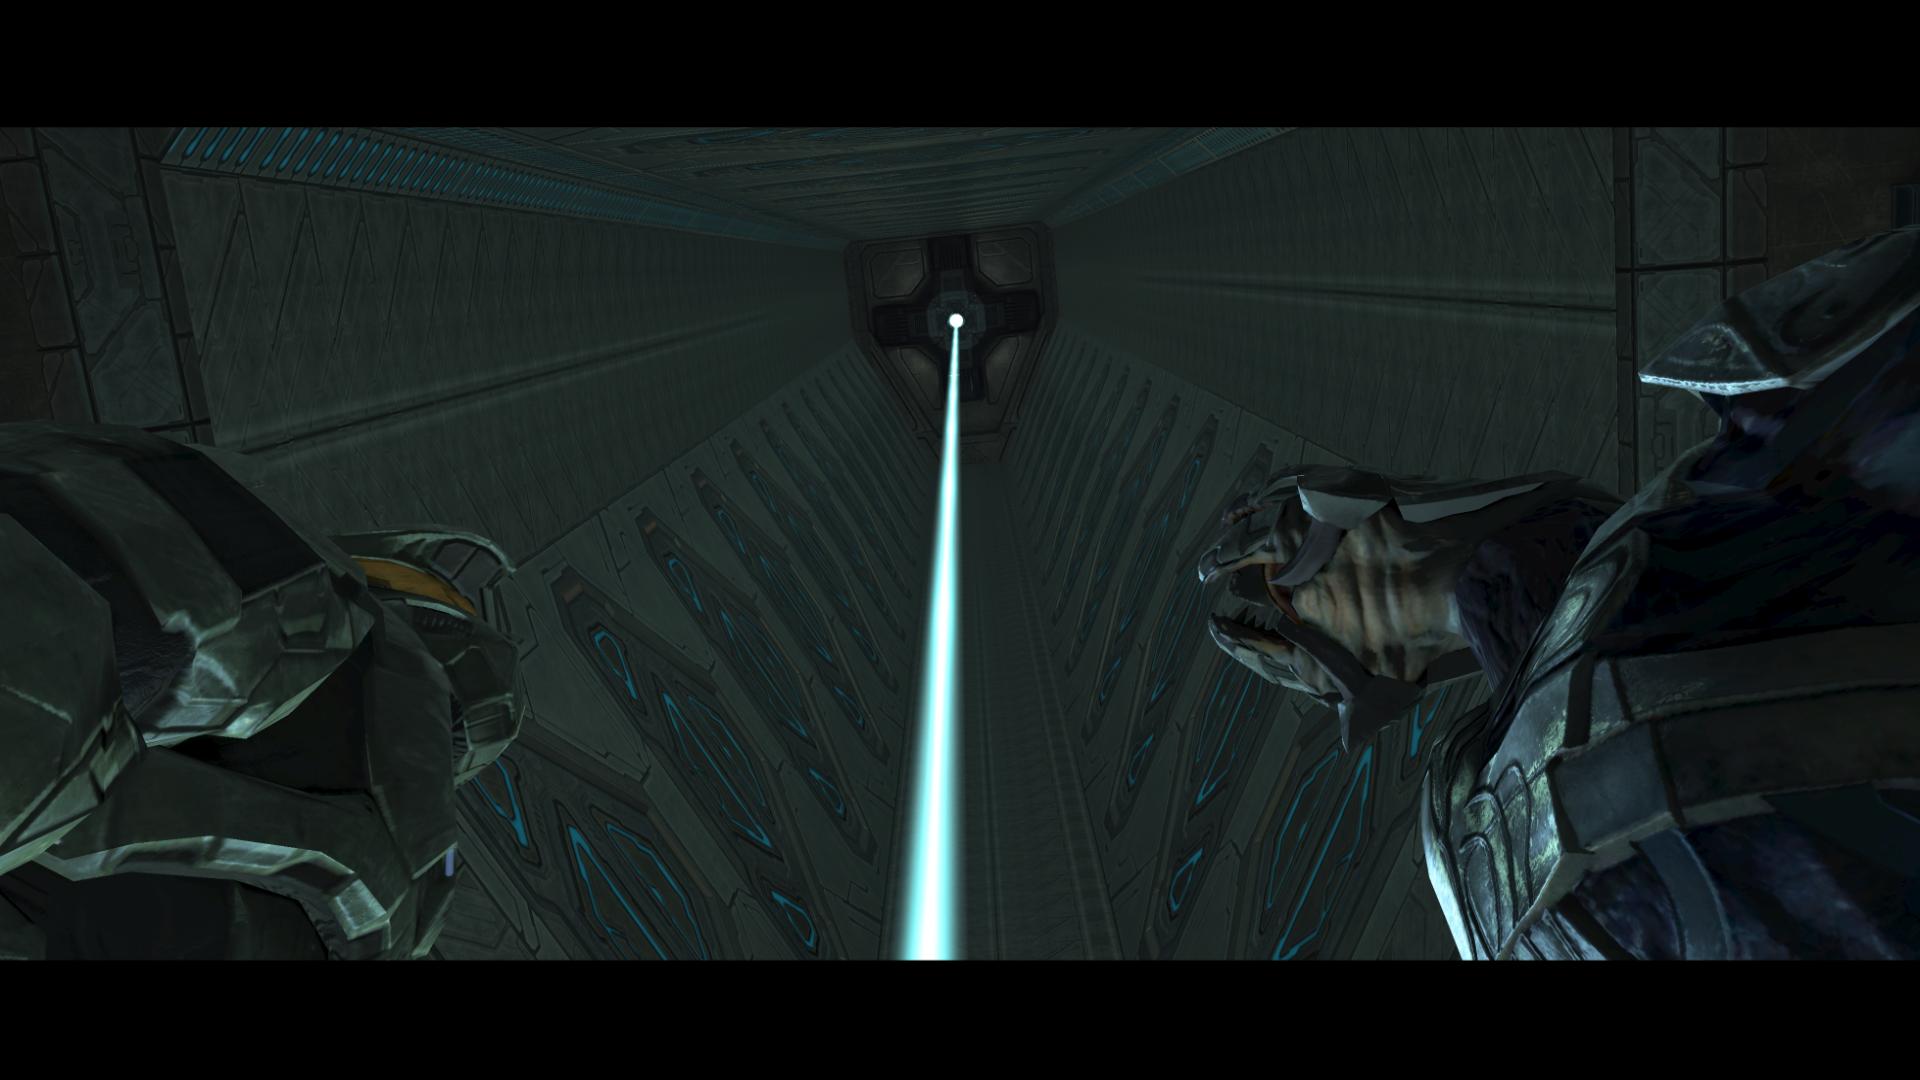
Seven holographic representations of the Halo rings light up – including the fourth one that appears to be mostly destroyed… and the Chief and the Arbiter arrive at the top of the shaft, at the far end of the tunnel from Truth.
Two Flood Pure forms drop from the ceiling: the Flood have beaten the Chief and the Arbiter here.
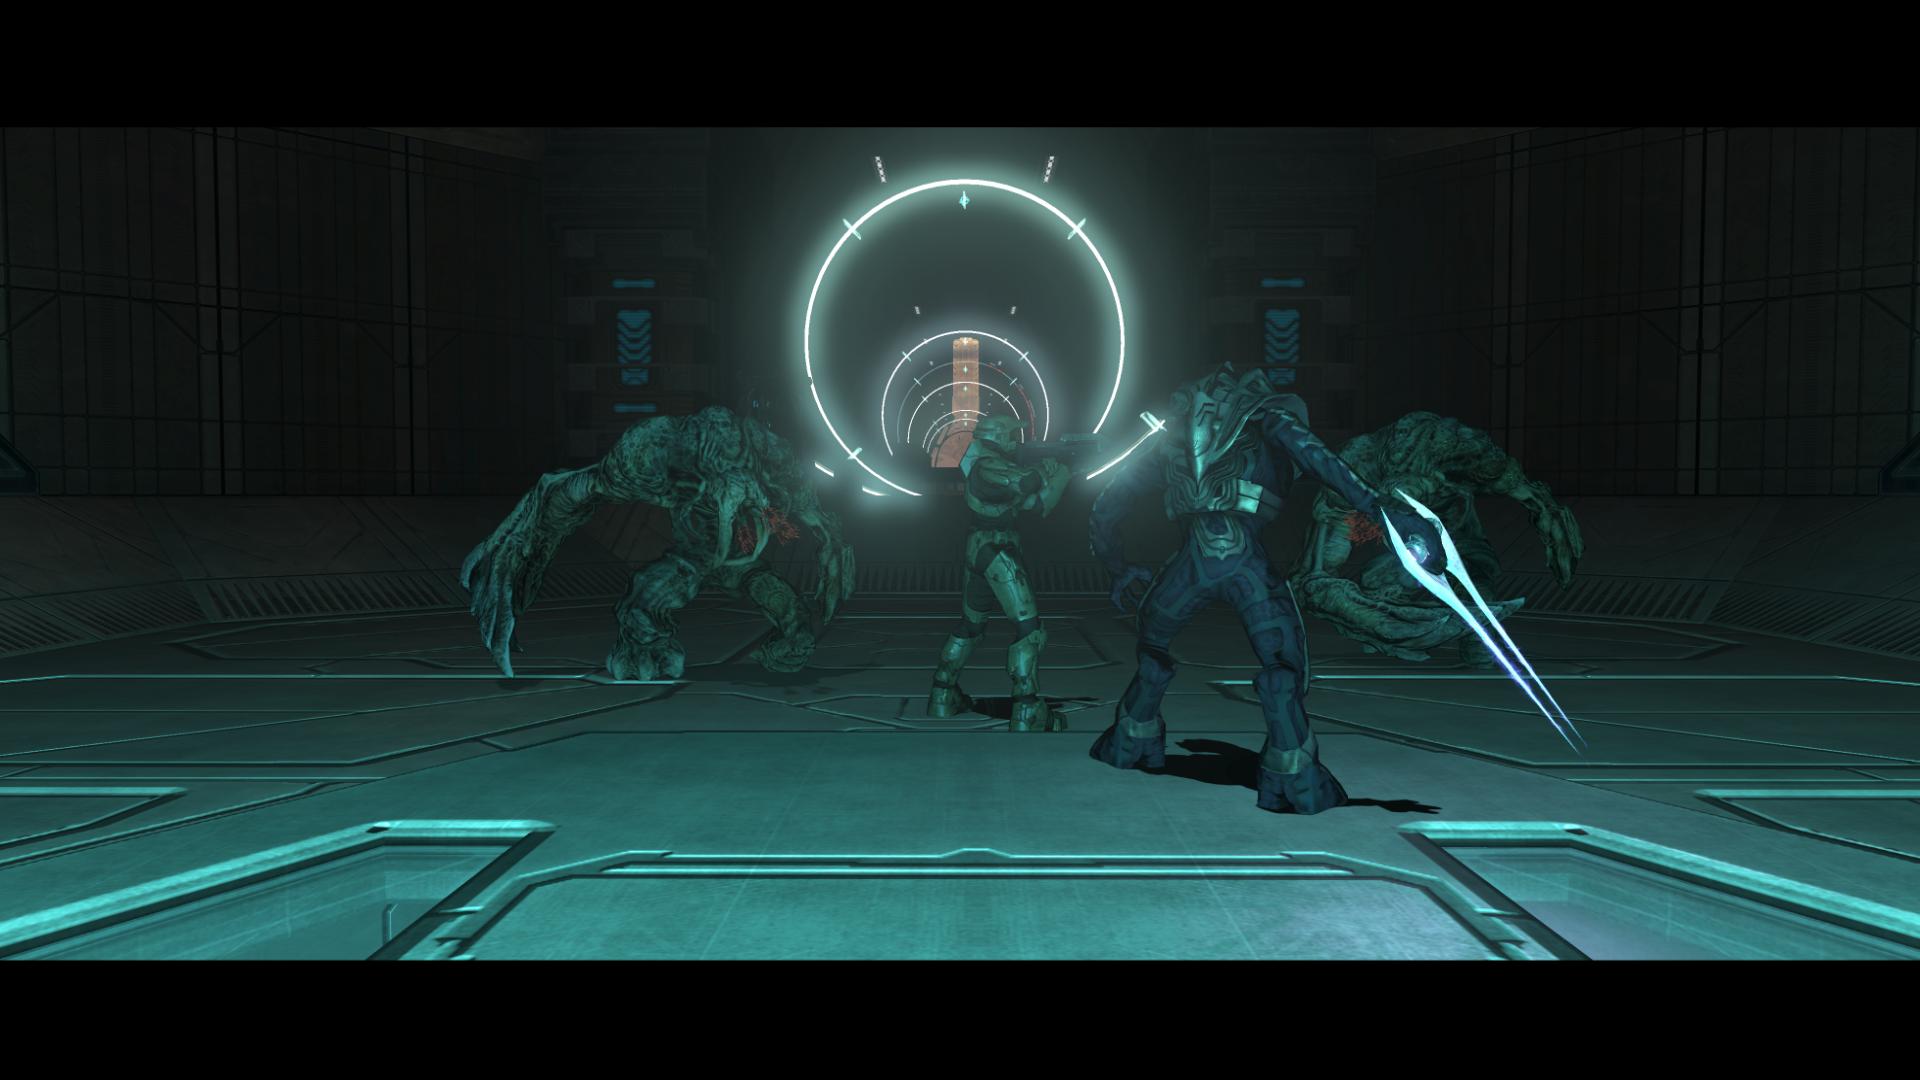
“Do not shoot, but listen! Let me lead you safely to our foe. Only you can halt what he has set in motion!” [The Covenant, Halo 3]
Speaking through his minions, the Gravemind proposes something unbelievable: a truce with the Flood. Of course, he doesn’t want the Array to fire any more than the Elites and humanity do.
This proposal is the galaxy’s last chance to stop Truth from activating the Array and eliminating all sentient life.
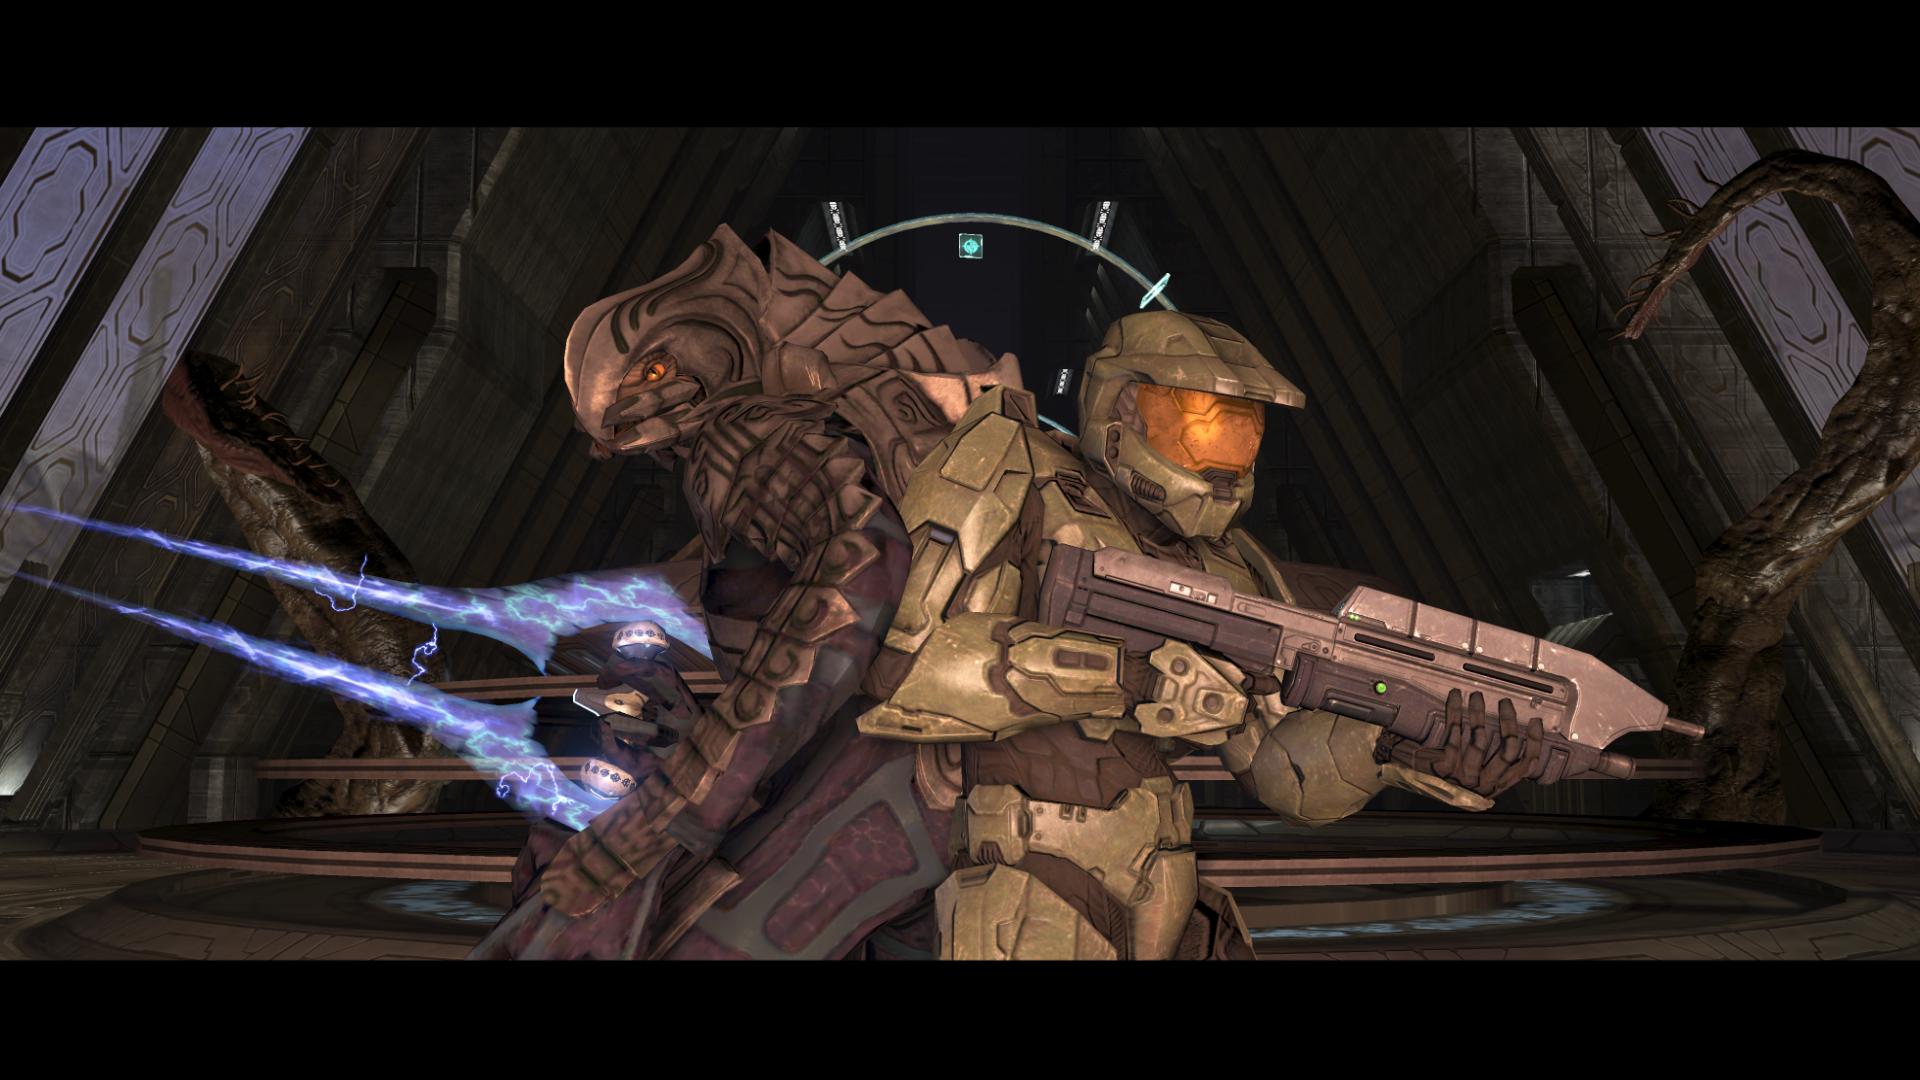
The Chief, the Arbiter, and the Flood move forward as one force…
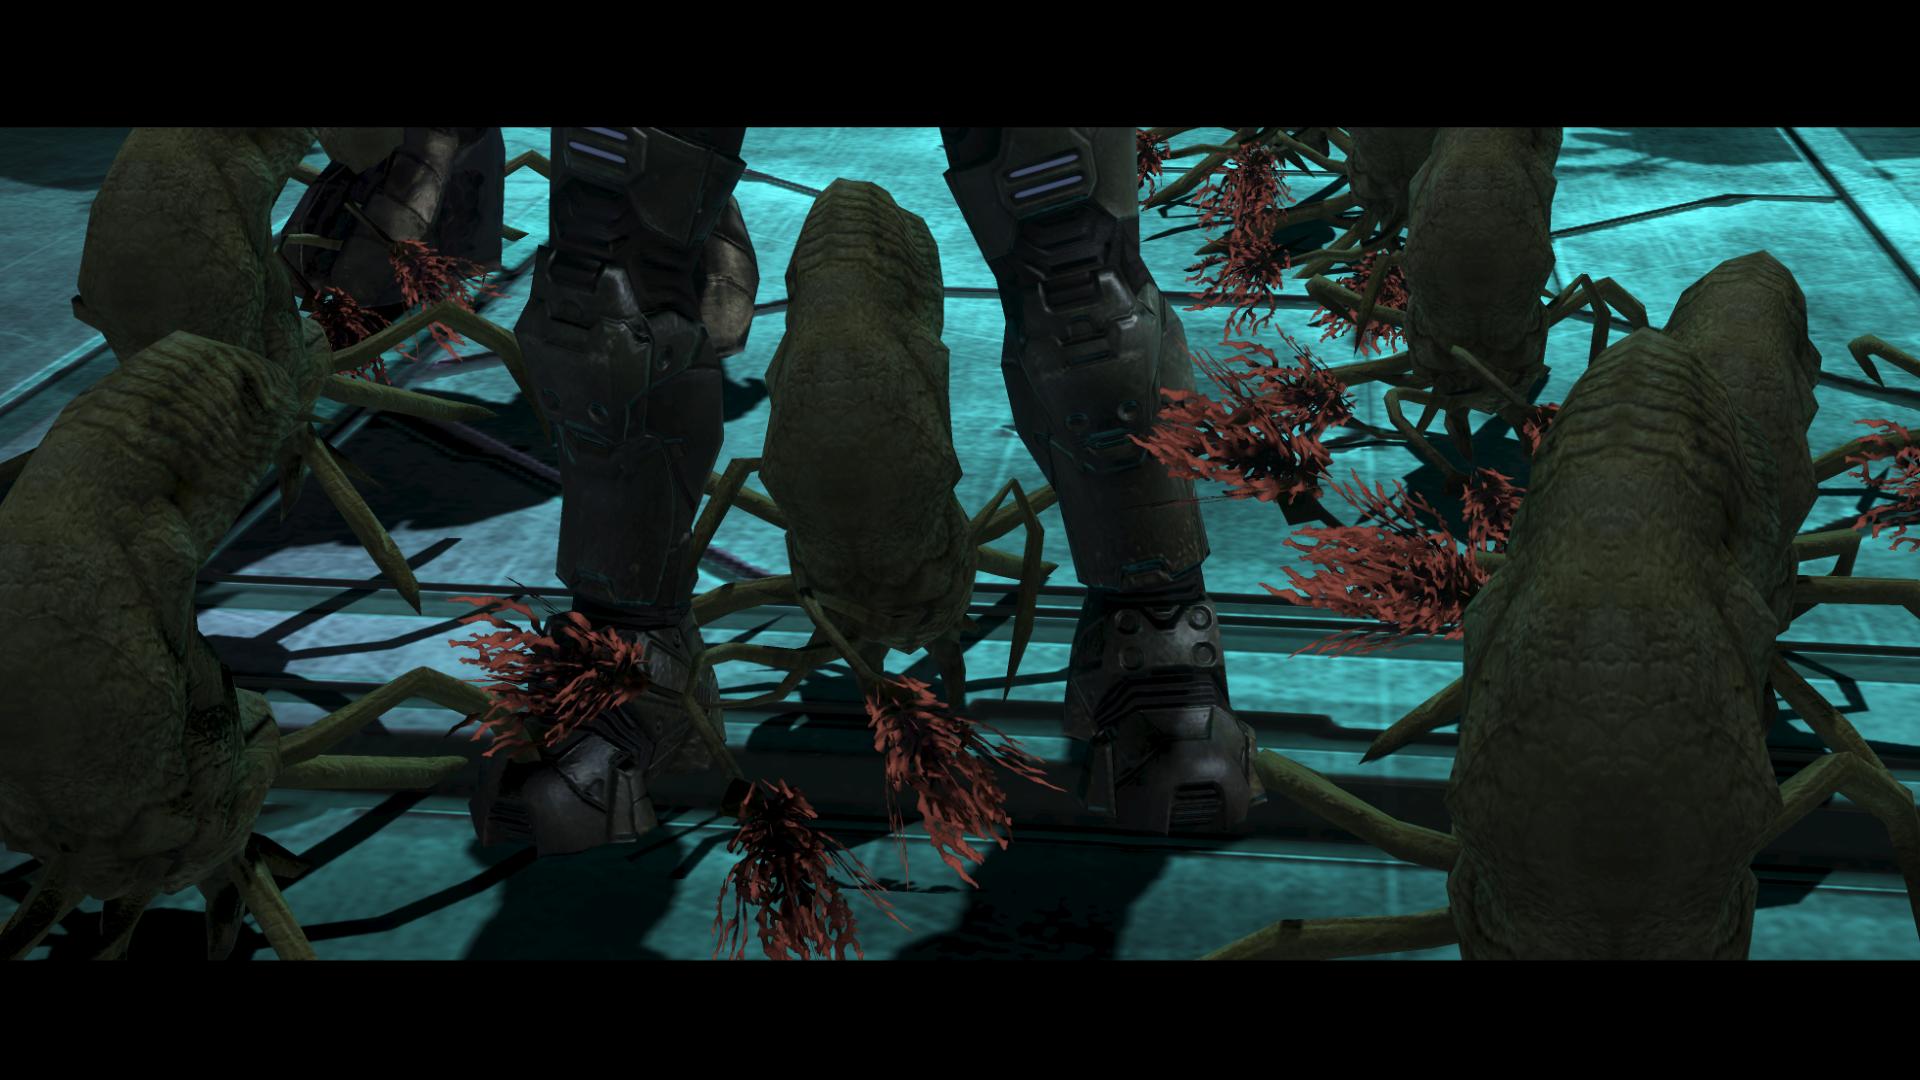
The Covenant has been shattered, Truth’ fleet decimated; only a few remaining warriors block the way to Truth. While most of the Brutes’ ranks have been eliminated, a small group of them still remain – and Grunts with Fuel Rod Guns also stand in your path. Luckily, your new ally is there to distract them… as soon as the fighting begins, the two Flood Pure forms that were used to speak to you moments ago will transform into and begin roaming the battlefield.
While not as plentiful in number as the Flood often are, they do, of course, retain one of their most powerful tactics – whenever you down a Brute, he will rise again, adding to your forces.

“How could I have known the parasite would follow? Undoubtedly this is the Heretic’s doing! A final, bitter curse – clear evidence of treachery long hidden!” [The Covenant, Halo 3]
Truth realizes that his end is near; he lashes out verbally, in an attempt to excuse what is surely about to be the final demise of the Covenant. But, as most liars tend to do, he draws from a well of truth with this accusation. The union between the Sangheili and the San’Shyuum was never one of trust and love. The two were only united because of the simple fact that both races would have been destroyed if they’d continued to make war against one other, as they began doing after their first encounter.
In terms of ships and soldiers, the Sangheili started the fight with a distinct numerical advantage. They were also better warriors – stronger, fast and more disciplined. In a straight-up infantry clash, one Sangheili was worth at least ten San’Shyuum. With most of the fighting taking place in space and ship-to-ship, however, the San’Shyuum had their own advantage: a single, semi-operable Forerunner Dreadnought that decimated the Sangheili fleets with hit-and-run tactics. [Halo: Contact Harvest, pg. 147]
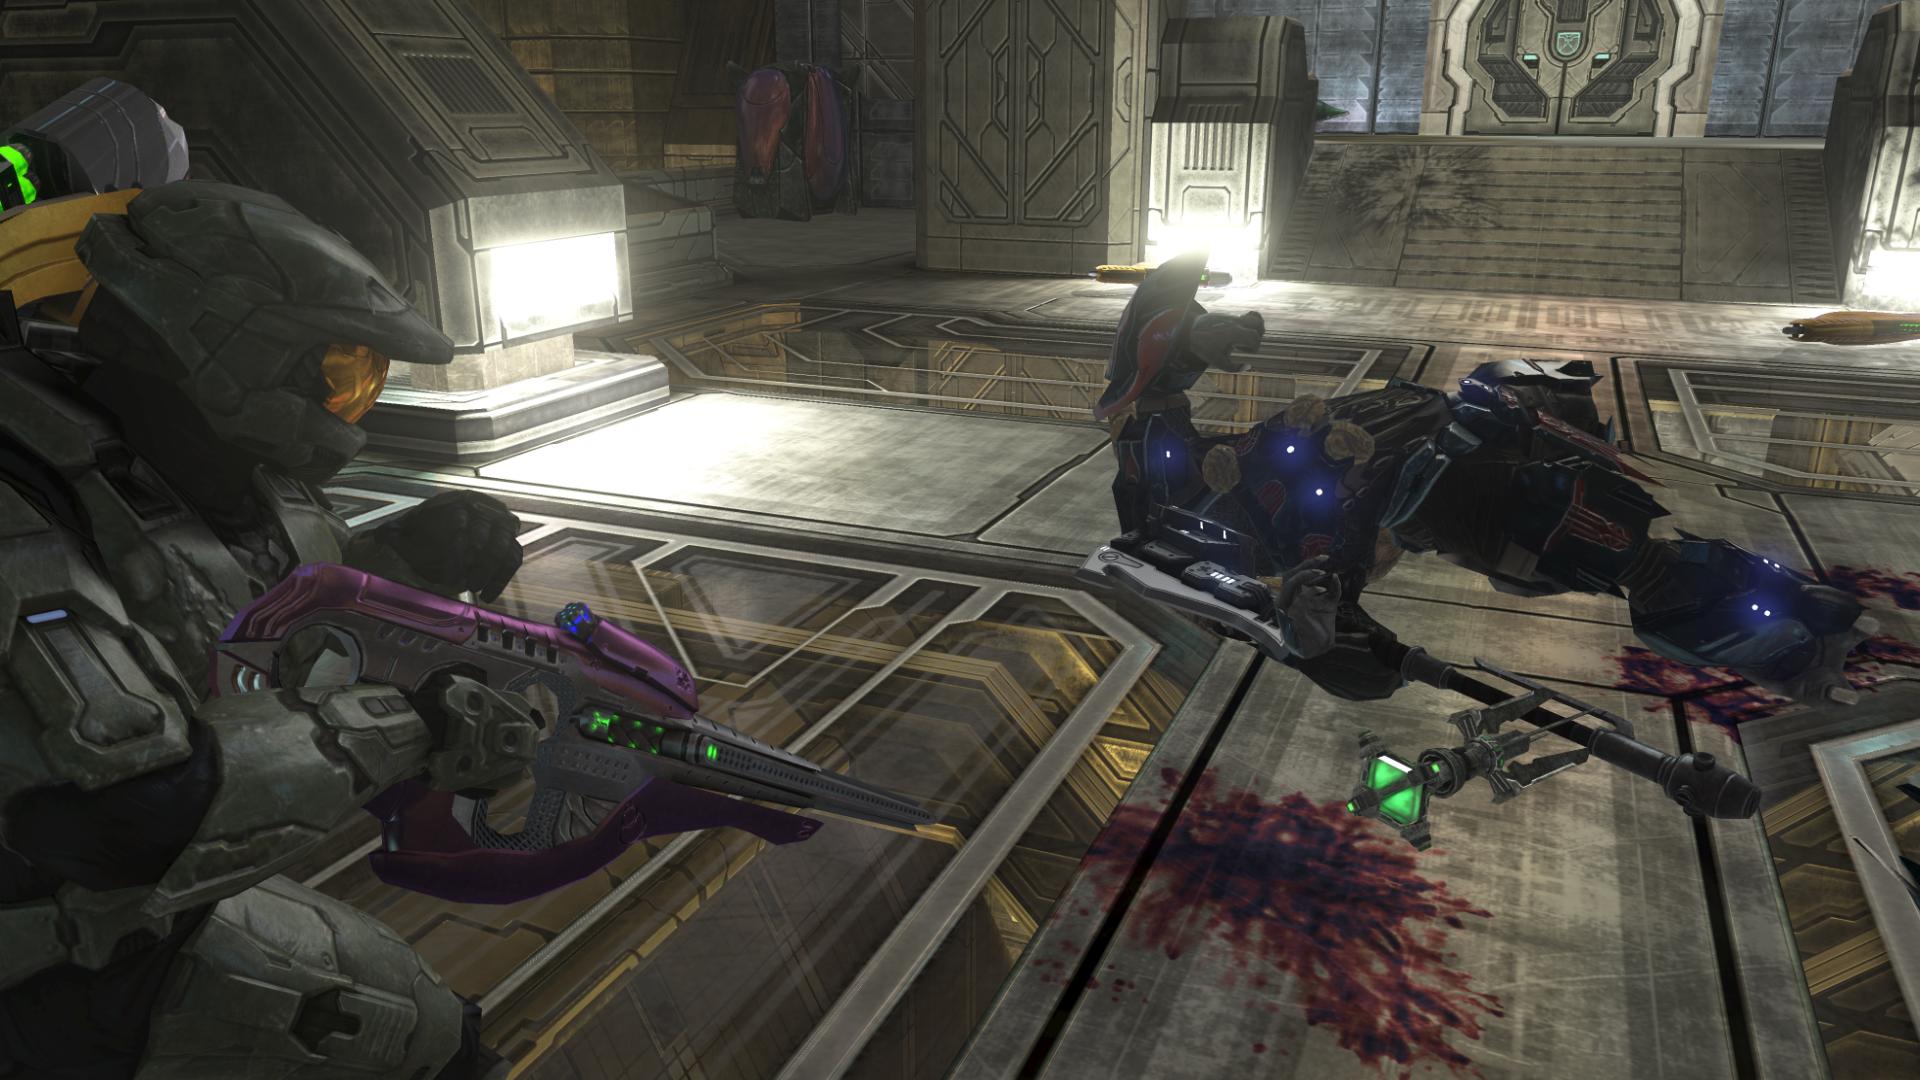
After fighting through more Brutes, you’ll reach what is likely the last Chieftain that remains to protect Truth. But even he shall fall…
“So far are we along the path that I must strain to hear the clumsy patter of their feet. Know this, my brothers: They may foul the way with their charred and broken bones, but they will not stop the Journey.” [The Covenant, Halo 3]
It’s interesting to me that he appears on his pedestal in these holograms; Covenant technology, I suppose. No matter his location or condition, he appears as kingly and in control as he ever was. Of course, it is a moot point: his followers are not around to hear him – they are either dead or fleeing.
Before moving forward, I’d like to take this chance to point out the location of Halo’s most infamous skull – the “I Would Have Been Your Daddy” skull, named after the chapter of the same title in the first Halo game. This skull set a precedent in Halo 2 of being extremely difficult to locate; that holds up in this game. In fact, it was only through sorting through the raw code of the game that players were finally able to locate the skull (the methods of its discovery are a point of controversy in the Halo community – as I’m sure you’re well aware).
To locate this skull, you have to physically jump through seven of the holographic rings floating above the bridge. Each ring has a note that accompanies its location: you must jump through the seven rings that hold the first seven notes of Halo’s main theme. If the ring closest to the elevator shaft is considered “number one,” and the ring closest to Truth is “number seven,” then the order in which you must jump through the rings is fourth, six, fifth, fourth, fifth, third, and fourth. After doing this, the IWHBYD skull will appear on the floor in front of the light bridge that leads to Truth’s platform.
On this platform, all is silent.
Johnson holds Miranda’s body:
“Stop the rings. Save the rest.” [The Covenant, Halo 3]
The Arbiter moves forward; as much as he likely empathizes with Johnson, he has other pressing issues…
The conversation that follows is one that takes place between three parties. Not content to simply defeat his enemies, the Gravemind must take control of them, as he begins to do with Truth. The Arbiter speaks for himself; the Prophet of Truth attempts to maintain control of his own body and speak; and the Gravemind, gaining more control over Truth as he becomes infected, speaks through the Prophet’s body.
“Can you see, Arbiter? The moment of salvation is at hand!” (Truth)
“It will not last!” (Arbiter)
“Your kind never believed in the promise of the sacred rings.” (Truth)
“Lies for the weak! Beacons for the deluded!” (Gravemind)
“I will have my revenge – on a Prophet, not a plague!” (Arbiter)
“My feet tread the path – I shall become a god!” (Truth)
“You will be food – nothing more!” (Gravemind) [The Covenant, Halo 3]
In his last moments, Truth reaches the pinnacle of his insanity. Blocked by pain and dementia are the words he thought to himself so many years before, when he ascended to the throne of a Prophet and decided upon his name…
“…ultimately, the name he chose was the one that carried the greatest burden – the one that would always remind him of the lies he must tell for the good of the Covenant and the truths he must never speak.” [Halo: Contact Harvest, pg. 384]
Is it possible that something has happened in the years in between his startling revelation, and his final moments here on the Ark? Something that has bolstered his faith in the idea that humans are the remains of the “weak” Forerunners? Or perhaps it is simply the passage of time has dulled his memory of that day with the Oracle – not wanting to believe what was told to him, he has allowed himself to forget… But has not forgotten his charge to himself – “the lies he must tell for the good of the Covenant, and the truths he must never speak” – and this charge he takes to his grave.
“I am Truth! The voice of the Covenant!”
“And so – you must be silenced.” [The Covenant, Halo 3]

Truth has been the mastermind behind the assault on humanity – he is responsible for the deaths of untold numbers; and while the Chief did not deliver the killing blow, he did something equally as devastating – the last thing Truth sees in this world is a human halting the firing sequence of the Array.
And the Arbiter’s recompense is complete. Truth is dead.
Johnson takes Miranda’s body into the Pelican… and the Gravemind speaks:
“Now the gate has been unlatched, headstones pushed aside, corpses shift and offer room – a fate you must abide!” [The Covenant, Halo 3]
With what he saw as his biggest threat now neutralized, he returns to his old habit of speaking in iambic pentameter (or possibly trochaic heptameter), which he employed for the majority of Halo 2. His massive tentacles appear from below, surrounding the Chief and the Arbiter.
“We trade one villain for another.” [The Covenant, Halo 3]
As the Arbiter speaks this line, the Gravemind retracts his limbs and decides instead to unleash a Flood army upon the two allies. This scene is actually a bit odd… right as he has the Chief and Arbiter surrounded, there is a moment of silence – and then he retreats. Perhaps he wishes to have his army do the work, as opposed to ripping apart his enemies himself.
Or – and this seems most likely – Bungie just didn’t want a boss battle with the Gravemind.
“I can barely keep hold of her, Chief! No way I can pick you up! Head back to the lift. Find a way down!” [The Covenant, Halo 3]
Johnson radios to the Chief, and informs him that he’ll have to battle his way back down the bridge and back to the elevator shaft. Hopefully, you stocked up on Fuel Rod Gun ammunition on your first trip down the bridge.
The Monitor also lends his assistance by deploying Sentinels to help fend off the waves of Flood.
Before you reach the elevator shaft, Cortana comes in with another message:
“I’m a thief… but I keep what I steal.” [The Covenant, Halo 3]
At this point, it’s not yet clear what she’s talking about.
After battling through the Flood, the Chief and the Arbiter will finally reach the elevator room, and jump down a smaller, narrow shaft.
This next cutscene is, in my opinion, one of the most graphically impressive cinematics in the entire trilogy.
I don’t know if it is the lighting, or the environment, or the cinematography, but something about this cutscene just looks really, really good.
At the bottom of the shaft, the Chief sees Cortana walking up to a platform, and a panel. It’s not known, here, whether Cortana is actually projecting herself into this room via some Forerunner technology, or if something else is leading the Chief in a certain direction… some theorize that Mendicant Bias himself is the one that displays the hologram of Cortana and directs the Chief to depress the panel.
Regardless, the Chief does reach the panel, and activates something…
A door opens, and something massive rises from the mist below.
“A replacement, for the ring you destroyed.” [The Covenant, Halo 3]
The Arbiter correctly identifies the object rising from below. The Chief asks a question, and the Monitor responds:
“When did you know?”
“Just now, but – I had my hopes. What will you do?”
“Light it.”
“Then we are agreed! A tactical pulse will completely eradicate the local infestation! I will personally oversee the final preparations.” [The Covenant, Halo 3]
The light at the end of the tunnel can finally be seen… the Gravemind has gathered all of the Flood on the Ark in an attempt to stop Truth from activating the Array. He was under the impression that the Ark was safely out of range of all of the installations – but he was wrong. The Ark’s true purpose is revealed – it is a forge, and it has reproduced a Halo installation to take the place of Installation 04 – the one that the Chief destroyed at the end of the first Halo game.
The Monitor’s next line is crucial in setting up the plot for the next level. Unfortunately, a bug causes the dialogue to fade out before it can be heard!
“Though it will take time to fabricate an activation index, I will see to the letter that…” [The Covenant, Halo 3]
In-game, only the first five words of the line can be heard. The Arbiter, however, responds to the problem that the Monitor has just presented. Without an index…
“How will you light it?” [The Covenant, Halo 3]
Stack
As much as it would be cool to destroy him and believe me I have tried alot but sad to say no you can’t. I mean seriously what are we both thinking bungie obviously only want you to kill him at the END! I mean come on bungie why can’t we kill him if we know we are pretty much screwed! I once heard him say this:
“Ow that hurt my feelings. Oh my god I have feelings? I’m a real boy!!”
Comment by Rtas monkatarae — October 20, 2009 @ 11:19 am
first of all I want to say that I love this website so much and I am very upset that there will be no more articles form you guys. I doubt you will even see this comment. This was a great article but One flaw i found was you said that on the way back to the elevator shaft after you kill truth you say that the monitor offers his assistance by deploying sentinels, This is incorrect. 343 guilty spark has no authority here on the ark. As we saw earlier in the mission “The Ark” from the terminal in which we see the conversation between 343 and the AI of the ark in which he threatens to add 343 to the sentinels targeting ledger we see that he is in charge. Also in the ending cutscene when 343 guilty spark is asked by Johnson what the sentinels priority task is, 343 responds by saying he doesn’t know. Therefore 343 Guilty spark did not deploy the sentinels that help you at that part in the mission “The Covenant”
Comment by Cpt.McMilligan — October 31, 2009 @ 5:47 pm